Recover the lost/deleted data from computer, hard drive, flash drive, memory card, digital camera and more.
Article Title: How to Recover A Replaced Word Document on Mac Efficiently
 Updated by
 Good day! Can you recover a replaced Word document on Mac? I was working on an important file and accidentally saved an older version over the current one. Now, all my recent edits are gone, and I'm not sure how to retrieve them. Has anyone experienced this before? If so, any advice, guide, or suggestion would be greatly appreciated. Thank you in advance!
Losing a Word document due to accidental replacement can be a nightmare, especially when hours of work vanish in an instant. Whether you mistakenly overwrote the file or saved an outdated version, the panic of losing critical data is too stressful. Fortunately, recovering a replaced Word document on a Mac is possible if you use the appropriate methods quickly.
If you're unaware, macOS and Microsoft Word offer built-in recovery options that can help restore previous versions of your document files. Aside from that, professional programs are also reliable, so you must only grasp your preferred process to return your Word document. That said, explore the content below and perform the best approach for your situation.

Guide List
Part 1. How to Recover A Replaced Word Document on Mac
Below are the leading approaches for recovering a Word document that has been replaced or overwritten on a Mac. A professional tool, and both macOS and Microsoft Word's built-in features are available, so use the most appropriate one for your Word document.
Option 1. Recover Replaced Word Documents with FoneLab Mac Data Retriever
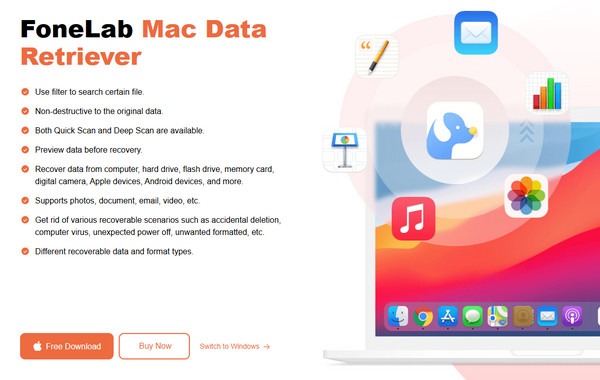
FoneLab Mac Data Retriever is a professional solution worth exploring if you're searching for an efficient yet straightforward way to recover a replaced Word document on your Mac. Developers especially designed this advanced tool for retrieving lost, deleted, or overwritten files, which is perfect for recovering your replaced document. After all, it only requires an installation, reading your Mac data, and restoring your chosen file. You won't need technical expertise to run it.
Meanwhile, FoneLab Mac Data Retriever can scan your Mac's storage, including internal drives and external devices. Hence, locating the previous versions of your replaced or overwritten file will be easier, making the recovery process also effortless. On the other hand, another benefit you can enjoy with this data retriever is its preview. Aside from being able to recover files selectively, this tool allows you to view them beforehand to ensure you retrieve the correct file.
FoneLab Data Retriever - recover the lost/deleted data from computer, hard drive, flash drive, memory card, digital camera and more.
- Recover photos, videos, documents and more data with ease.
- Preview data before recovery.
Recognize the appropriate directions below as a sample to recover a replaced Word document on Mac with FoneLab Mac Data Retriever:
Step 1Visit the FoneLab Mac Data Retriever official site and locate the Free Download button. Once shown, click it to download the installation file directly to your Mac. You must then move the installer to your Mac's Applications folder before launching it to begin using it on the desktop.
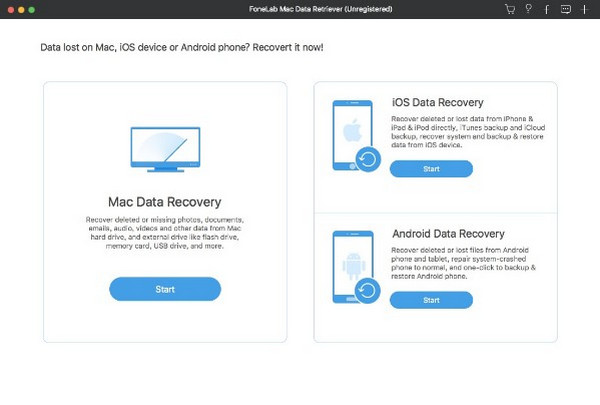
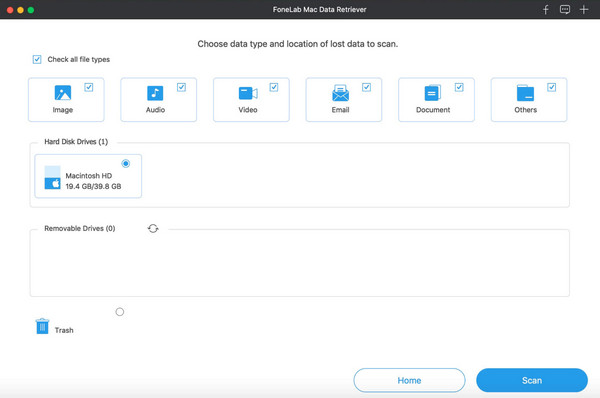
Step 2The program's interface will appear instantly, showcasing its core functions. Thus, select Mac Data Recovery to proceed. On the next screen, the supported file types will materialize, so pick the Document box from the upper options. Then, select the drive containing the document when it was still wasn't replaced.
Step 3Click Scan to initiate the recovery process. After that, browse through the displayed folders to locate your files. You can utilize built-in tools, such as the search bar, to quickly find what you need. Once you've selected the replaced document, click Recover, and the tool will restore it within moments.
Option 2. Recover Replaced Word Document via Browse Version History
Microsoft Word provides another professional solution for recovering replaced documents with its Browse Version History option. If you had turned on the AutoSave feature or saved a previous version of your Word document before the file replacement occurred, recovering the file will be convenient. As this method's name suggests, the Microsoft Word program offers a ‘Browse Version History' section where you can find the past versions of your document file. You must only choose the version you need, which is the one saved before you have accidentally replaced the file, to return it to your Mac. Thus, expect a smooth document recovery process.
Obey the simplified navigation below to grasp how to recover a replaced Word document on Mac via Browse Version History:
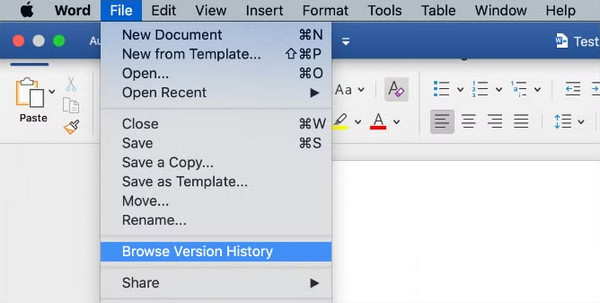
Step 1On your Mac desktop, locate and open the Finder program. Next, opt for the document file you have overwritten, and once it's displayed, hit the File selection from the upper menu.
Step 2The options will then appear; click Browse Version History, and the screen will display the different versions of the document. From there, pick the one that was saved when you haven't yet overwritten it. Then, tick Restore to retrieve your replaced Word document.
What if you didn't save the Word document's original or previous version before the file replacement had occurred? Unfortunately, this program will be unworkable since there will be no foundation that could retrieve your overwritten Word document. Luckily, the other two methods are available and can be relied on as alternatives if this one doesn't work for your file.
Option 3. Recover Replaced Word Document through Time Machine
Although it may not be available to other users, you can try using your Mac's Time Machine. If you have saved a backup with your external drive or network-attached storage that contains the previous Word document, this Mac built-in feature will let you recover it without any issues. It is helpful if you can no longer find the necessary version in the document's history within the Microsoft Word program. After all, Time Machine makes it possible to recover files exactly as they existed before you accidentally replaced them. What makes it even more impressive is that it's not dependent on the internet, letting you recover even without a network connection.
Have regard to the simple operation below to recover a replaced Word document on Mac through Time Machine:
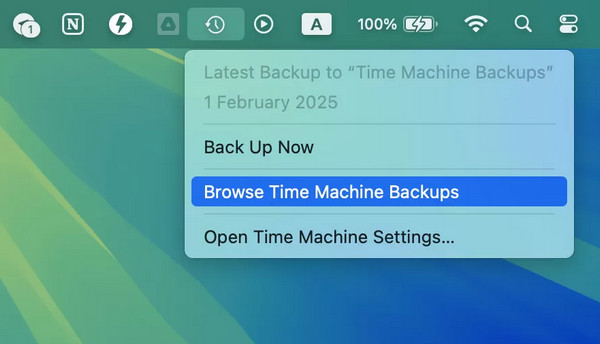
Step 1Attach your Time Machine backup drive to your Mac and enter the folder containing the original document. After that, hit the Time Machine icon in the menu bar above before selecting Enter Time Machine to view available backups.
Step 2Use the timeline on the right side of the screen to browse through different backup versions. When you find the correct file version, select it and click Restore to recover your unreplaced document file to its original location on your Mac computer.
Part 2. FAQs about Recovering a Replaced Word Document on Mac
How far back can I restore previous versions of my document?
It depends on the recovery technique you will use. However, if you'd like to go back further, FoneLab Mac Data Retriever would be the perfect solution to optimize your data retrieval. It doesn't have a specific limitation regarding the timeline of your file, as it scans Mac data deeply.
Can you recover a replaced Word document from Trash on Mac?
Unfortunately, you can't. Since the Word document has only been replaced and not erased, you won't find it in the Trash section.
Grasp and enjoy the knowledge above, as every portion will help you retrieve your replaced Word documents efficiently without any problems, especially with FoneLab Mac Data Retriever's efficiency and advantages, as indicated above.