Recover the lost/deleted data from computer, hard drive, flash drive, memory card, digital camera and more.
Complete Tutorial to Fix macOS 10.13 High Sierra Update Failure
 Updated by Lisa Ou / Dec 29, 2020 09:20
- When I tried to update to the new High Sierra, the Mac downloaded and rebooted as expected. But then it hung on the ‘Installing software update’ screen all day long.
- Mac OS High Sierra install failed, and no error details.
macOS 10.13.6 High Sierra version is the latest update for all macOS High Sierra users. You can install macOS High Sierra update for about 45 minutes to 2 hours. If the macOS 10.13 High Sierra update cannot be installed for hours, you need to take measures to solve the problem.
Well, these are workable ways to fix macOS 10.13 high Sierra update failure successfully.

Guide List
1. Fix macOS 10.13 High Sierra Won’t Install after Downloading
If you fail to install the downloaded macOS 10.13 High Sierra update, you can use the following tips to fix the macOS update error.
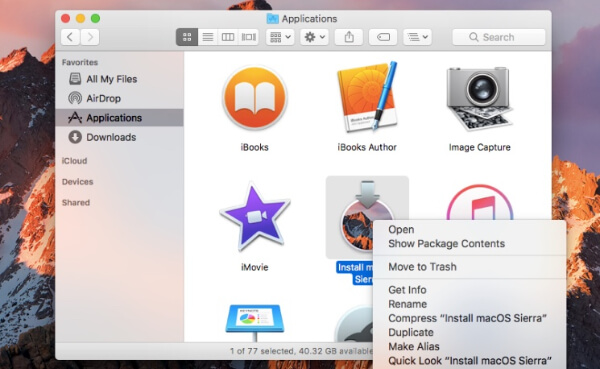
Step 1 Open Launchpad. Find and delete the Install macOS Sierra file with a question mark attached.
Step 2 Reboot your Mac. Then you can re-download and reinstall macOS 10.13 High Sierra update.
Step 3Choose the Apple icon on the top left corner of the screen. Select the App Store from the list. Later, you can locate the Update section to fix macOS 10.13 High Sierra won’t install failure.
You can also learn how to fix macOS Sierra won't boot after updating.
2. Solve macOS 10.13 High Sierra Update Failure via Safe Mode
You can disable or uninstall anti-virus software first. Check if your computer is under a strong and fast Internet connection. If these measures are useless, you can boot Mac in Safe Mode to fix macOS 10.13 High Sierra failed to update.
Step 1 Power off your computer.
Step 2 Restart Mac and hold the Shift key.
Step 3 Do not release the Shift key until the Apple logo appears.
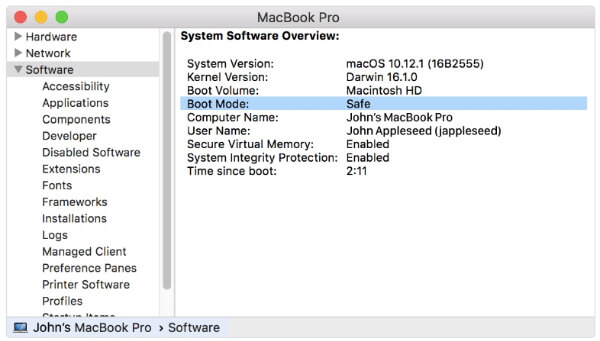
Step 4 Install macOS 10.13 update in Safe Mode to fix Mac OS update failure.
Note: You can use System Information to check if your Mac is started in Safe Mode.
You can use the same way to fix MacBook Pro shuts down randomly or fix macOS Sierra 10.12.1 Update Stuck Error.
3. Troubleshoot macOS 10.13 High Sierra Update Failure with a Clean Installation
What if your macOS 10.13 High Sierra stuck or freeze while installing? It is also a frequently asked question that the Mac OS installation couldn’t be completed. During this time, you can complete a clean macOS 10.13 High Sierra update with a bootable USB drive.
Step 1 Connect the UDB drive to Mac
Download macOS Sierra 10.13.6 installation package from Mac App Store. Plug a portable USB drive to Mac. Run Finder and choose Applications in the left panel. Find Disk Utility in the Utilities folder. Select the thumb drive in the sidebar. Then choose the Format option.
Step 2 Create a bootable macOS 10.13 High Sierra installer
You need to name the plugged USB drive as Untitled. Choose OS X Extended followed by Erase. After formatting the USB drive and downloading macOS 10.13 High Sierra, you can open the Terminal window. Type and following command in Terminal and then hit Enter.
sudo /Applications/Install\ macOS\ Sierra.app/Contents/Resources/createinstallmedia --volume /Volumes/SierraBootInstall --applicationpath /Applications/Install\ macOS\ Sierra.app --nointeraction &&say Done
Step 3Fix macOS 10.13 High Sierra update failure
Connect this bootable USB drive to your Mac. When you restart your computer, you need to hold and press the Option key. Do not release it until you hear the reboot tone. Then select the Install macOS Sierra disk in the drive list.
Later, choose Mac’s startup disk from the Disk Utility list. Click Erase to format it. Once the process is finished, go back to the Utilities window. Choose Install macOS and install it to the recently formatted Mac startup drive.
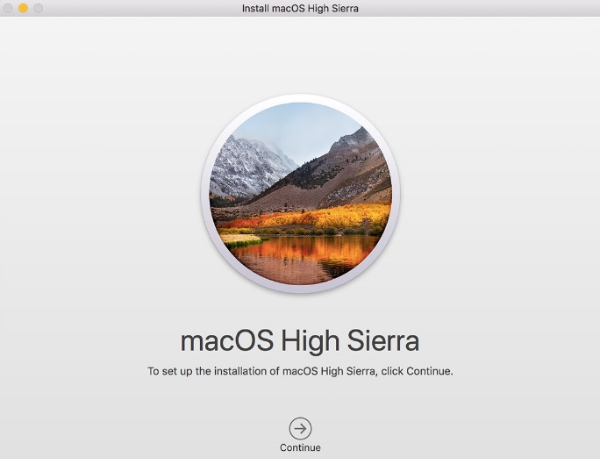
Now you can follow the on-screen instruction to install macOS 10.13 High Sierra update completely.
4. Recover Lost Files Due to macOS 10.13 High Sierra Update
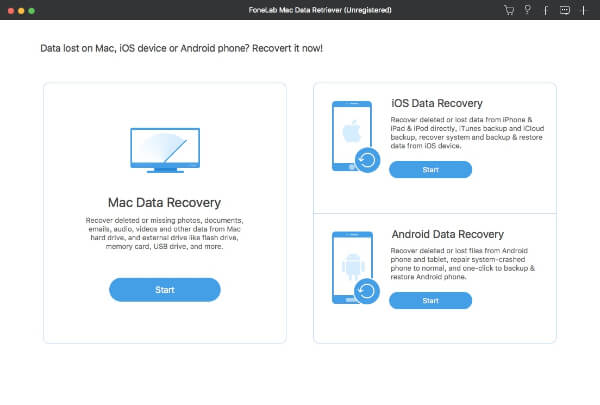
It does not matter if you forgot to make a backup with Time Machine. Actually, FoneLab Data Retriever can help you recover any deleted or lost Mac file without data overwritten.
There is no need to recover the entire Mac backup file. You can recover the selected file on Mac with the Mac data recovery software safely and easily.
FoneLab Data Retriever - recover the lost/deleted data from computer, hard drive, flash drive, memory card, digital camera and more.
- Recover photos, videos, documents and more data with ease.
- Preview data before recovery.
- Recover lost data from macOS 10.13 High Sierra update failure, formatted partition, RAW hard drive and other crashed issues.
- Support various recoverable data types, such as recover computer emails, photos, documents, videos, emails, music, etc.
- Find both deleted and existing files on Mac via Quick Scan and Deep Scan modes.
- Filter and preview any file with the detailed information.
- Guarantee not to store or modify your Mac data.
Have you fixed macOS 10.13 High Sierra update failure now? If not, you can write down the main symptom below. By the way, the data recovery software for Mac can work under all data loss situations. You can use this tool to recover hidden Mac files quickly too.
FoneLab Data Retriever - recover the lost/deleted data from computer, hard drive, flash drive, memory card, digital camera and more.
- Recover photos, videos, documents and more data with ease.
- Preview data before recovery.