Recover the lost/deleted data from computer, hard drive, flash drive, memory card, digital camera and more.
Excellent Trustworthy Ways to Setup and Recover RAID 1 Data
 Updated by Lisa Ou / Dec 06, 2022 16:30
Losing files is one of the common problems with hard drives. Other people use another technique aside from backing up their data. A redundant Array of Independent Disks (RAID) is one of them. If you want to utilize this technique, you will need more than one hard drive. It is a way of storing your data from multiple hard drives.
For instance, you have many data on your device. You will have a copy of them on both of your hard disk drives. In short, RAID mirrors your data so that once they corrupt, you still have a copy of them. To use this technique, you must set it up on your device. Reading this article, you will also learn the recovery RAID 1 procedure using FoneLab Data Retriever if there are missing data.


Guide List
Part 1. How to Setup RAID Backup on Windows
RAID has many levels that you can use for your hard drives. Each type has its strengths and weaknesses. RAID 1 is known for the redundancy of the data stored in it. One of its advantages is that it can read operations on your computer faster. It means that your device will function smoothly. However, it requires more than one hard drive for it to work.
In this case, the data on the first drive will be duplicated on the second drive. You will need more storage than the first one. To use this technique, you must set up the first drive on your computer. The steps will be tricky, but this article will help you accomplish them.
Step 1Insert the hard drive you will use into your computer. For a moment, the device will read the data on the drives.
Note: To avoid losing your files, you must back up everything essential. In the process, there is a tendency that you might lose some of the files.
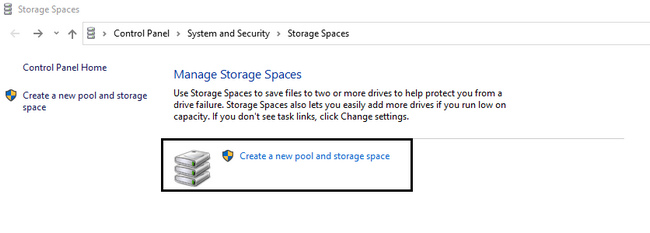
Step 2On the Windows Search Bar, type in Manage Storage Spaces, then launch it. There will be a pop-up on the screen for options. Click the Select Create A New Pool and Storage Space, then tick the Yes button. The device will show you the drives and check the two you will use.
Step 3Click the Create Pool button on the bottom. Wait for a few seconds until the drives are ready. Look for the Name section and rename the device drive depending on your preference. Set up the Drive Letter and the File System under it.
Step 4In the Resiliency Type section, choose Two Mirroring because you want the RAID 1 technique. To create the pool, you can now click Create Storage Space at the bottom of it. It will consume a few moments for the format to process. Now, you can check the drives on your computer.
What if you lose your data after that? Move on.
Part 2. How to Recover RAID 1 Data with FoneLab Data Retriever
Choosing the best data recovery software in this matter is a must. You will need a reliable tool to recover your lost RAID 1 data. In this situation, you can trust FoneLab Data Retriever for your data. This tool ensures the safety of your data. If you accidentally delete some of your data, it is still possible to recover them. This tool can still help you with RAID 1 recovery because it is one of the recoverable scenarios it supports. It can surely return your data. It is because the hard drive and removable drives are part of the supported devices of this tool.
FoneLab Data Retriever - recover the lost/deleted data from computer, hard drive, flash drive, memory card, digital camera and more.
- Recover photos, videos, documents and more data with ease.
- Preview data before recovery.
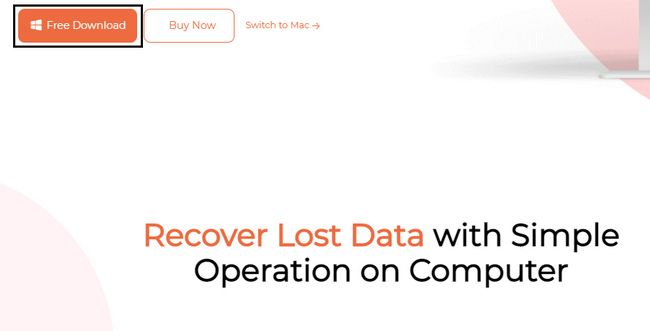
Step 1To recover RAID 1 data, click the Free Download button to use the tool. The device will download the tool, then wait for seconds. Do the WinRar setup, install it, and launch the software. Most importantly, run it on your device.
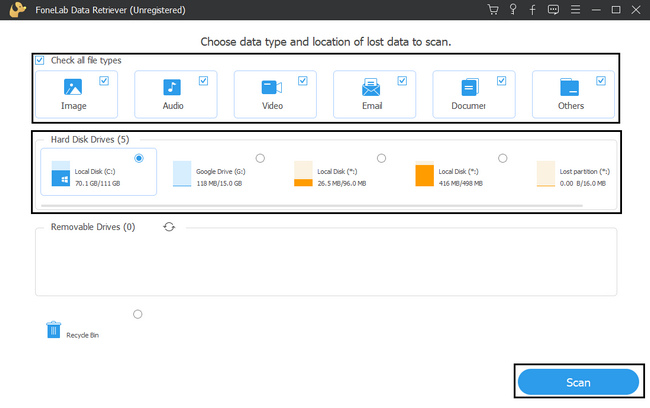
Step 2You must know where the RAID 1 Data you want to retrieve on your device. The tool will require you to select the Hard Drive you wish to scan. On the top part of the tool, choose the data types you need to recover on the top part of the tool, such as emails, documents, and more. If you are ready to look for your data, click the Scan button. Wait for the scan process to finish before proceeding.
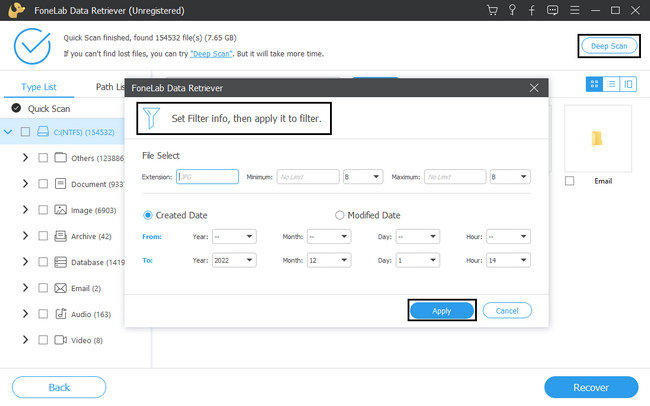
Step 3The tool will go to the recovery section afterward. If the lost RAID 1 data you want to recover does not appear, you can click the Deep Scan button on the top part of the tool. The time it consumes will be worth it because it will give you more results.
Note: If you know the exact date and time of your RAID 1 data, click the Filter button. Using this feature will let you find the data faster. Fill out the needed information, then click the Apply button so that the tool will locate those files.
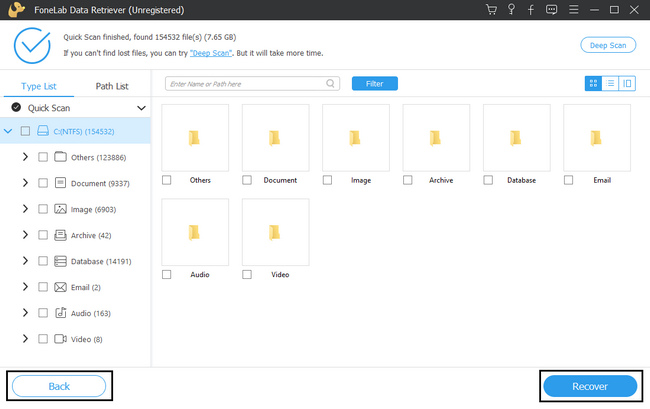
Step 4On the left side of the tool, you will see the files with their quantities. Choose the folders for the RAID 1 data you want to bring back. On the right side of the software, choose the data by checking their boxes.

Step 5When the files are ready to process, click the Recover button. Wait for the process for only a few seconds. After the process, the tool assures you that it will return the RAID 1 data you are recovering.
Note: If you think you forgot something in the previous steps, click the Back button. It will help you avoid repeating the steps from the beginning before clicking the Recover button.
FoneLab Data Retriever - recover the lost/deleted data from computer, hard drive, flash drive, memory card, digital camera and more.
- Recover photos, videos, documents and more data with ease.
- Preview data before recovery.
Part 3. FAQs to Setup and Recover RAID 1 Data
1. How long it takes to recover a RAID array?
It will not take too much time, depending on the scanning process. Ten minutes is the maximum time for this process.
2. Which RAID level offers the best performance?
Among the different levels of RAID, RAID 1 has the best performance. It can create a duplicate on your data, then run it smoothly. Though, you need more storage space on the second drive. It is because all the data will consume double the storage spaces as the first one.
3. Does data recovery software work?
Absolutely, yes! Many reliable data recovery tools exist, and FoneLab Data Retriever can prove that. It has features for any recoverable scenario you are facing. If you want to experience these features, you can download them now!
You might lose some of your files when you set up the drive using the RAID 1 technique. However, FoneLab Data Retriever is the best choice if that happens. It is the leading tool for data recovery in any circumstance. It has s straightforward steps, unlike others. Want to know more? Utilize the tool now!
FoneLab Data Retriever - recover the lost/deleted data from computer, hard drive, flash drive, memory card, digital camera and more.
- Recover photos, videos, documents and more data with ease.
- Preview data before recovery.