Top Picks Ways How to Screen Record FaceTime on iPhone/Windows/Mac
 Posted by Lisa Ou / Jan 06, 2023 16:00
Video call is the best way to communicate when your special someone is in another place. You must choose a safe application or program using your Mac or iPhone. Luckily, these devices support FaceTime. This video chat application lets you connect with your loved ones anywhere on Apple devices. You only need to connect to an internet or data connection. Do you know that you can screen record FaceTime? If not, this is your chance to learn how to do it! In this case, you can record some family gatherings by only using FaceTime if you didn't have the opportunity to attend.

You can refer to and practice the methods below. It includes the best screen recorder.

Guide List
Part 1. How to Screen Record FaceTime with FoneLab Screen Recorder
When recording FaceTime, it is better to use tools that do not block the screen's whole portion. Fortunately, Fonelab Screen Recorder can help you with that. It has a feature you can use to minimize the tool while recording. Another good thing about this is its unique feature for taking a screenshot. For instance, you are currently talking with your relatives and like to take pictures. You can do it in one snap with this software. You can do it while you are recording any application. To discover how to record a FaceTime call and take snapshots, proceed to the steps.
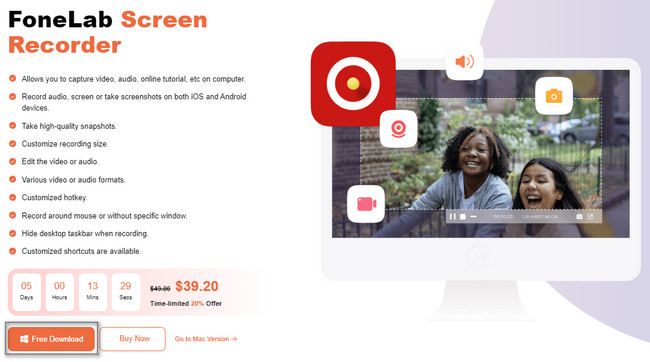
Step 1Click the Free Download of FoneLab Screen Recorder to download it in a few seconds. The device will download the tool on the device, and you need to set it up instantly. Install > Launch > Run it to start the procedure to record FaceTime sessions.
FoneLab Screen Recorder allows you to capture video, audio, online tutorial, etc on Windows/Mac, and you can easily customize size, edit the video or audio, and more.
- Record video, audio, webcam and take screenshots on Windows/Mac.
- Preview data before saving.
- It is safe and easy to use.
Note: You can use the different versions of this tool that you prefer based on your device.
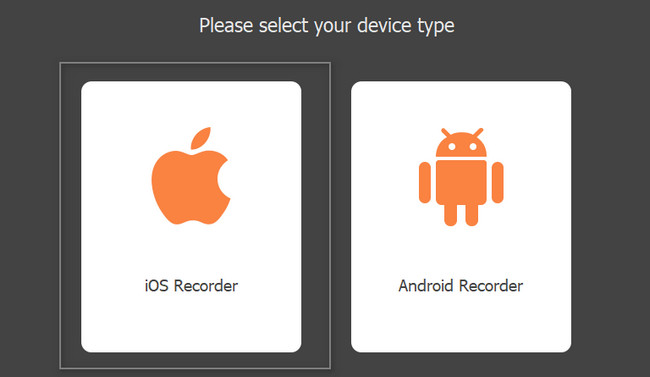
Step 2On the main interface, the tool will pop up on your screen. It is now time to use FaceTime on your device. If you are using iPhone, you need to click the Phone section on the right of the software to mirror your device on your computer. Select the iOS Recorder, then proceed.
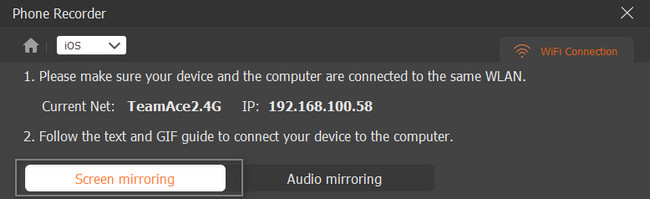
Step 3You must ensure that your iPhone and computer are connected to the same WLAN. If not, it will not work. Afterward, choose the Screen Mirroring option on the tool on your computer. Later on, slide down the Notification Bar on your iPhone and click Screen Mirroring, then select FoneLab Screen Recorder.
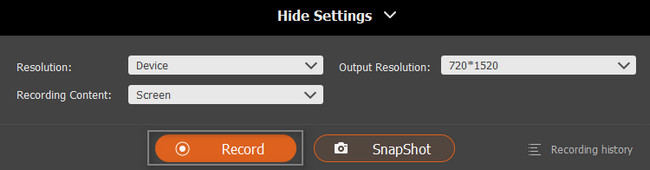
Step 4To start recording your screen, click the Record button at the bottom of the tool. It will show you the current seconds or minutes of the video. Once you want to end the recording, click the Stop button right next to the Pause button. Finally, click the Done button and save the video on your device.
Fonelab Screen Recorder teaches you how to screen record FaceTime with sound. This guide is available on Windows and Mac. However, you can browse more in this article to see the recording methods with Mac tools and iPhones.
FoneLab Screen Recorder allows you to capture video, audio, online tutorial, etc on Windows/Mac, and you can easily customize size, edit the video or audio, and more.
- Record video, audio, webcam and take screenshots on Windows/Mac.
- Preview data before saving.
- It is safe and easy to use.
Part 2. How to Screen Record FaceTime on Mac with QuickTime
Quicktime is a multimedia platform that Mac supports. It also supports many file formats that you can convert using it. For instance, the device you are using does not support the file format of your video. You can use this tool to make them compatible. Another good thing about it, this tool is flexible because it can also record videos or FaceTime calls! It is one of the best and most accessible tools for Mac in screen recording. It has many features that you can use to record movies, screenshot screens, and more! Move on below for the steps of QuickTime for FaceTime screen recording.
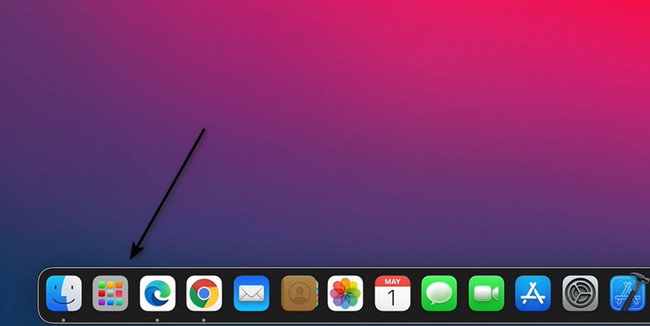
Step 1Locate the Launchpad on your Mac. Look for its search bar. Most of the time, it is located at the top of the device. Once you find it, you need to type in QuickTime. The tool will appear in one snap. Double-click, then the device will launch the device tool instantly.
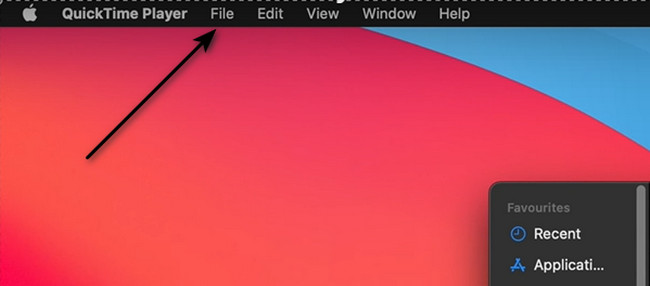
Step 2If you launch the tool successfully, you will see the QuickTime Player with an Apple icon at the top of the device if you run the device tool entirely. The File, Edit, View, Window, and Help sections will also appear at the top. Choose the File button.
Step 3On the drop-down section of the File button, select New Screen Recording button.
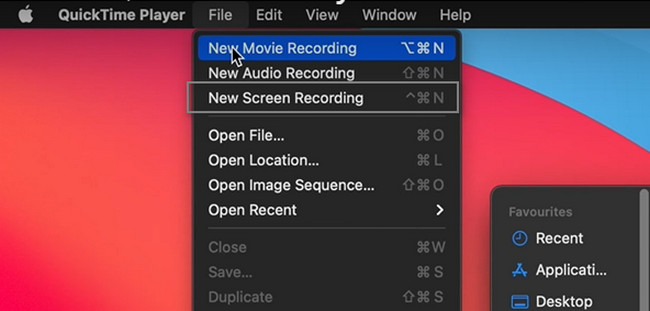
Step 4Launch the FaceTime session you want to capture. At the bottom of the device screen, you will see the features of QuickTime in the recording. You must select the mode of recording you want, such as the Capture the Entire Screen or Capture Specific Screen option. Once the screen is ready, click the Record button.
Note: If you want to stop the FaceTime recording session, click the Stop button at the top of your Mac.

Part 3. How to Screen Record FaceTime on iPhone with A Built-In Feature
iPhone is well-known for the quality of its pictures and videos. If you want to record FaceTime sessions, there is no problem. This device has a built-in screen recorder that will not cause any quality loss. However, if you do not see the built-in tool on your device, you must activate it first. It is easy to perform because you only need to add it to the notification bar. Many people do not know how to screen record FaceTime with sound on iPhone. Once you start the recording, it will automatically include the sound or your voice. To see the procedure, read more!
Step 1Go to the Settings or Gear icon of your iPhone. After that, locate the Control Center > Customize Control and look for the Screen Recording tool. All you must do is drag it to the Active Tiles of the device.

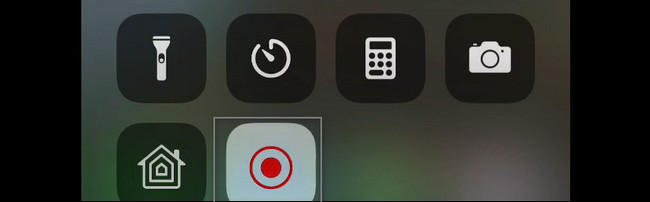
Step 2Launch FaceTime on your device. To activate the microphone on the recording, you need to long-press the Record button after you slide down the Notification Bar. Afterward, choose the Microphone On section. To start recording the iPhone screen, press the Record icon on the Notification Bar.
FoneLab Screen Recorder allows you to capture video, audio, online tutorial, etc on Windows/Mac, and you can easily customize size, edit the video or audio, and more.
- Record video, audio, webcam and take screenshots on Windows/Mac.
- Preview data before saving.
- It is safe and easy to use.
Part 4. FAQs about Screen Recording FaceTime
1. How to record a FaceTime on Windows with Game bar?
To record FaceTime on Windows using Game Bar, press the Windows and G key buttons on your keyboard. Afterward, launch FaceTime and click the Dot button on the Game Bar to start the recording.
2. How to edit FaceTime videos on Mac?
You can use the Fonelab Screen Recorder to edit your FaceTime videos. You can do it before saving the video on your device. To experience it, download it now on your Mac.
There are many ways to record FaceTime sessions. It depends on the device you are using. However, Fonelab Screen Recorder is the leading among all screen recording software. To know more about its features, download it now, depending on your device's operating system.
FoneLab Screen Recorder allows you to capture video, audio, online tutorial, etc on Windows/Mac, and you can easily customize size, edit the video or audio, and more.
- Record video, audio, webcam and take screenshots on Windows/Mac.
- Preview data before saving.
- It is safe and easy to use.