Mail App on iPhone Not Working: 6 Easy Methods
 Updated by Lisa Ou / April 28, 2023 16:30
The Mail app on your iPhone can help you send or receive messages from email accounts. You can send images, videos, and more data. Its leading feature is that you can schedule when to send an email. But there are instances wherein the Mail app is not working or functioning correctly. You may experience failed sent emails, or you cannot entirely open the app.

Well, there are various reasons why this issue is happening to the mail app. You will know the causes later on. Aside from that, you will fix it instantly by using the easy methods below, including a third-party tool. To discover more information, please do not hesitate to scroll down.

Guide List
FoneLab enables you to fix iPhone/iPad/iPod from DFU mode, recovery mode, Apple logo, headphone mode, etc. to normal state without data loss.
- Fix disabled iOS system problems.
- Extract data from disabled iOS devices without data loss.
- It is safe and easy to use.
Part 1. Why Mail App on iPhone Not Working
Your apps on your phone may experience or contain bugs while you use them. The Mail app on iPhone may have the same situation. If that’s the case, the app may need a fresh restart. Aside from that, the Mail app requires an internet connection to send messages or emails. If you cannot send one, your phone may not be connected to any internet connection, or it is too slow to finish what you want. In addition, your iPhone can also be the main problem. You may troubleshoot it by giving it a fresh restart or reboot. Don’t worry. You can refer to the solutions in this article to fix the Mail app on iPhone not working. Move on.
Part 2. How to Fix Mail App on iPhone Not Working
Do not let the inconvenience on your iPhone Mail app issue continue. It is a disturbance or hindrance to your work or personal kinds of stuff. Fix it as soon as possible! Most of the above reasons why the Mail app on iPhone is not working have their tutorials in this part. The tutorials below are accessible for a beginner like you. You may also encounter a third-party tool that can help you. Please proceed.
Method 1. Reinstall iPhone Mail App
The primary troubleshooting you may use is reinstalling the iPhone Mail app. Using this method, you may clear the app cache, get its new features, and more. There are possibilities that this technique can fix the Mail app on iPhone not working.
Step 1Long press the Mail app on your screen. Tap the Remove App button to uninstall it.
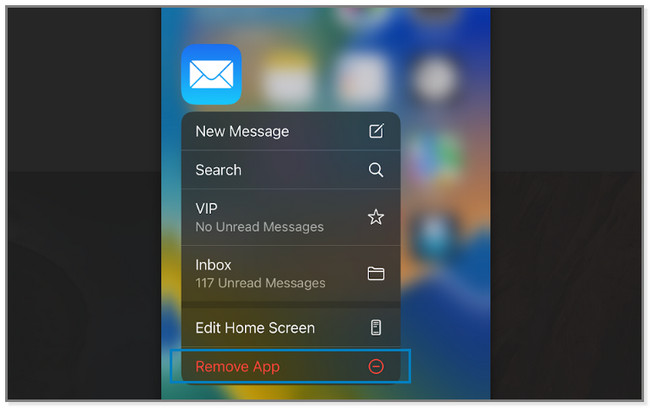
Step 2Open the App Store and search for the Mail app. Later, tap the Cloud icon to download the app. After downloading, please click the Open button to launch the app. Log in to the account you want to use.
Method 2. Reconnect to The Internet Connection
Since the Mail app uses an internet connection, what if it is the problem? Sometimes, when the internet connection is poor, some apps do not function properly. Well, you can try to reconnect it to reload or refresh the Wi-Fi to have a strong internet connection. To do that, you can view the tutorial below.
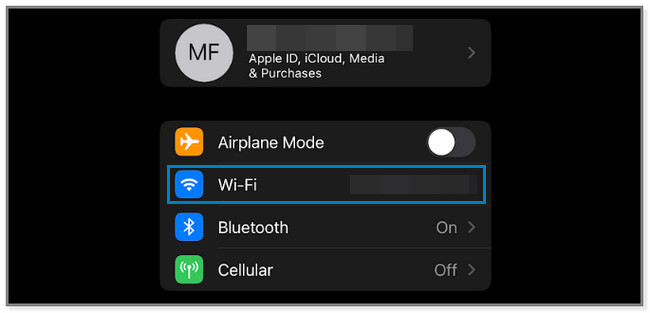
Step 1On the Settings app of iPhone, please locate the Wi-Fi section. Inside it, you will view the saved networks on the phone.
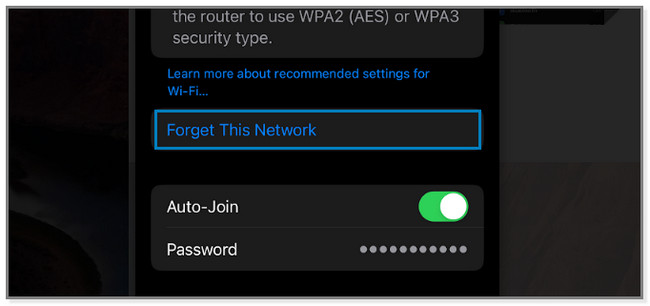
Step 2Choose the fastest network and tap it. You will see its information and settings. It includes its strength, auto-join feature, password, and more. Please tap the Forget This Network button. The phone will ask you for confirmation, and tap the Forget button.
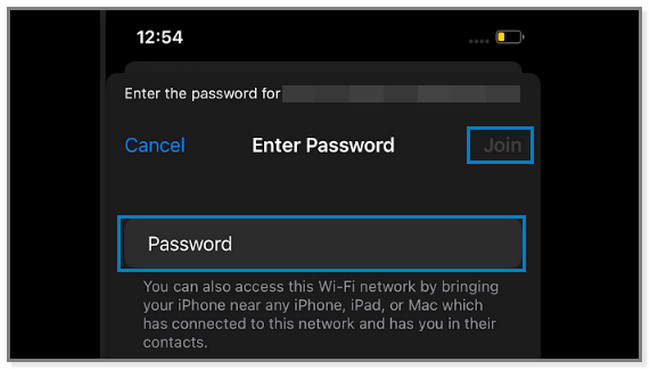
Step 3Reconnect with the Wi-Fi. To do that, tap the name of it and enter its password. Tap the Join button and enter the correct password to connect.
FoneLab enables you to fix iPhone/iPad/iPod from DFU mode, recovery mode, Apple logo, headphone mode, etc. to normal state without data loss.
- Fix disabled iOS system problems.
- Extract data from disabled iOS devices without data loss.
- It is safe and easy to use.
Method 3. Free Up iPhone Storage
Maximized storage on iPhone can also affect the performance of its apps. Removing the rarely-used apps on your iPhone can help to free up some space. Why not try to delete them to fix the Mail app on iPhone? Please proceed.
Step 1Tap the Settings app on your iPhone to open it. Locate the General button and tap it to see its content. Later, choose the iPhone Storage button to see the apps available on the iPhone.
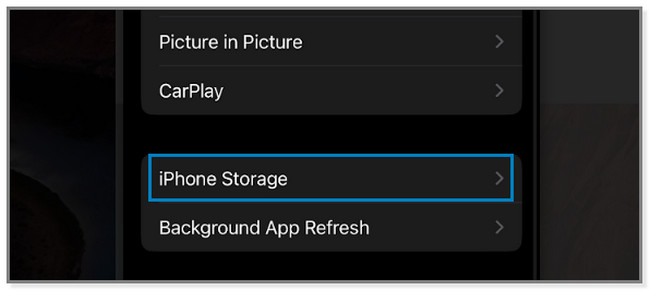
Step 2Select the rarely used apps on your phone. After that, tap the Delete App button to get rid of it. The app will instantly vanish on your iPhone.

There are also other methods to free up iPhone space, such as clearing cache files, browsing history, cookies, deleting photos, and more.
Method 4. Reboot iPhone
Rebooting iPhones can fix minor bugs or issues, like Mail notifications not working iPhones. Since iPhone has a lot of models, you will see the different steps for their buttons below. Please follow them correctly. Scroll down.
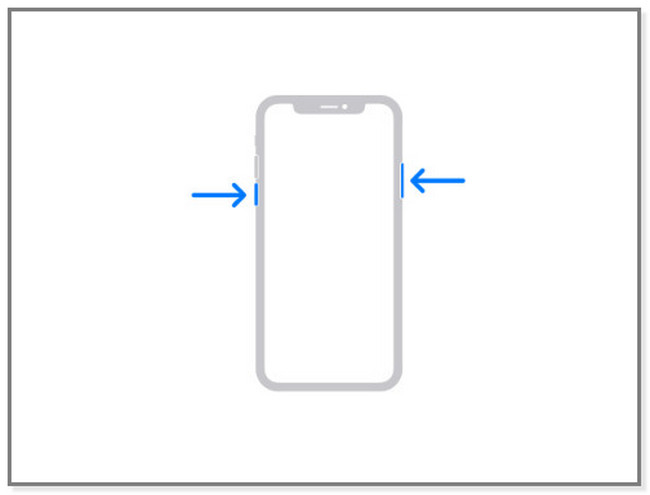
iPhone X, 11, 12, 13, or later: Please press the Volume or Side button. Please wait until the Power-Off slider is on your screen. After that, drag it to the right to turn off the phone. It will only take a few seconds. Press the Side button to turn your device on until you notice the Apple logo on your screen.
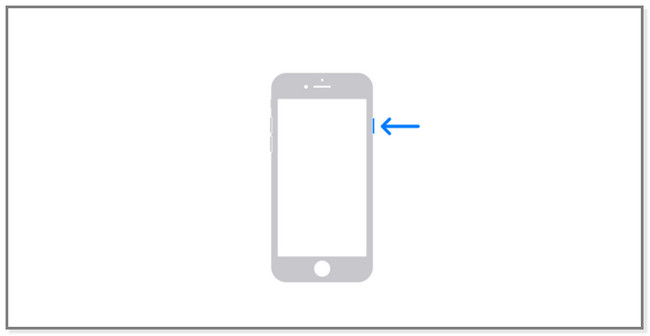
For iPhone 6, 7, 8, or SE (2nd or 3rd Generation): Press the Side button of your iPhone until the Power-Off slider pops up on the screen. Drag the slider and wait for at least 30 seconds. The phone will be turned off. And to turn on your iPhone, press and hold the Side button. Release it after you see the Apple logo on the screen.
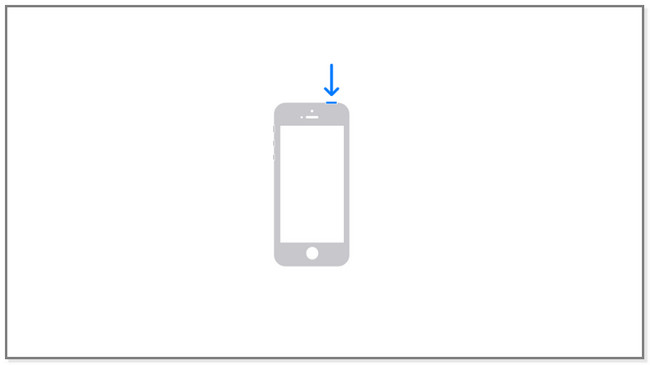
For iPhone SE (1st Generation), 5 or earlier:
- Press and hold the Top button. The Power-Off slider will appear for a few seconds.
- Slide it to the right, and the iPhone will shut down after 30 seconds.
- Later, press and hold the Top button until you see the Apple logo.
Method 5. Factory Reset iPhone
If simple troubleshooting steps do not work, you can factory reset your phone. It can fix minor and significant issues on your iPhone, like Mail notifications iPhone not working. But it will erase all of the data on it. For the safety of your data, please back them up. If you want to use this technique, please view the steps below.
Step 1Launch the Settings app on your iPhone device. Swipe down the screen to its bottom part. You will see the Transfer or Reset iPhone button. Tap it to proceed to the next screen.
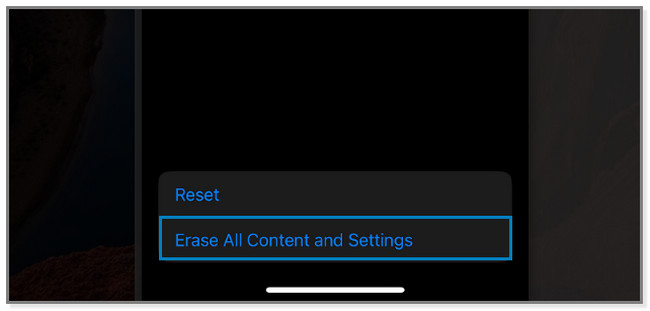
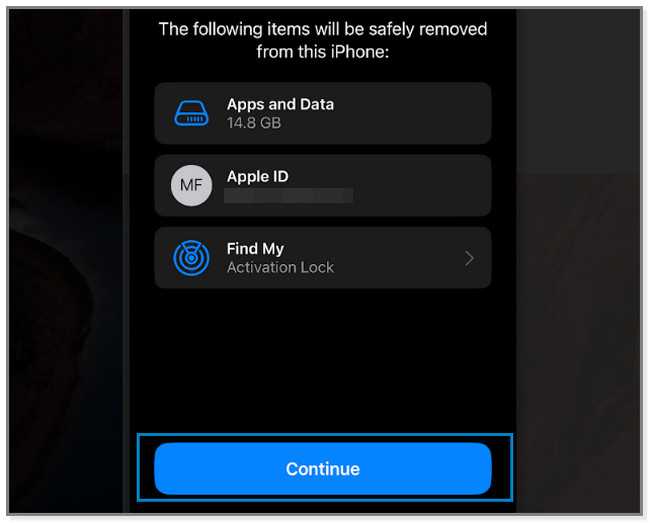
Step 2At the bottom of the screen, tap the Erase All Content and Settings buttons. The phone will warn you about the procedure you will make. Tap the Continue button to confirm that you will erase your phone's data. After resetting, set up the phone as new and follow the onscreen instructions.
What if the methods above do not fix the Mail app on iPhone not working? Well, this is the right time to use a third-party tool. Scroll down.
Method 6. Use FoneLab iOS System Recovery
FoneLab iOS System Recovery can instantly fix that issue after a few clicks. It also supports various recoverable scenarios like loop restart, iPhone Mail notifications not working, charging problems, etc. The tool will offer you 2 repair modes in the process. You will not lose files if you choose its Standard Mode feature. But if you want to process your phone via recovery mode, use Advanced Mode. The software will erase all your iPhone data. You need to back them up before the procedure. Anyway, use the steps below as a guide for the software.
FoneLab enables you to fix iPhone/iPad/iPod from DFU mode, recovery mode, Apple logo, headphone mode, etc. to normal state without data loss.
- Fix disabled iOS system problems.
- Extract data from disabled iOS devices without data loss.
- It is safe and easy to use.
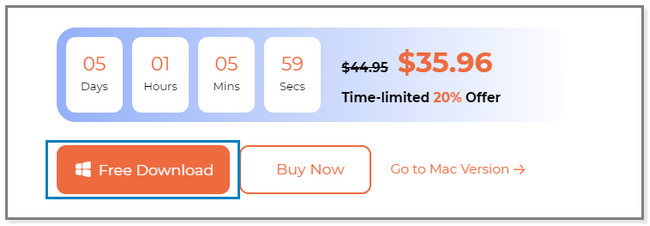
Step 1Download FoneLab iOS System Recovery by clicking the Free Download button. After that, set up the tool and launch it on your computer.
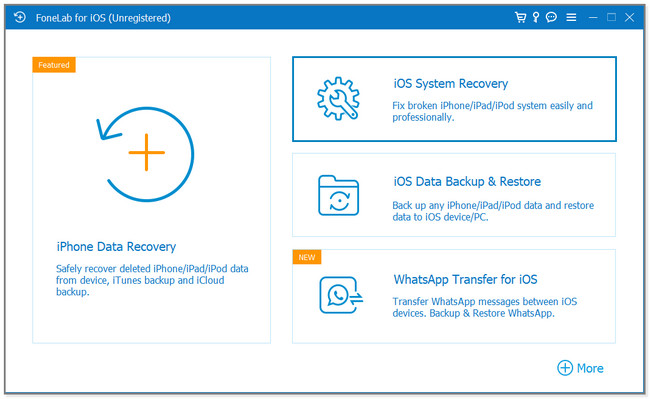
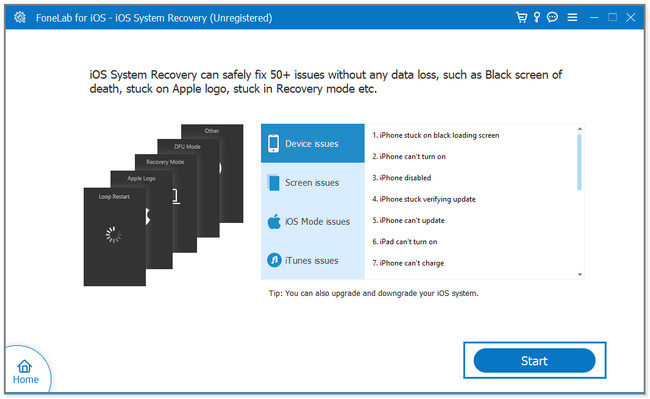
Step 2Choose the iOS System Recovery button on the screen. You will see features related to fixing your iPhone.
Step 3You will see the issues this software supports fixing. Please choose one of them and click the Start button.
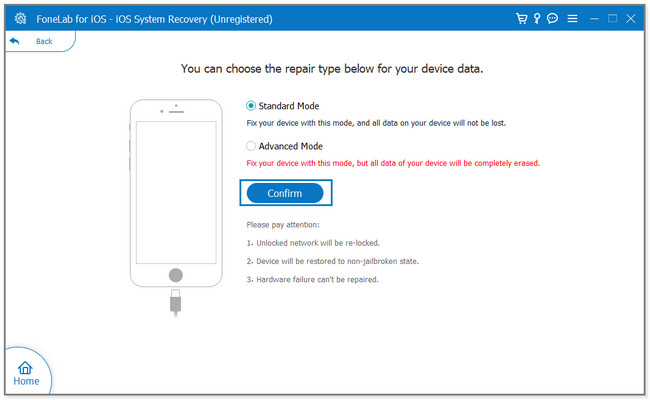
Step 4Choose repair mode. You can select the Standard Mode or Advanced Mode button. You will see their description below their names. Click the Confirm button and connect the iPhone to the computer via a USB cable. Follow the onscreen instruction afterward. Later, click the Optimize or Repair button. Wait until the process is finished, and disconnect the phone safely.
FoneLab enables you to fix iPhone/iPad/iPod from DFU mode, recovery mode, Apple logo, headphone mode, etc. to normal state without data loss.
- Fix disabled iOS system problems.
- Extract data from disabled iOS devices without data loss.
- It is safe and easy to use.
Part 3. FAQS about Mail App on iPhone Not Working
1. Why isn't my email updating on my iPhone?
Most of the time, a slow internet connection is the reason. In addition, the Fetch New Data feature may not be activated. Once you enable it, you may fix the email not updating on your phone. To turn it on, go to the Settings and tap the Mail app icon. Later, tap the Account button and the Fetch New Data button to turn it on.
2. Why are emails not coming to my email app on iPhone?
You may encounter several mistaken operations on your emails. You may accidentally delete the emails or move them to the trash folders. In addition, there are times wherein it is about connectivity issues. You can try Method 2 in Part 2 to fix this issue.
The 6 methods of this post can help you fix the Mail app not working on your iPhone. But FoneLab iOS System Recovery stands out because it offers 2 repair modes and it is the most professional but easy-to-use tool. If you want to explore this tool more, please download it.
FoneLab enables you to fix iPhone/iPad/iPod from DFU mode, recovery mode, Apple logo, headphone mode, etc. to normal state without data loss.
- Fix disabled iOS system problems.
- Extract data from disabled iOS devices without data loss.
- It is safe and easy to use.