How to Back Up iPad in 5 Most Straightforward Techniques
 Updated by
 How do I backup my iPad? This question might be in your head when you think that your iPad data is at risk. It might be due to a broken iPad screen, a crashing application, or other scenarios that might be deleted. We got you!
This question is the main topic of this article. It determines and lists the 5 leading approaches for backing up your iPad data. You can use a third-party tool, the iPad's built-in feature, and an external hard drive. Please see the full details of these methods as you scroll below.


Guide List
Part 1. How to Backup iPad with iCloud
The most popular way to back up iPad is using iCloud. This cloud-based storage can back up the entire content and settings of your iPad. This method only requires an internet connection as the backup process is in progress. Also, iCloud offers a free 5GB storage for one account. You can purchase one of their plans to upgrade this storage, and you can back up more data. Please follow the steps below to back up your iPad with iCloud.
Step 1Please connect your iPad to a strong internet connection and open the Settings app. After that, please select the iCloud account or Apple ID name at the top of the main interface. Then, the account information will appear on the next screen, and you only need to tap the iCloud button.
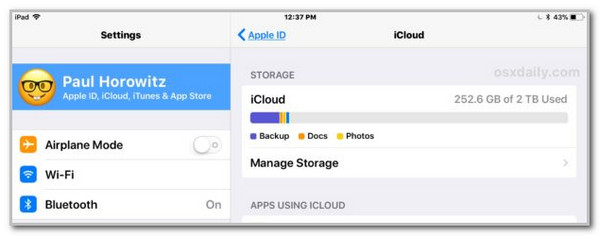
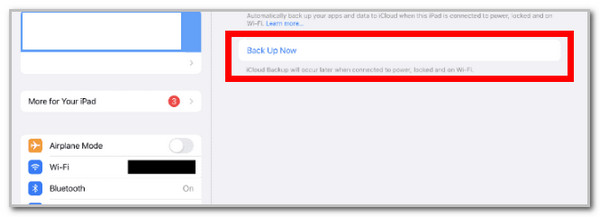
Step 2Tap the iCloud Backup button to see the two backup features of the iPad. Please toggle on the Back Up This iPad slider to enable an automatic backup for your iPad. If you want a manual backup, please tap the Back up Now button under it to start the back up process.
Part 2. How to Backup iPad to Computer with FoneLab iOS Data Backup & Restore
Besides iCloud, the iPad can also be backed up with a third-party tool using a computer. FoneLab iOS Data Backup & Restore is the best way. This tool is compatible with various models and versions of macOS and Windows. Unlike the previous method, this software does not require you to have an internet connection. It works offline!
FoneLab enables you to backup and restore iPhone/iPad/iPod without data loss.
- Backup and restore iOS data to your PC/Mac easily.
- Preview data in detail before you restore data from backups.
- Backup and restore iPhone, iPad and iPod touch data Selectively.
Additionally, it allows you to back up selective data from your iPad. How to backup iPad to computer? Use this tool by following the steps below.
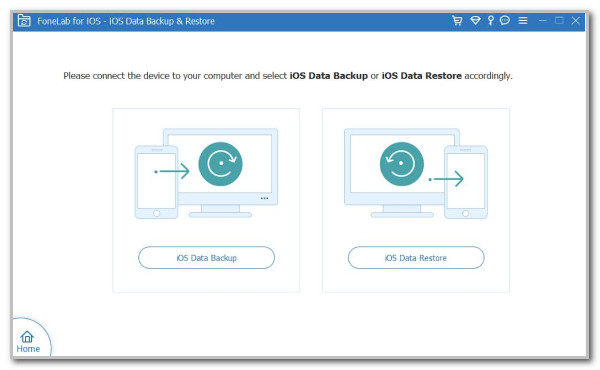
Step 1Go to the main website of Fonelab iOS Data Backup & Restore page. Please set up, install, and open the software on your computer to start the process. After that, select the iOS Data Backup & Restore tool on the right.

Step 2You will see the two main functions of the tool on the next interface. Please select the iOS Data Backup on the left side to see the features that you need for backing up your iPad data.
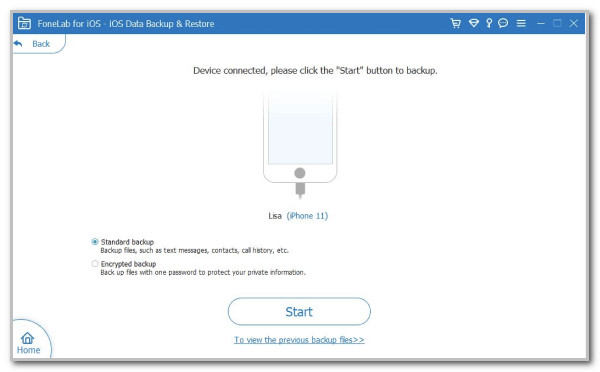
Step 3Plug your iPad into the computer where the software is installed. Please select the mode of backup you prefer afterward. Click the Start button at the bottom. Then, you need to choose the data you want to add to the backup process. Click the Next option at the bottom center of the screen and click the Backup button to start the backup process.
Part 3. How to Back Up iPad with Finder
Finder is a helpful tool on the latest versions and models of Mac. Besides storing and managing your data, it is also intended for backing up your iPad. It allows a local and encrypted backup for the mentioned Apple device. Please note that this tool has replaced iTunes in the newer versions of macOS. Create an iPad backup with Finder below.
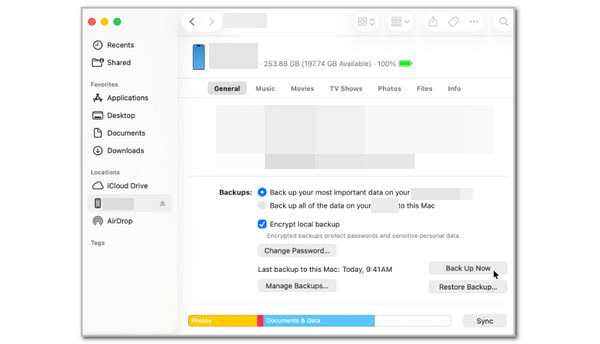
Step 1Open your Finder tool on your Mac. After that, please plug the iPad into the Mac utilizing a USB cable and select the iPad name at the top left as the start of the procedure. Then, please go to the Backups section of the tool and click the Backup Now button at the bottom right corner.
Step 2Finder will start to back up your iPad data, and you only need to wait for the process to be completed. After that, you will see the updated time and date of the backup made from the iPad.
Part 4. How to Back Up an iPad with iTunes
iTunes is another alternative tool that can back up your iPad. This procedure is very similar to the previous one. We recommend updating iTunes before backing up your iPad to avoid issues due to outdated versions. How to backup an iPad with iTunes? The steps are provided below.
Step 1Plug the iPad using a USB cable into a computer where iTunes is installed. After that, please select the iPad button at the top of the screen, and the iPad information will be displayed.

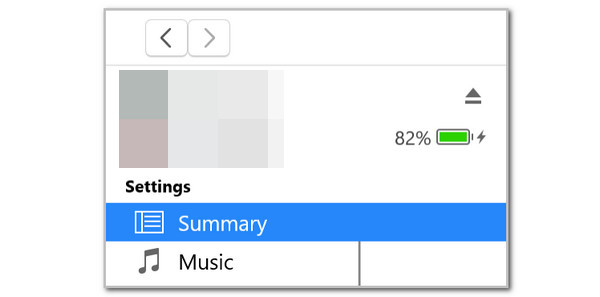
Step 2Go to the Settings section of iTunes and choose the Summary button on the left side that appears under the section. Then, please select the Back Up Now button from the Backups section of iTunes. The backup procedure will start immediately, and you will only need to wait patiently for the procedure to be completed. The latest backup for the iPad will appear on the iTunes interface.
Part 5. How to Backup iPad to External Hard Drive
Some individuals prefer not to use their iPad's storage and iCloud space. They like to use an external hard drive to back up their iPad. Please follow the steps below on how to backup iPad to external hard drive.
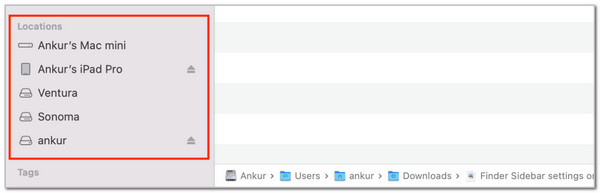
Step 1Please plug the iPad and the external hard drive into your Mac or Windows computer. After that, please locate the iPad section from the Mac Finder or Windows File Explorer and find the data you want to back up to an external hard drive. Please press the Ctrl + C keys for Windows or press Command + C keys for Mac to copy the files.
Step 2Now, please locate the external hard drive location on your computer and create a new folder for the backup. Please press the Ctrl + V keys for Windows or press Command + V keys for Mac to paste the files. Finally, please unplug both the external hard drive and the iPad from the computer upon completion of the process.
Part 6. FAQs about How to Backup iPad
Does an iPad need to be backed up?
You are not required to back up your iPad. On the other hand, it is necessary in case you accidentally delete your iPad data.
What does it mean if your iPad isn't backed up?
The internet connection might be slow if you use iCloud. You also need to check the available storage of the backup method you use for your iPad.
This article is all about how to back up an iPad. 5 ways to do it, including FoneLab iOS Data Backup & Restore, are posted. Please download the tool to have a smooth backup process. Do not lose access to your files. Back them up now from your iPad for their security!