- Part 1. How to Move iCloud Photos to an External Hard Drive with FoneTrans for iOS
- Part 2. How to Download iCloud Photos to an External Hard Drive on the iCloud Website
- Part 3. How to Transfer Photos from iCloud to an External Hard Drive on iCloud Windows
- Part 4. How to Transfer iCloud Photos to an External Hard Drive Using the Photos Program on Mac
- Part 5. FAQs about How to Transfer Photos from iCloud to an External Hard Drive
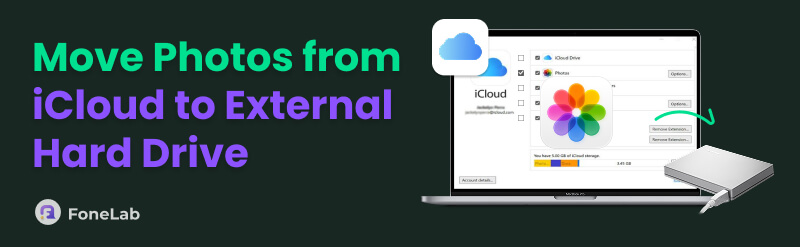
How to Move Photos from iCloud to External Hard Drive Easily
 Updated by
 iCloud is the most convenient cloud storage that can back up your data from your iPhone, iPad, and other Apple devices. It is the most recommended backup feature of Apple for its devices. You can restore or download these backups to bring them back to your Apple devices if they are accidentally deleted, damaged, or otherwise lost.
Photos are one of the data types that can be backed up. Can you transfer iCloud photos to an external hard drive? Definitely, yes! This procedure can be executed using third-party tools and the built-in programs on your computer. Uncover how to transfer iCloud photos to an external hard drive in 4 easy ways. You will discover them if you scroll down.

Guide List
- Part 1. How to Move iCloud Photos to an External Hard Drive with FoneTrans for iOS
- Part 2. How to Download iCloud Photos to an External Hard Drive on the iCloud Website
- Part 3. How to Transfer Photos from iCloud to an External Hard Drive on iCloud Windows
- Part 4. How to Transfer iCloud Photos to an External Hard Drive Using the Photos Program on Mac
- Part 5. FAQs about How to Transfer Photos from iCloud to an External Hard Drive
Part 1. How to Move iCloud Photos to an External Hard Drive with FoneTrans for iOS
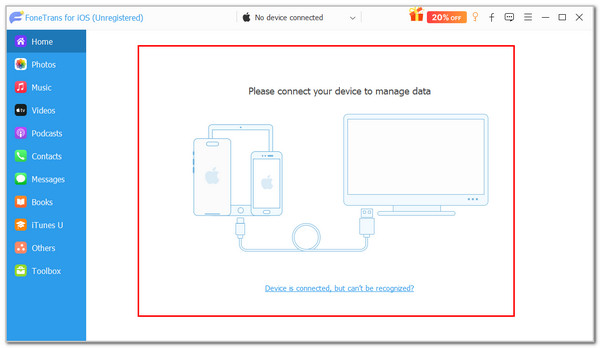
iCloud Photos can be stored on your iPhone. You can use FoneTrans for iOS to transfer the data from your iCloud to an external hard drive. This tool can also transfer data from an iPad, iPod Touch, and iTunes. This software permits you to manage the files, whether you're a beginner or a professional. The best thing about it is that it is available on Mac and Windows.
With FoneTrans for iOS, you will enjoy freedom to transfer your data from iPhone to computer. You can not only transfer iPhone text messages to computer, but also photos, videos and contacts can be moved to PC easily.
- Transfer photos, videos, contacts, WhatsApp, and more data with ease.
- Preview data before transferring.
- iPhone, iPad and iPod touch are available.
Besides photos, this tool can also transfer other data types. It includes videos, messages, contacts, documents, and more. Additionally, it will not erase your data from the iPhone after transferring it to an external hard drive. How to move iCloud photos to an external hard drive using this tool? The steps are available below.
Step 1Click the Free Download option on the official website of FoneTrans for iOS. After that, the downloading procedure will start. The tool's screen will be prompted afterward.

Step 2The tool will instruct you to plug the iPhone into the computer. You will see it on the right side of the screen. Get a USB cable and plug the iPhone into your computer using it. The iPhone name must be present in the tool's interface afterward.
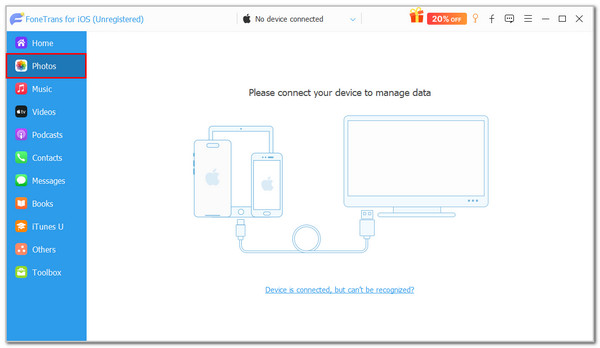
Step 3Now, click the Photos button on the left side of the screen. This action will show you the available photos on the screen. You will see the Cloud button if the pictures are from iCloud. Please select them and click the Computer button at the top. Choose an external hard drive afterward on your computer and click the Select Folder button to transfer the photos.
Part 2. How to Download iCloud Photos to an External Hard Drive on the iCloud Website
You can move the iCloud photos from your Apple devices to an external hard drive by downloading them from the service's website. This procedure only requires the associated Apple ID from the device. Please imitate the instructions below to perform the procedure.
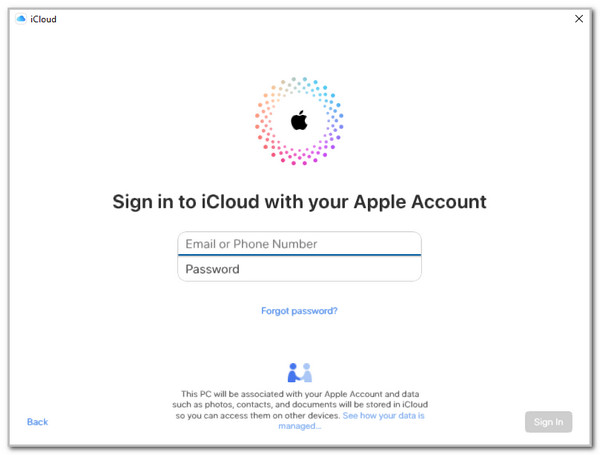
Step 1Visit the iCloud website and click the Sign In button. After that, enter the Apple ID account associated with the backup from your iCloud. Click the Arrow button to sign in. Complete the authentication procedure to continue.
Step 2The files and data types included in your iCloud account will appear. Click the Photos button, and the available images will appear. Select the photos and download them afterward. Locate the folder where the computer saves them. Then, right-click the files and choose the Cut button. Choose your desired external hard drive on your computer and press the Ctrl + V keys to paste the images.

Part 3. How to Transfer Photos from iCloud to an External Hard Drive on iCloud Windows
iCloud has a downloadable program for your Windows devices. You can have this program and download your photos through the associated Apple ID account from your Apple device. Then, you can move them to different external hard drives that your Windows has. Follow the steps below for the procedure.
Step 1Download iCloud for Windows and click the Get Started button at the bottom right. This action will show you the first screen.

Step 2Encode the Apple ID and passcode on the screen. Then, select the Sign In button to sign in to the account. Check the Photos button and click the Options button on the right. Click the iCloud Photos Library and Download New Photos and Videos to My PC buttons. Choose the Done button. Locate the iCloud Photos folder on your Windows and move the downloaded photos to your desired external hard drive afterward.
Part 4. How to Transfer iCloud Photos to an External Hard Drive Using the Photos Program on Mac
Mac can also be used to transfer your iCloud Photos to an external hard drive. This process is way quicker because iCloud is the built-in cloud storage feature for backing up and restoring Apple device data. The procedure will also download the iCloud Photos, and you can choose your desired destination path or external hard drive afterward. Please imitate the steps below as a reference.
Open the Photos program on your Mac. After that, please click the Photos button and select the Preferences button from the options. Later, click the iCloud tab at the top and check the iCloud Photos box. Click the Download Originals to This Mac button. The photos on your Mac will be saved in its album. You can move them to different external hard drives.

Part 5. FAQs about How to Transfer Photos from iCloud to an External Hard Drive
Why can't I move photos from Mac to an external hard drive?
First, you need to check the format of the external hard drive that will be used. If it is with NTFS, your Mac might not have an NTFS reader to scan it. You need to purchase one to fix this significant issue. Furthermore, you need to check the files. Ensure that they are in good condition and not corrupted or damaged.
How do I turn off iCloud Photos on my iPhone?
Open the Settings app on your iPhone, and the available customizations will appear. After that, tap the Apple ID account name at the top of the main interface. Go to the iCloud section and tap the Photos button. Finally, toggle off the Sync This iPhone or iCloud Photos slider, depending on your iPhone model and version. This action will turn off iCloud Photos on your iPhone.
All in all, the 4 proven and tested ways to transfer your iCloud photos to an external hard drive are tackled in this post. It includes Windows File Explorer, Mac Photos program, iCloud website, and FoneTrans for iOS. If you have more questions about the topic, let us know in the comment section below. Thank you!