- Unlock Apple ID
- Bypass iCloud Activation Lock
- Doulci iCloud Unlocking Tool
- Factory Unlock iPhone
- Bypass iPhone Passcode
- Reset iPhone Passcode
- Unlock Apple ID
- Unlock iPhone 8/8Plus
- iCloud Lock Removal
- iCloud Unlock Deluxe
- iPhone Lock Screen
- Unlock iPad
- Unlock iPhone SE
- Unlock Tmobile iPhone
- Remove Apple ID Password
How to Fix Verification Failed Apple ID in 7 Quick Practices
 Updated by
 The Apple ID is the most critical account on your iPhone. It is commonly used for security purposes, like authenticating multiple operations on your iPhone. However, the Apple ID Verification Failed error message will make it inconvenient. But why? We got you! This post will explain why that issue happens, and the 7 easy ways to fix it are also posted. Please continue reading the post to discover them.

Guide List
Part 1. What Does Verification Failed Mean
The Verification Failed error message means that the Apple ID verification cannot be completed. In simple terms, the account and Apple device cannot successfully communicate with the central server of the Apple system. There are various reasons why it happens. The most common issue why it happens is an internet problem. You can also check the Apple server because it is sometimes down. Also, you can double-check the Apple ID password entered. A wrong one can cause the error message to pop up.
Part 2. How to Fix Verification Failed Apple ID
The common reasons are posted from the previous section. In this section, we will show you the 7 leading methods to fix it. Check them below.
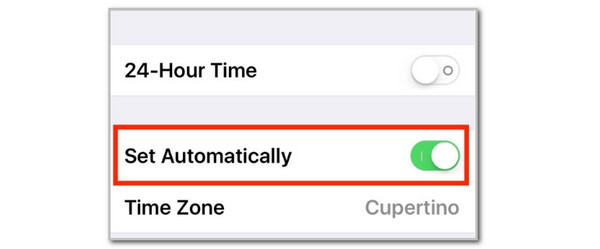
1. Correct Date & Time Settings
Apple requires you to have the correct time and date settings on your iPhone. If not, there are countless operations you cannot perform, including verifying the Apple ID. Correct the iPhone time and settings using the steps below.
Open Settings and tap General. After that, select Date & Time from the list. Turn off Set Automatically and tap Time Zone. Enter your location and change the time zone afterward.
2. Restart Device
Restart iPhone to reset the apps and features' performance. This way, you will eliminate the iPhone bugs and issues that happen. The steps below are for this process.
Press and hold Volume Down and Power until the Power-off slider appears. You can also press and hold Power or Top. Then, toggle off the slider to restart the iPhone.
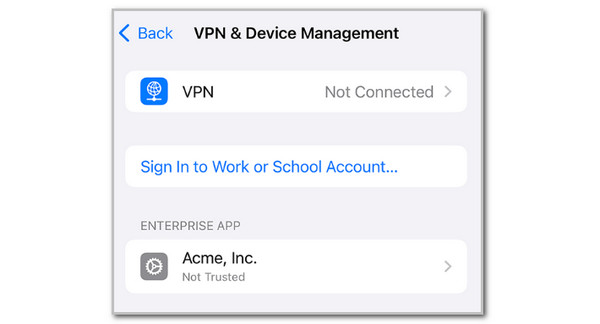
3. Disable VPN
A VPN creates a secure connection for your iPhone and the internet. It is convenient for some, but it causes the Apple ID to fail verification. Turn it off if that’s the case with the steps below.
Open Settings. Then, tap the VPN & Device Management button. Then, toggle off the VPN Connection slider to turn it off.
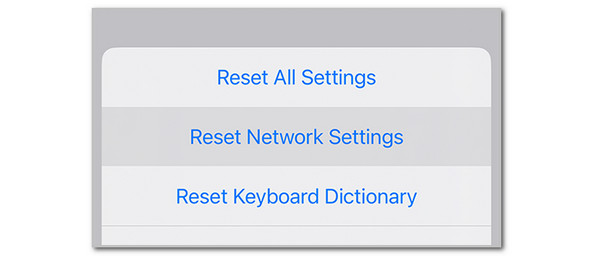
4. Network Settings
The network settings on your iPhone affect how you can control your internet connection. A wrong one can prevent the iPhone from working when connected to the internet. In this case, it can cause the Verification Failed issue to happen because it requires an internet connection. Reset the network settings on your iPhone with the steps below.
Tap Settings and select General. Tap Transfer or Reset iPhone and choose Reset Network Settings. Confirm the action afterward.
5. Update/Restore Device with iTunes/Finder
You can also update iOS or restore it to fix the Verification Failed issue on your Apple ID. This can be done using iTunes and Finder. These procedures require a USB connection. Follow the steps below.
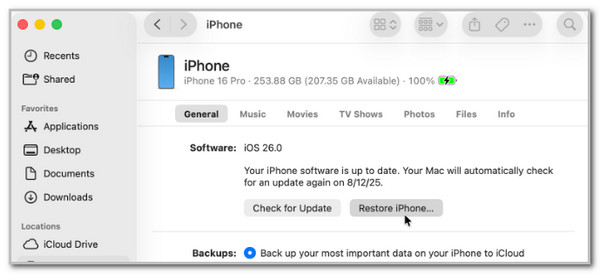
Open Finder or iTunes. Plug the iPhone into the computer and click the iPhone button. Select Summary or General. Then, click Check for Updates or Restore iPhone. Authenticate the process to complete them.
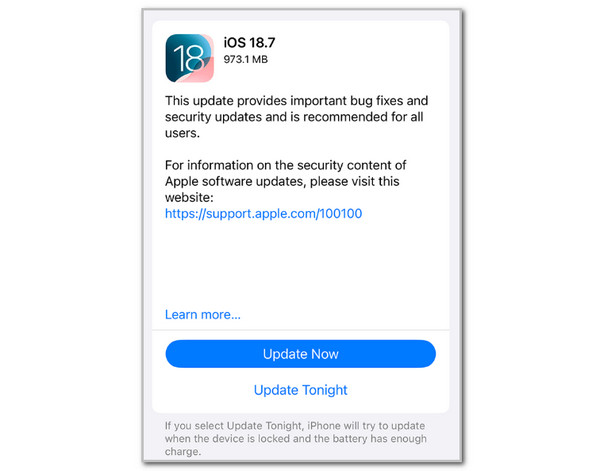
Alternatively, you can also update the iPhone iOS version from its Settings. Open the app and tap General. Select Software Version. Then, wait for the available version and tap Update Now.
6. Factory Reset Device
Factory resetting the iPhone will delete all the stored settings and content. Due to this, it removes all the issues from the iPhone, which can be the method to fix the Verification Failed error message. You can restore an iCloud backup afterward. The steps are provided below.
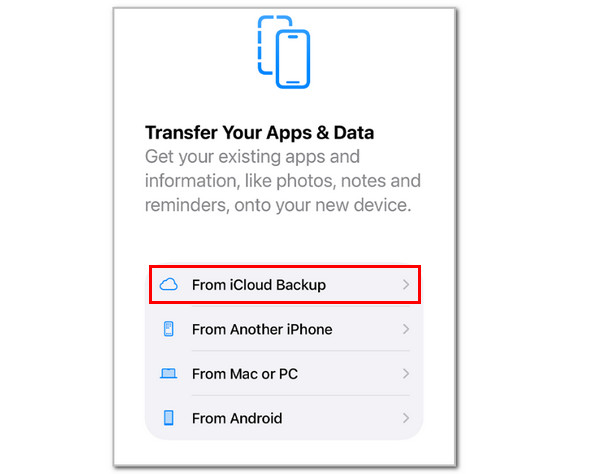
Select Settings and tap General. Then, tap Transfer or Reset iPhone. Select Erase All Content and Settings. Authenticate the process and select Continue. Set up the iPhone again and tap From iCloud Backup from the Transfer Your Apps & Data screen. Select a backup after signing in and follow the on-screen instructions to complete it.
7. FoneLab Tools
FoneLab has two tools to help you fix an Apple ID that fails to be verified. FoneLab iOS System Recovery and FoneLab iOS Unlocker. Their full processes and functions will be known below.
1. FoneLab iOS System Recovery
FoneLab iOS System Recovery can be used to fix the Apple ID verification failed but password is correct issue when the iPhone is experiencing software issues affecting it. This tool can be used to fix the said issues using the Standard Mode and Advanced Mode it supports. For better knowledge about these methods, follow the steps below for the best results.
FoneLab enables you to fix iPhone/iPad/iPod from DFU mode, recovery mode, Apple logo, headphone mode, etc. to normal state without data loss.
- Fix disabled iOS system problems.
- Extract data from disabled iOS devices without data loss.
- It is safe and easy to use.
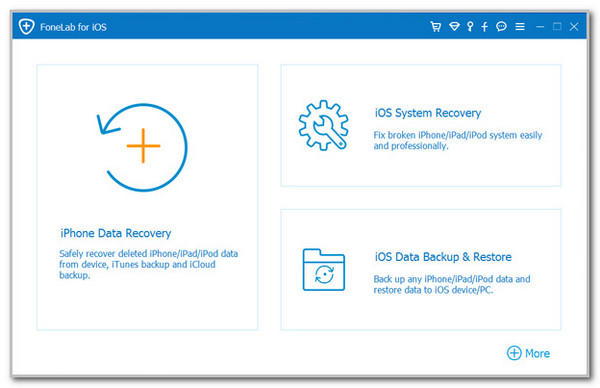
Step 1Download the tool from its website. Then, set up, install, and open it on your computer. Then, click the iOS System Recovery button from the list.
Step 2Go to the System Repair section. Click the Start Now button to proceed.
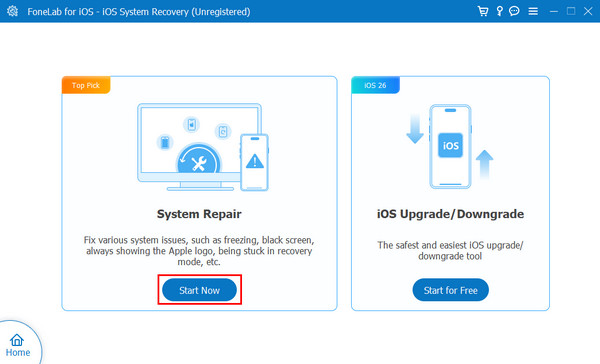
Step 3Please plug the iPhone into the computer. Then, choose between the Standard Mode and the Advanced Mode. It is recommended to see their functions from the interface. After that, click the Confirm option to start fixing the iPhone issue.

2. FoneLab iOS Unlocker
On the other hand, FoneLab iOS Unlocker will help you remove the Apple ID from your iPhone. It can be done without the account password. You can simply back up your iPhone data before the process because it will delete all its content and data. Don’t worry. The process is safe for your iPhone and other features. Follow the steps below to discover how to use this tool.
FoneLab Helps you unlock iPhone screen, Removes Apple ID or its password, Remove screen time or restriction passcode in seconds.
- Helps you unlock iPhone screen.
- Removes Apple ID or its password.
- Remove screen time or restriction passcode in seconds.
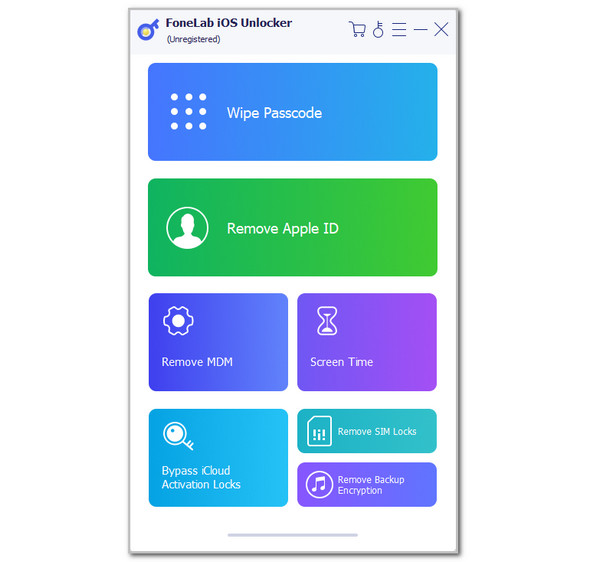
Step 1Download and open the tool on your computer. Then, select the Remove Apple ID button from the first screen.
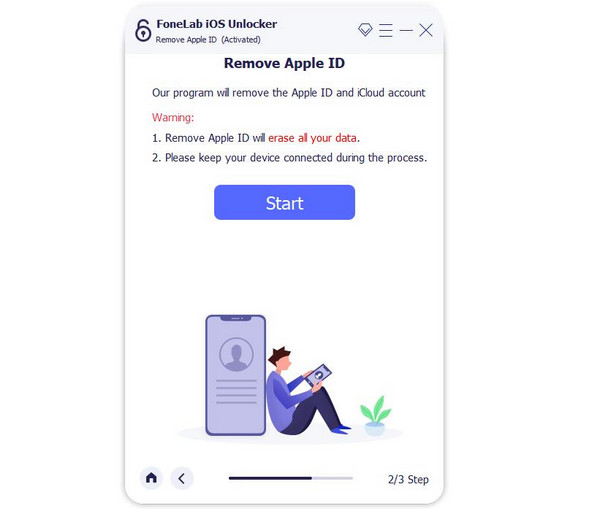
Step 2Plug the iPhone into the computer. Then, click the Start option on the screen to start removing the iPhone Apple ID.
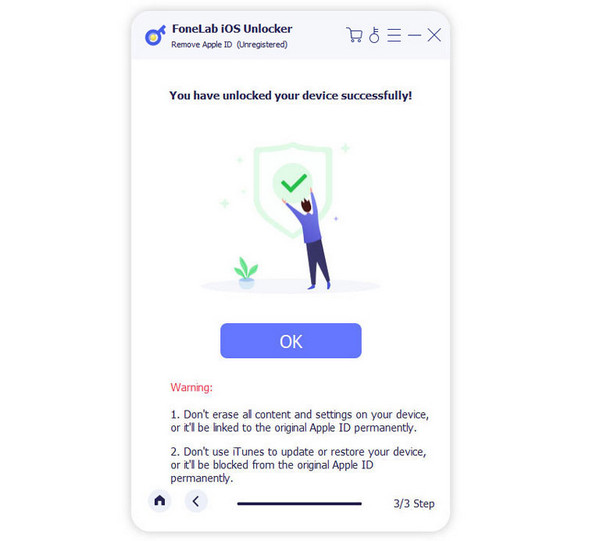
Step 3Wait for the Apple ID removal to be completed. Then, click the OK button as the final step.
Part 3. FAQs about Apple ID Verification Failed
How long does Apple ID verification take?
The verification of the Apple ID will last, depending on the method used. Commonly, it will only last for a few minutes or hours. On the other hand, asking for Apple support will last a day or even a week.
Why do I have to wait 24 hours for my Apple ID?
Apple undergoes multiple security checks and features before it can verify your Apple ID. This is the primary reason why you need to wait for 24 hours or more.
This article explains why does it say verification failed on Apple ID and how to fix it. The beginner-friendly methods are posted for your reference. The FoneLab tools are also presented to help you resolve the issue, which are FoneLab iOS System Recovery and FoneLab iOS Unlocker. We suggest you download these tools to explore them!