- Part 1. Transfer Photos from Android to Android by Bluetooth
- Part 2. Transfer Photos from Android to Android Using Quick Share
- Part 3. Transfer Photos from Android to Android via USB Cable
- Part 4. Transfer Photos from Android to Android Using Google Photos
- Part 5. Transfer Photos from Android to Android through Google Drive
- Part 6. Transfer Photos from Android to Android with FoneLab HyperTrans
- Part 7. Transfer Photos from Android to Android with Samsung Smart Switch
- Part 8. FAQs about How to Transfer Photos from Android to Android
Transfer Data From iPhone, Android, iOS, Computer to Anywhere without Any Loss.
- Transfer Data from One Micro SD Card to Another Android
- How to Transfer Pictures from One Phone to Another
- How to Transfer Photos from Old LG Phone to Computer
- How to Transfer Photos from an Old Samsung to Another Samsung
- Transfer Contacts from Samsung to iPhone
- Transfer Data from LG to Samsung
- Transfer Data from Old Tablet to New
- Transfer Files from Android to Android
- Transfer iCloud Photos to Android
- Transfer iPhone Notes to Android
- Transfer iTunes Music to Android
Transfer Photos from Android to Android with An Easy Guide
 Updated by
 Gaining an understanding of how to transfer pictures from Android to Android is useful in many situations. Whether you want to store your old Android photos on your new device, need to share the image files with a friend, or are simply backing them up to keep as memories, the thought of transferring can feel bothersome. But here's the good news! Transferring your photos doesn't have to be complex.
Modern technology has provided us with efficient yet convenient and reliable methods to handle your image files. So, transferring from your Android to another will never be a problem, especially since a wide range of transfer strategies are available to help you. It doesn’t matter if you prefer a cabled or wireless transfer because the following parts will have your back regardless. Therefore, let this simple guide walk you through the details and directions for each transfer method below.

Guide List
- Part 1. Transfer Photos from Android to Android by Bluetooth
- Part 2. Transfer Photos from Android to Android Using Quick Share
- Part 3. Transfer Photos from Android to Android via USB Cable
- Part 4. Transfer Photos from Android to Android Using Google Photos
- Part 5. Transfer Photos from Android to Android through Google Drive
- Part 6. Transfer Photos from Android to Android with FoneLab HyperTrans
- Part 7. Transfer Photos from Android to Android with Samsung Smart Switch
- Part 8. FAQs about How to Transfer Photos from Android to Android
Part 1. Transfer Photos from Android to Android by Bluetooth
When transferring between Android devices, Bluetooth is the infamous method you can initially try. Since it is built into every Android device, it requires no internet connection, making it many users’ first choice as a mode of transfer for basic data types. After all, Bluetooth has been a reliable method since then. However, it’s also not a problem if you turn to other transfer options, as this one’s process is known to be slow, especially for large files. Thus, your patience will be necessary.
Obey the convenient steps below to learn how to transfer photos from one phone to another Android by Bluetooth:
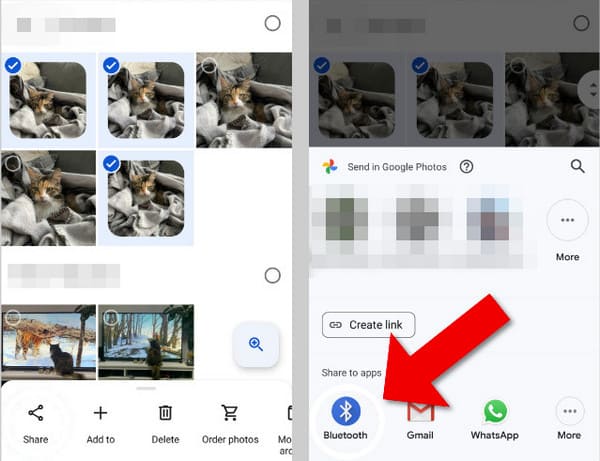
Step 1First, ensure both your Android devices’ Bluetooth features are enabled and are near each other. Then, on the sender device, access your Gallery app and mark the images you will transfer.
Step 2Once selected, a Share option will appear below, so choose it and select Bluetooth as the mode of transfer. The Bluetooth devices nearby will then appear, including your other Android, so tap it and let the transfer finish between your devices.
Part 2. Transfer Photos from Android to Android Using Quick Share
If Bluetooth represents the past of Android file sharing, you can consider Quick Share as the present one. It is provided by many of the top phone brands to make file sharing between Android devices incredibly easy and fast. Thus, it uses a direct Wi-Fi connection to move your pictures, which means you can transfer large batches of photos within only a few moments. The process is straightforward, as your sender device only needs to detect your receiver.
Heed the simplified procedure below to transfer photos from Android to Android using Quick Share:
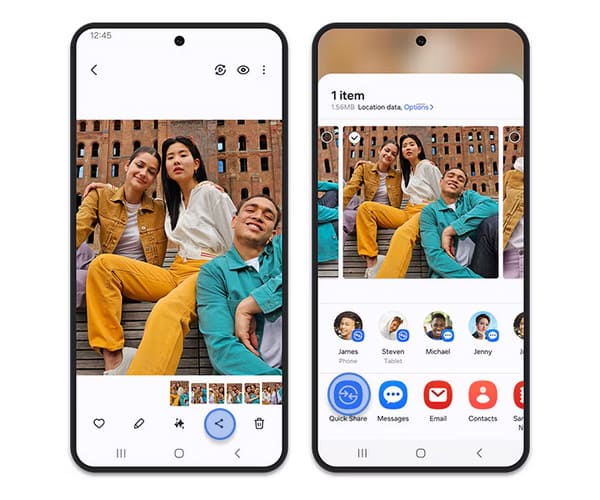
Step 1Bluetooth is also necessary in this method, so turn it on, along with the Quick Share feature, in both your Android devices’ Notification Panel. Afterward, go to your sender device.
Step 2Enter your Gallery and from there, select the pictures you wish to transfer. Then, tap Share > Quick Share. Your receiver Android’s name will be under Share to devices nearby, so select it, and the files will quickly be transferred.
Part 3. Transfer Photos from Android to Android via USB Cable
Another reliable transfer strategy is a USB cable. While it might seem old-fashioned compared to wireless options, this approach offers significant advantages, such as being offline-based and giving you more control through a computer. Meanwhile, although it’s your first time using this method, it won’t be complex to understand since it only involves copying and pasting the photos you intend to transfer. Besides, it can also be used to transfer photos from Android to computer afterward.
Follow the trouble-free guide below to transfer pictures from Android to Android via a USB cable:
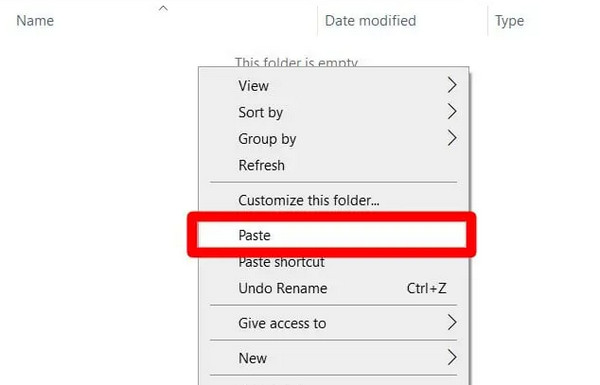
Step 1Plug the Android devices into the computer with your USB cables. Afterward, establish the connection by choosing Allow or a similar option on both devices’ screens.
Step 2Next, view your sender Android data on the computer’s File Explorer to find and select the photos you intend to transfer. Once selected, simply right-click and pick Copy. Then, proceed to your receiver Android’s storage and right-click the Paste button to move the items to your chosen folder.
Part 4. Transfer Photos from Android to Android Using Google Photos
Meanwhile, Google Photos is the perfect solution if you want your photos to be synced. If you notice, this app is already pre-installed on your device; so, you must only enable the backup feature to view your photos on the receiving Android device as well. Unlike other backup functions, this one automatically comes with syncing. So, once activated, all the images that will be added to your old Android later will also appear on the new one. It will be a continuous transfer procedure as long as the feature is enabled.
Use the uncomplicated directions below to grasp how to transfer pictures from Android to Android using Google Photos:
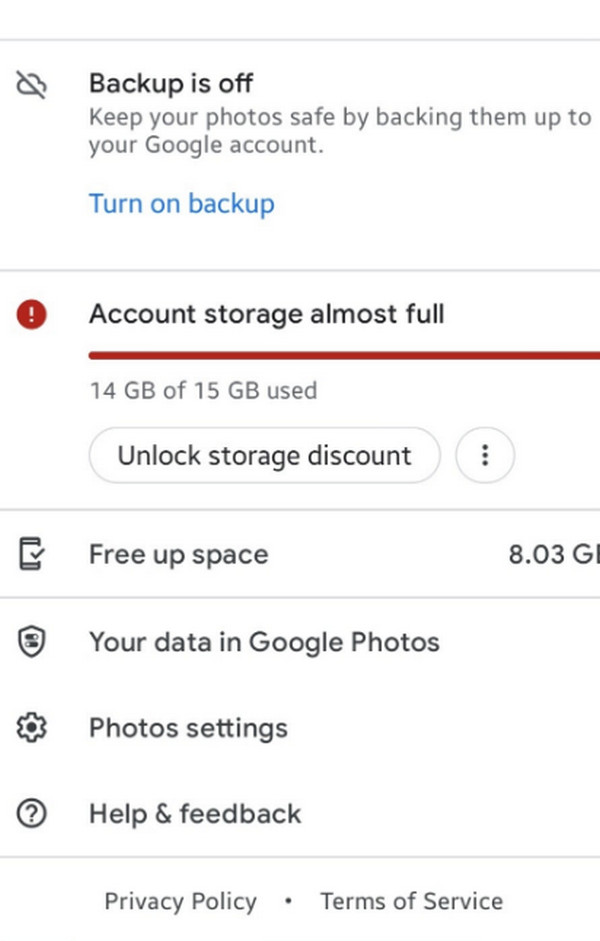
Step 1Launch Google Photos on your sender and receiver Android devices. Then, on the sender device, proceed to the app interface’s profile icon to view various management options.
Step 2After that, tap the Turn on backup option under More from Photos. You will then be greeted by prompts, so manage them until you successfully enable the feature. Once done, simply log in to the same Google Photos account on your receiver device to view your photo library.
Part 5. Transfer Photos from Android to Android through Google Drive
Other than the previous feature, Google offers a cloud storage called Google Drive, which you can use to transfer photos. Unlike the others, this technique won’t directly transfer your data to your Android storage. The transfer will be done by uploading the images to the platform first, then downloading them to the receiving device. You must ensure that to use the same Google Drive account on both your Android phones and tablets.
Follow the straightforward task below to transfer photos from Android to Android through Google Drive:
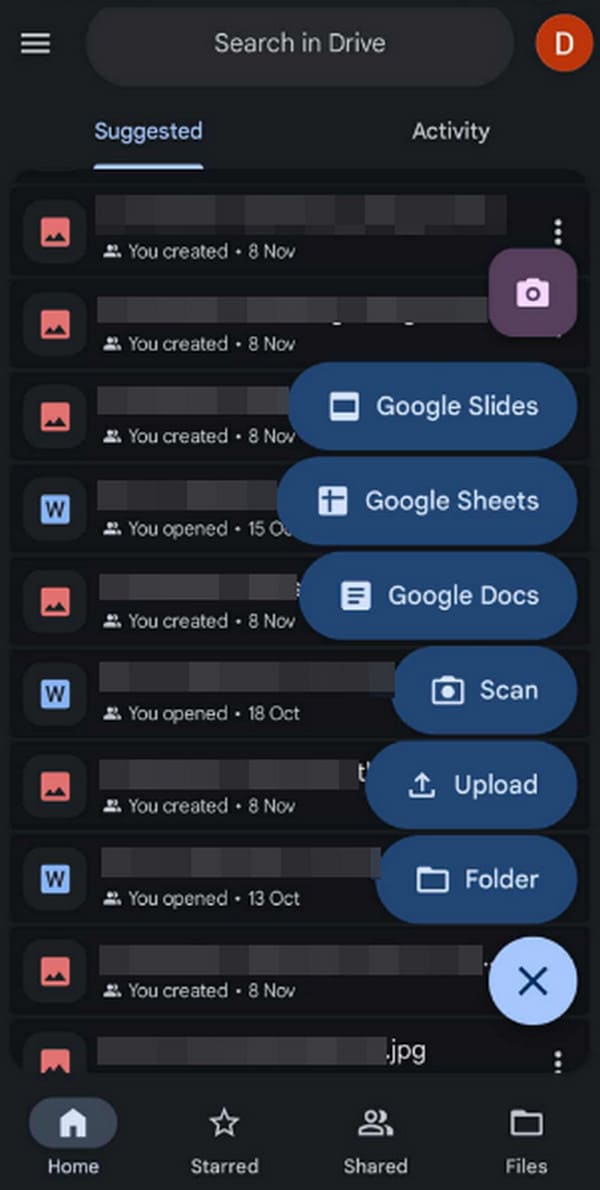
Step 1Start on the sender Android’s Google Drive app and immediately tap the + symbol on the lower part. When options appear, pick Upload and choose your desired images to upload them.
Step 2Once the photos are in your Drive, move on to your receiver device and ensure you are logged into the same account. The items you uploaded will be there, so download them accordingly.
Part 6. Transfer Photos from Android to Android with FoneLab HyperTrans
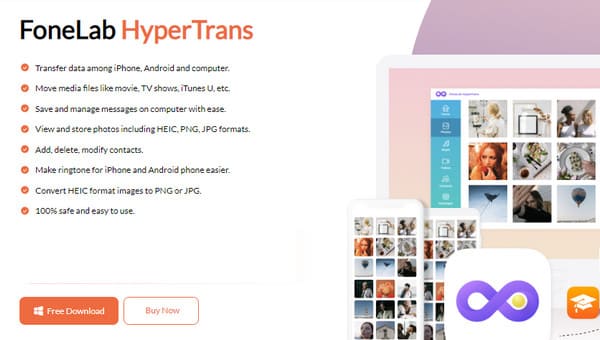
Would you prefer a more convenient approach that also offers more control of your data? If so, FoneLab HyperTrans will be the perfect way to go. It is an acclaimed transfer tool that can be installed on computers. Once your devices are linked to it, viewing and finding the photos you desire to transfer will be effortless since the program’s interface automatically organizes them by data type. You can also expect a fast speed and efficient performance because, unlike the others, this transfer tool is offline-based, running at its own pace without relying on the internet.
Transfer Data From iPhone, Android, iOS, Computer to Anywhere without Any Loss.
- Move Files between iPhone, iPad, iPod touch and Android.
- Import Files from iOS to iOS or from Android to Android.
- Move Files from iPhone/iPad/iPod/Android to Computer.
- Save Files from Computer to iPhone/iPad/iPod/Android.
Understand the user-oriented steps below as a sample of how to transfer photos from Android to Android with FoneLab HyperTrans:
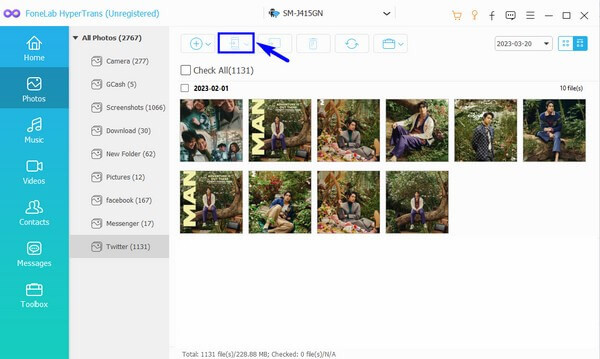
Step 1Select Free Download when you visit FoneLab HyperTrans’ page, and when the installer is downloaded, open it to install the tool. Next, start the program and attach your Android devices through USB cables. When ready, tick the tab above and pick your sender Android.
Step 2You can then view the device’s data by clicking on the Photos selection in the left column. Then, from the appearing image files, mark the ones you plan to transfer. You can transfer them when you’re ready by hitting the mobile phone symbol above and choosing your receiving Android.
Part 7. Transfer Photos from Android to Android with Samsung Smart Switch
What if you’re transferring photos from an old to a new Samsung device? In this case, we would recommend Samsung Smart Switch, as it is the brand’s official service for those who are switching from or to Samsung. But if you’re using a different device brand, no worries, because others also offer a similar service. For instance, OPPO and realme have Clone Phone, vivo has EasyShare, and Xiaomi, Redmi, and POCO have Mi Mover or the Xiaomi Share app.
Mimic the easy instructions below to determine how to use Samsung Smart Switch to transfer pictures from Android to Android:
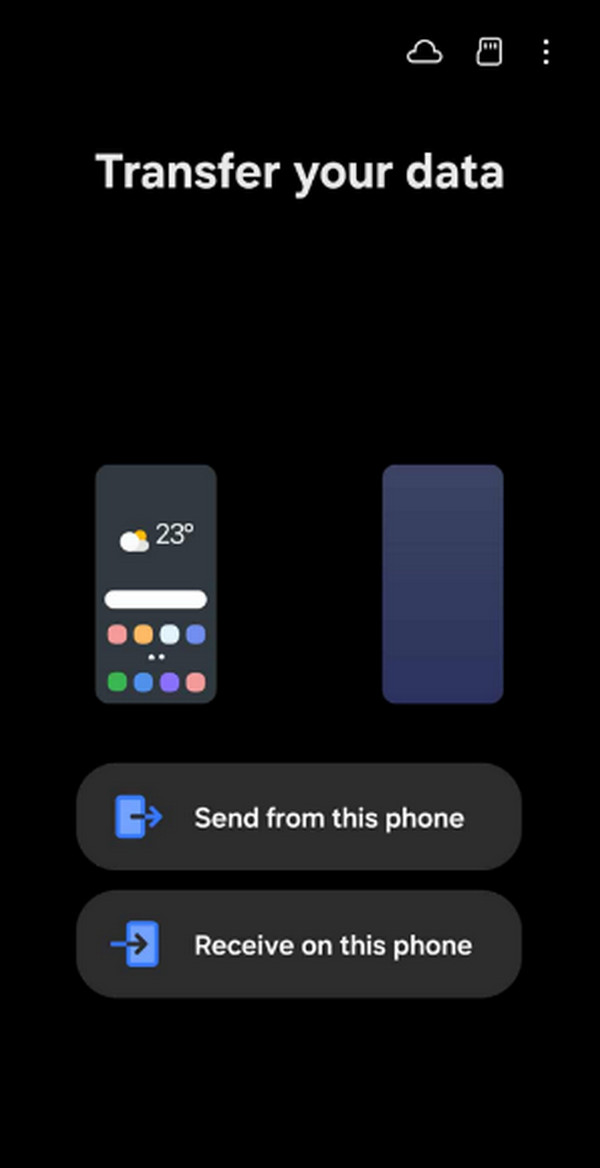
Step 1Smart Switch is pre-installed on Samsung, so find and launch it on both your devices. Next, on your sender Android, tap Send from this phone > Wireless.
Step 2Meanwhile, tap Receive on this phone > Galaxy/Android > Wireless on the receiver. Once ready, follow along the prompts accordingly to transfer your images without a problem.
Part 8. FAQs about How to Transfer Photos from Android to Android
Can I transfer all my photos at once without including other data?
Yes, you can. Some methods may only allow a few photos at once since they are in different photo albums, but the other transfer strategies, like FoneLab HyperTrans, can help since all your image files will immediately be categorized in one section.
Does transferring photos require the internet?
Some online-based methods, like Google Photos, do, but many don’t. It includes Bluetooth, FoneLab HyperTrans, and a USB cable.
You will no longer have trouble enjoying your photos on different Android devices once you master the methods above. Hence, learn to transfer with the best solutions, like FoneLab HyperTrans. Install it now!