- Part 1. How to Transfer Photos from iPhone to External Hard Drive with FoneTrans for iOS
- Part 2. Transfer Photos from iPhone to External Hard Drive via A USB Cable
- Part 3. How to Transfer iPhone Photos to External Hard Drive through iCloud
- Part 4. FAQs about How to Transfer Photos from iPhone to External Drive
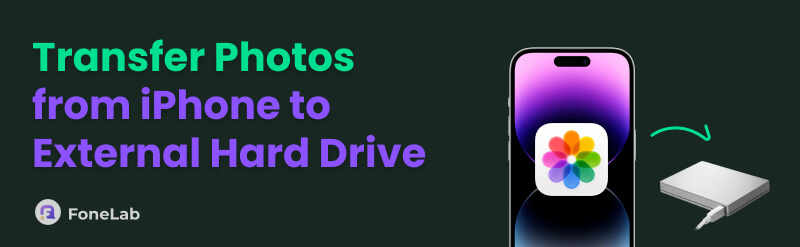
Transfer Photos from iPhone to External Hard Drive Smoothly
 Updated by
 Greetings! Please let me know how to move photos from iPhone to external hard drive. I want to back up the pictures on my device so I won't have to worry about deleting them later due to a lack of storage space. I want to ensure they will be in a safe place; thus, I would appreciate any suggestions for transferring iPhone photos to my external hard drive. Thank you in advance!
As you know, iPhones don't support SD cards like Androids do, so even if yours offers ample storage, it will always have space limitations, especially if you often take photos, videos, or download data. Fortunately, despite the device's inability to accept SD cards, transferring your photos to an external hard drive to back them up and ensure their safety is still possible. If you haven't yet tried such a method before, wonder no more because the following sections contain the best transfer strategies for your iPhone's image files.

Guide List
- Part 1. How to Transfer Photos from iPhone to External Hard Drive with FoneTrans for iOS
- Part 2. Transfer Photos from iPhone to External Hard Drive via A USB Cable
- Part 3. How to Transfer iPhone Photos to External Hard Drive through iCloud
- Part 4. FAQs about How to Transfer Photos from iPhone to External Drive
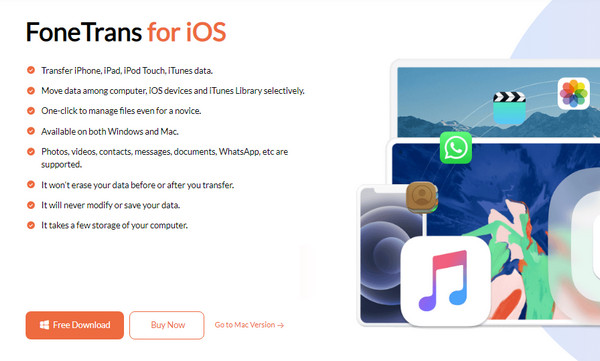
Part 1. How to Transfer Photos from iPhone to External Hard Drive with FoneTrans for iOS
FoneTrans for iOS is among the frequent recommendations for data transfers on iOS devices. Hence, it is the perfect program to help you get your iPhone photos into your chosen external hard drive. It supports various iPhone models and iOS versions, so compatibility won't be an issue, especially since you can install the tool on Mac and Windows. You can also ensure the safety of your data since the feature won't erase any of your data before or after the transfer.
Another advantage you can enjoy with FoneTrans for iOS is its ability to support other data types besides photos. Yes, you read that correctly. This tool can also transfer messages, documents, videos, contacts, WhatsApp, and more between your iOS and iPadOS devices and computers. So, it won't be a problem if you'd also like to transfer them later. After all, the program only takes up a few storage spaces on your computer.
With FoneTrans for iOS, you will enjoy freedom to transfer your data from iPhone to computer. You can not only transfer iPhone text messages to computer, but also photos, videos and contacts can be moved to PC easily.
- Transfer photos, videos, contacts, WhatsApp, and more data with ease.
- Preview data before transferring.
- iPhone, iPad and iPod touch are available.
See the simplified procedure below as a model to transfer iPhone photos to external hard drive with FoneTrans for iOS:
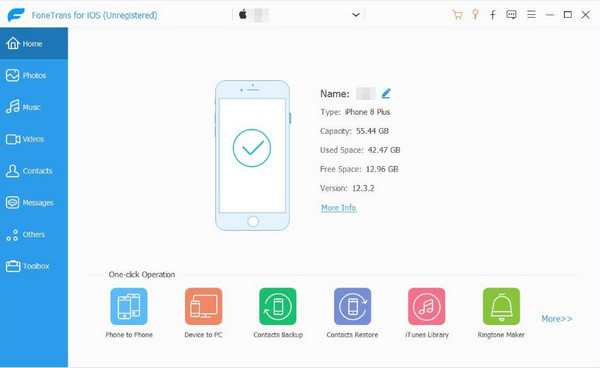
Step 1Navigate your preferred browser to FoneTrans for iOS' official site, and you'll quickly find the Free Download selection. Once you click it, the installer will be in your Downloads folder in seconds. So, initialize it afterward to prompt the installation, then set up its options. You may expect the process to be quick, showing the Start button. Hit it to open the transfer tool.
Step 2The key interface will instantly prompt you to link your iPhone, so use your Lightning cable once it launches. You must also ensure you connect the external hard drive to which you plan to transfer your photos to your computer. The screen will automatically display your iPhone details once the program detects it. Choose the Photos tab in the leftmost column afterward.
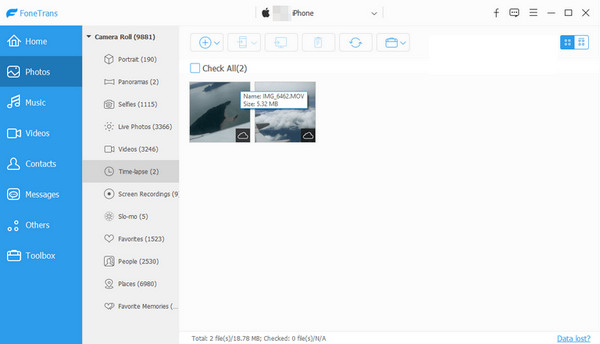
Step 3The tool will categorize your photos in this section, allowing you to locate the ones you wish to transfer quickly. So, select them, and once done, tick the tab above with a computer symbol. When a window appears, click the external hard drive and choose your desired destination folder. All the image files you have selected will then transfer within a few moments.
Part 2. Transfer Photos from iPhone to External Hard Drive via A USB Cable
Meanwhile, a USB cable can also transfer your iPhone photos to an external hard drive. As you may know, people use USB cables to connect various devices to their computers, such as mobile phones, external drives, cameras, printers, and more. If you link your iPhone and the chosen external hard drive through it, transferring your device photos is possible.
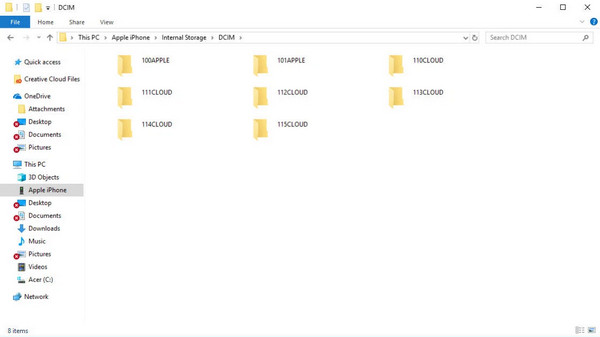
To manage a seamless transfer, you must navigate only the relevant program on your computer, File Explorer. Like the first method, the procedure is easy and quick to complete, although the speed may depend on how much data you will transfer. Also, unlike the tool above, this method won't categorize your files immediately, so you must find your photos manually.
Go along with the worry-free steps below to determine how to move iPhone photos to external hard drive via a USB cable:
Step 1First, attach your external hard drive to the computer, followed by the iPhone with a USB or Lightning cable. If prompted, hit Trust on your device screen to let the computer recognize it.
Step 2Once detected, access your iPhone data through the computer to find and select the images you wish to transfer. Copy them by right-clicking and selecting Copy. Afterward, navigate to your external hard drive and choose a destination folder. Finally, right-click and pick Paste to transfer the photos.
Part 3. How to Transfer iPhone Photos to External Hard Drive through iCloud
Another efficient way to move your iPhone photos to your external hard drive is iCloud. If you have synced or uploaded your device's image files to this Apple service, downloading and saving them to the drive will be effortless. The key is to access your iCloud account using your computer and connect the external hard drive to which you intend to save the photos.
Like the strategies above, you can expect a stress-free process since iCloud's website offers a user-oriented design, allowing users to understand its functions without a problem. However, you must ensure that you link your computer to a secure internet connection, as the procedure requires a stable internet connection to download the photos smoothly.
Mirror the convenient instructions below to transfer photos from iPhone to external hard drive using PC through iCloud:
Step 1Open a browser to access the iCloud website, then enter your account credentials when prompted. When iCloud services appear on the Home screen, go to the Photos section to view your iPhone images.
Step 2Mark all the pictures you wish to transfer before clicking the Download option to save them on your computer. After that, copy them and connect your external hard drive. Once linked, access the drive and open your preferred destination folder before successfully pasting them to transfer the photos.

Part 4. FAQs about How to Transfer Photos from iPhone to External Drive
Can I move photos from iPhone to external hard drive without the internet?
Yes, you can. Transferring images from your iPhone to an external hard drive doesn't require the internet unless you use the iCloud transfer method in Part 3.
Why is my iPhone not showing up on the computer?
It must be because the computer hasn't recognized it yet. Hence, ensure you choose Trust when it appears on your iPhone after connecting. This way, the device will show up on your computer.
Learning how to transfer your iPhone images to an external hard drive is advantageous, as it allows you to back up and keep the files safe, even if you delete them from the device later. Therefore, don't hesitate to utilize the strategies above, especially FoneTrans for iOS, as it will make all your iOS transfers easier and more efficient.