Recover the lost/deleted iPhone data including photos, contacts, videos, files, call log and more data from your SD card or device.
One Click to Root Your Android Devices - Ultimate Guide
 Updated by Boey Wong / Dec 24, 2020 09:20
When you are using your Android device, you may fall in love with its convenient functions and operating system. However, there are many potential functions that you may do not know. You need to get the super user access to experience this function.

For example,
If you want to download some new apps on your Android devices or say goodbye to the ads in your apps, you need to acquire the highest authority for a better experience.

Guide List
1. The Definition of Rooting
Root is a familiar word in our life and almost everyone knows that after rooting the phone, tablet or other Android devices, people will get more useful functions than those devices without rooting. So, what is rooting?
Generally speaking,
Rooting is the process of gaining the ultimate authority and permission on your Android phone, tablet and other Android devices. Here for a better understanding, we quote the word from Wikipedia, rooting is the process of allowing users of smart phones, tablets and other devices running the Android mobile system to attain privileged control over various Android subsystems.
2. Top 5 reasons to root your Android devices
- Easily get the hidden functions and features on your Android devices;
- Download more useful apps for free;
- Remove the ads on your apps with ease;
- Upgrade to the latest Android version with a fast speed;
- The running speed of the Android device will be increased.
3. The pre-work for rooting Android device
- Backup Android data to a safe place.
- Make sure the Android device has been full charged.
- Download a useful third-party rooting program.
4. The reliable rooting programs for your information
You need to get the most reliable rooting program to root your Android device safely and easily.
Here we'd like to recommend 3 reliable and safe programs to choose. All of them provide the one-click rooting service and safe guarantee. They are: Kinggo Root, iRoot, Root Genius. Choose the one to root your Android device according to your needs.
5. The Guide to root your Android device on Windows 11/10/8/7
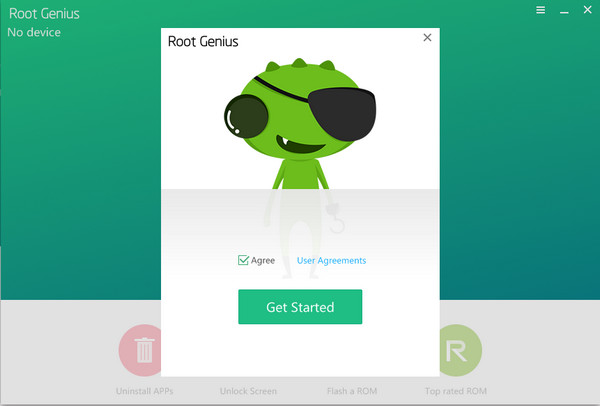
Taking Root Genius as an example, we will introduce the detailed steps to root your Android phone.
Step 1Download the rooting software from the official website and install it on your computer.
Step 2Connect your Android device to the computer. The rooting program will detect your Android device automatically.
Step 3If your Android device needs to install the driver, please wait for a minute and do not touch the USB cable during this installing procession.
Step 4After installing the driver, click Root it on the following interface and the rooting process will begin.
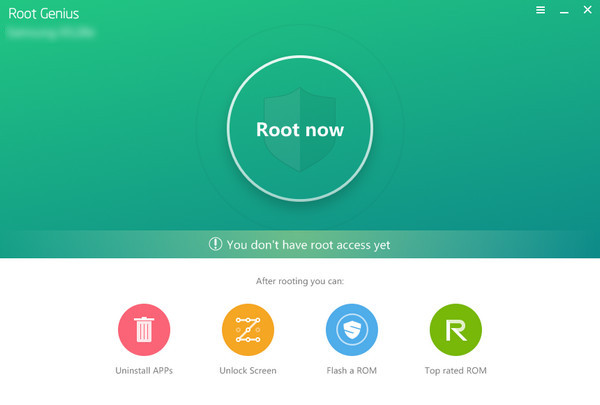
Step 5Your Android devices will be rooted after a few minutes.
6. Root Android devices on Mac
On the current market, there are few reliable rooting programs for people to choose. So, we recommend you and all Mac users to root your Android devices on Windows computer and then recover your Android data on your Mac.
Get the way to root LG devices on Windows computer here.
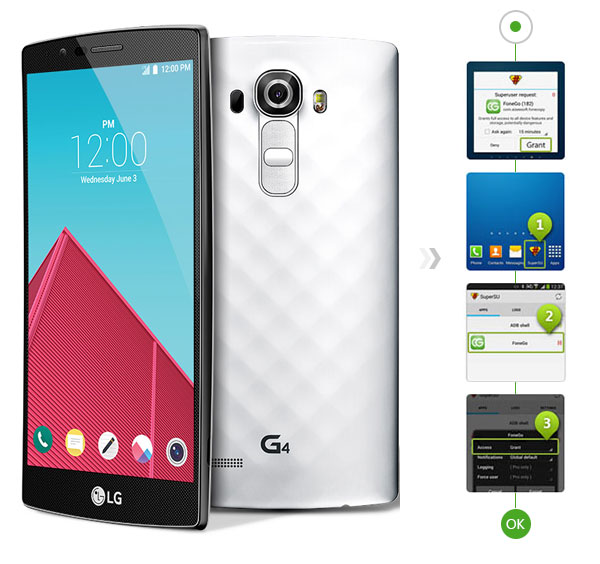
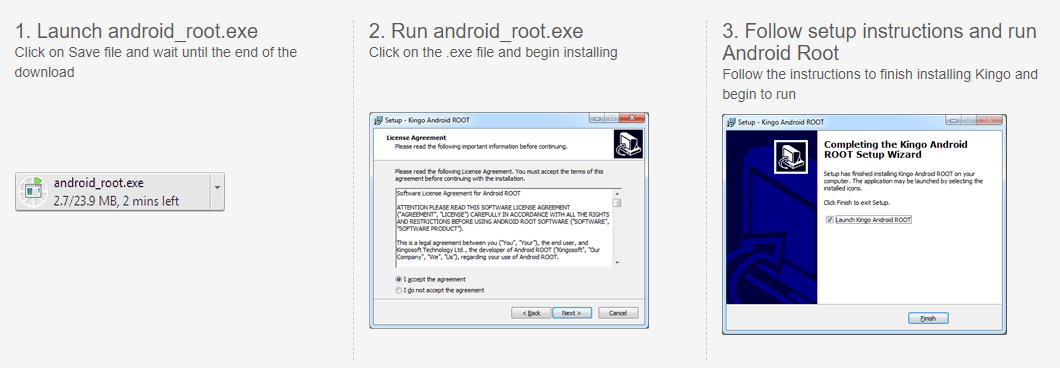
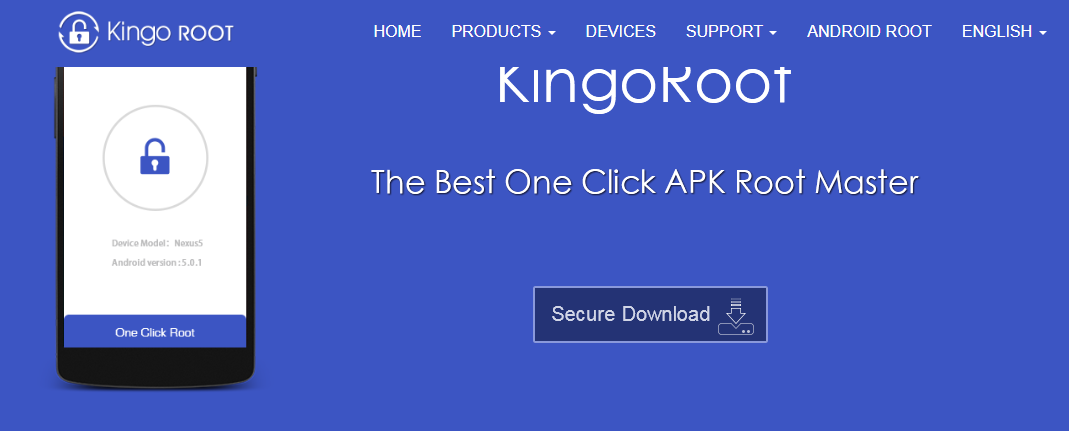
1) Rooting Android phone with Kingo Root
Download Kingo Root for Windows
Step 1After installing Kingo Root on your computer, double click it to run this rooting tool. Plug your Android phone to PC with USB cable.
Step 2On your Android phone, go to Settings > Develop options > slide USB debugging to ON. The step will allow you use your phone to copy data, and install apps on your phone without notifications.
Step 3After this software detects your phone, you will find your phone version will display in the interface of this program. Click Root to start to root your phone. In the process, your phone will be rebooted. You need to bear with it patiently.
2) Root Android phone with KingoRoot (APK) on phone
Download KingoRoot for Android
Step 1ind your app download, click KingoRoot.apk to install this APK file.
Step 2Tap One Click Root to start to root your phone.
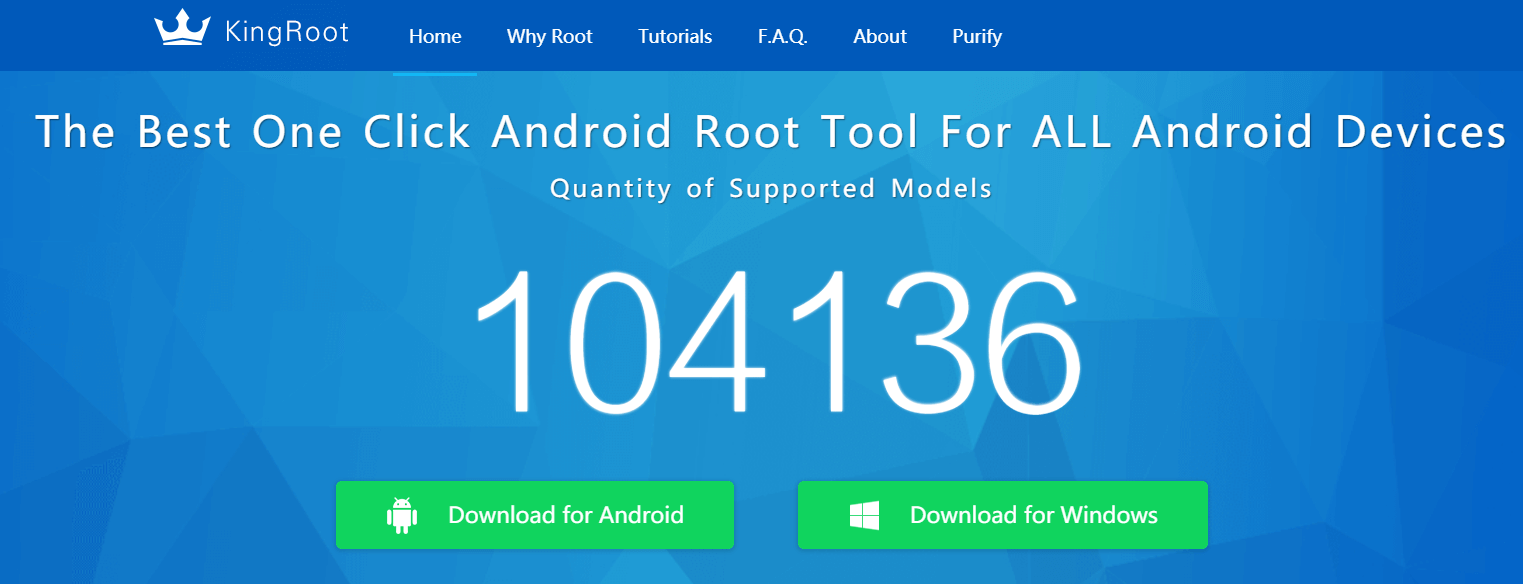
3) Root Android phone with KingRoot on computer
Step 1Download and install KingRoot for PC to your computer. After success installation, double click it to run this software.
Step 2On your Phone, debug USB mode by tapping Settings > Develop options > slide USB debugging to ON, which will enable you to manage your phone without notifications on computer. If your phone has debugged USB, then you can skip this step, and directly go to step 3.
Step 3Connect your phone to computer with USB cable, and this software will detect your phone directly.
Step 4After connecting your phone, click Try to root to start to root your phone. After rooting your phone, there is one reminder in the interface that tells you have rooted your phone. After rooting, you could use other recovery tools to recover deleted files from SD card or Android internal storage.
4) Root phone with KingRoot without computer
Step 1You can search www.kingroot.net on your phone browser to download KingRoot. Also, you could download KingRoot from the following link and copy the APK file to your phone.
Step 2After success downloading, you need to find the APK file, and hit it to install. If you set install blocked, then a pop-up reminder will need you to tap Settings > Security > enable unknown sources to install KingRoot.
Step 3After success installation, hit OPEN to run this tool. Tap Try it > Get now to start to root phone. The implementation process will show you the rooting process.
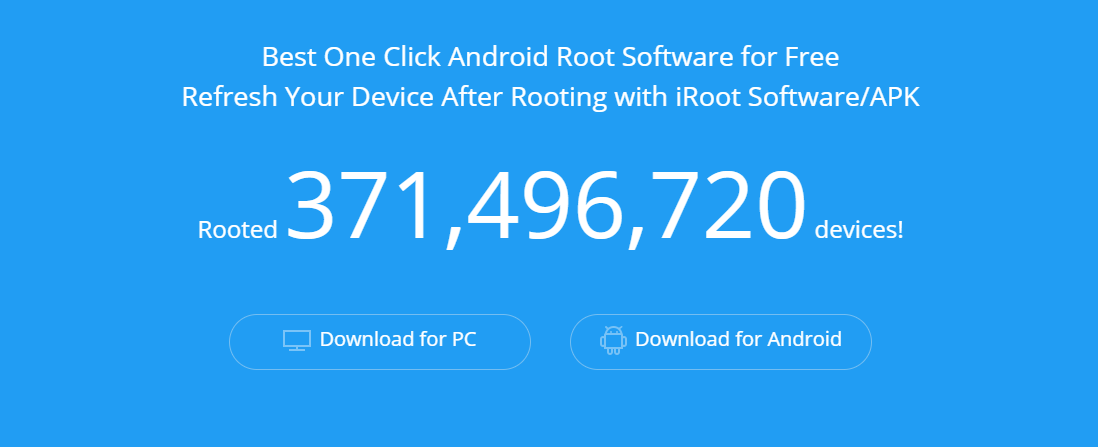
5) Root Android phone with iRoot on computer
Download iRoot for Windows
Step 1Click the download link of iRoot for PC, download and install this software to your computer.
Step 2On your Phone, debug USB mode by tapping Settings > Develop options > slide USB debugging to ON, which will enable you to manage your phone without notifications on computer.
Step 3Plug your Android device to computer with USB cable, and run iRoot, click Connect and iRoot will detect your phone automatically.
Step 4After iRoot detects your phone successfully, click Root to start to root your phone. The rooting process will take seconds. So please give some patience. After rooting process succeeds, your phone will reboot automatically.
6) Root Android phone with iRoot APK
Step 1Download iRoot APK file to your phone. Then find it and install it on your Android phone. For successful installation, you are required to hit Setting > Security > tick Unknown sources > OK to install unknown sources, iRoot APK on your phone.
Step 2After successful installation of iRoot APK, tap it to run this rooting tool. In the interface, you just need to choose Get Root access to begin to root your phone. After your phone is rooted, it will reboot automatically. You need to wait patiently.
Step 3iRoot is not 100% guarantee of rooting all Android phone. You can check if your Android device is in the list of iRoot supporting devices to root.
7) Root Android phone with One Click Root on computer
Download One Click Root for Windows
Step 1Click the download link of One Click Root for PC, download and install this software to your computer.
Step 2On your Phone, debug USB mode by tapping Settings > Develop options > slide USB debugging to ON, which will enable you to manage your phone without notifications on computer.
Step 3Plug your android phone to computer with USB cable, and One Click Root will detect your phone automatically.
Step 4After One Click Root detects your phone successfully, click ROOT NOW to start to root your phone. The rooting process will take minutes. So you just need to wait patiently.

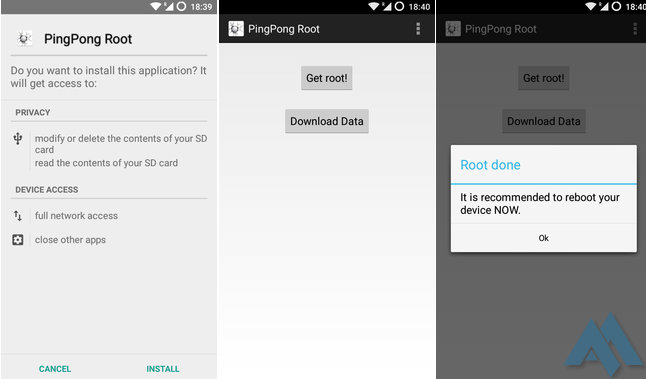
8) Root Android phone with PingPong Root
Download PingPong Root for Windows
Step 1Go to PingPong Root's web page, download its apk file to your PC, and use the USB cable to transfer it into your Samsung S6/S6 Edge phone.
Step 2On your phone, tab Settings > Lock Screen and security > Unknown Sources to ON.
Step 3On your phone, find the apk file, and tab it to Install > Install ANYWAY. After installing it, ther is a note that reminds you to install SuperSU, and until all installation has been finished, you could start to root your phone.
Step 4Launch PingPong Root after all installation, you will find two buttons display on the app, Get root! and Download Data. If your Samsung Galaxy S6 Edge is in the list of Download Data (as the attached image), then you should tab Download Data first, and then hit Get root! to start to root your phone. The whole rooting process will take some time, and after finishing that, tab OK to reboot your device.

Step 5After rooting your phone, go to SuperSU, tab CONTINUE in the pop-up reminder that The SU binary needs to be updated. Continue > NORMAL > REBOOT.
Step 6After rooting your phone, if you are not sure your phone is rooted successfully, you can try to uninstall pre-installed apps for checking. Alternatively, you could download Root Checker to get the confirmation.
From now on, you can easily use Android Data Recovery to backup Android data, or restore Android data easily and safely.