Recover the lost/deleted iPhone data including photos, contacts, videos, files, call log and more data from your SD card or device.
How to Root Android with Kingo Root
 Updated by Lisa Ou / April 20, 2023 09:00
Rooting an Android device can give users complete control over their device, allowing them to access advanced features and settings that are otherwise unavailable. One of the easiest ways to root an Android phone or tablet is by using the Kingo Root app.
Before starting the rooting process, it's important to check if your device is compatible with the Kingo Root app. Also, make sure to back up any important data from your device before proceeding with rooting.


Guide List
Part 1. Understanding Phone Rooting
Phone rooting is the process of gaining access to the root directory of your Android phone. This allows you to remove pre-installed applications and customize your phone to your liking. However, rooting can also void your warranty and potentially harm your device if not done correctly.
Part 2. Precautions to Take Before Rooting Your Phone
Before rooting your Android phone using Kingo Root, there are a few precautions you should take:
Backup your data: Rooting your phone can potentially erase all your data, so it's important to back up your photos, videos, and important files beforehand.
Charge your phone: Make sure your phone has at least 50% battery life to avoid any interruption during the rooting process.
Enable USB debugging: In order to connect your phone to your computer and start the rooting process, you need to enable USB debugging in the Developer Options of your phone.
Check compatibility: Make sure that your phone model is compatible with Kingo Root before attempting to root it.
Part 3. How to Root Your Android Phone Using Kingo Root
To root your Android phone using Kingo Root on computer:
Step 1Download and install Kingo Root on your computer.
Step 2Enable USB Debugging on your phone by going to Settings > Developer Options > USB Debugging.
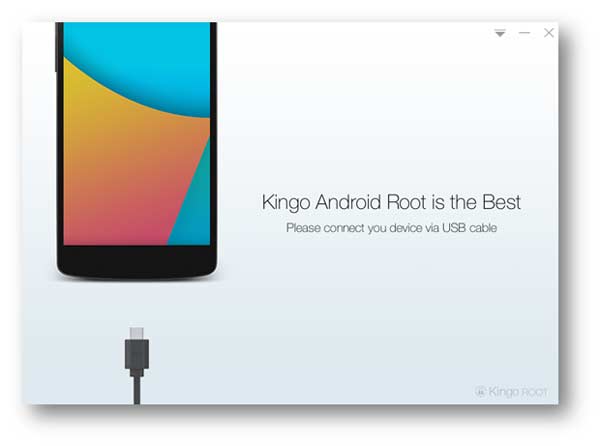
Step 3Connect your phone to the computer via USB cable.
Step 4Open Kingo Root and click Root to begin the rooting process.
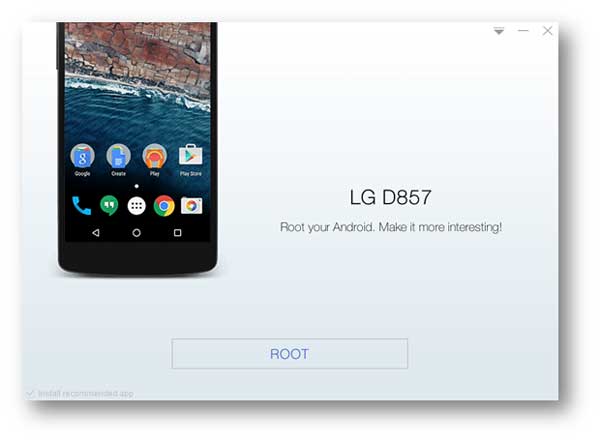
Step 5Wait for Kingo Root to complete the rooting process.
Step 6Reboot your phone to complete the rooting process.
To root your Android phone using Kingo Root on your phone:
Step 1Download and install Kingo Root on your phone from the Google Play Store.
Step 2Launch Kingo Root and click One Click Root to begin the rooting process.
Step 3Wait for Kingo Root to complete the rooting process.
Step 4Reboot your phone to complete the rooting process.
Part 4. Why Choose Kingo Root for Rooting Your Phone
Kingo Root is a free, reliable, and easy-to-use rooting software that supports a wide range of Android devices. It also offers a high success rate and does not require any technical skills.
Part 5. How to Root Your Android Phone with Kingo Root on Mac
To root your Android phone using Kingo Root on a Mac, follow these steps:
Step 1Download and install Kingo Root for Mac on your computer.
Step 2Enable USB Debugging on your phone by going to Settings > Developer Options > USB Debugging.
Step 3Connect your phone to the computer via USB cable.
Step 4Open Kingo Root and click Root to begin the rooting process.
Step 5Wait for Kingo Root to complete the rooting process.
Step 5Reboot your phone to complete the rooting process.
In conclusion, rooting your Android phone can offer many benefits, but it is important to take precautions before attempting to root your device. Kingo Root is a reliable and easy-to-use rooting software that can help you root your phone on both computer and phone.