Recover the lost/deleted iPhone data including photos, contacts, videos, files, call log and more data from your SD card or device.
Guide to Rooting Your Android Phone with King Root
 Updated by Lisa Ou / April 20, 2023 09:00
KingRoot is a popular app that allows Android users to root their devices with ease. Rooting an Android device can give you complete control over your device, allowing you to access advanced features and settings that are otherwise unavailable. In this article, we'll explore what KingRoot is, how it works, and the pros and cons of using it to root your Android device.


Guide List
Part 1. What is Rooting a Phone
Rooting an Android phone means gaining root access to the device's operating system, allowing the user to access and modify system files and settings that are normally restricted. This process gives users more control over their device, including the ability to remove pre-installed apps, install custom ROMs, and tweak system settings.
Part 2. What You Should Do Before Rooting
Before rooting your Android device, there are a few things you should do to ensure a successful and safe rooting process.
First, backup your device's data to avoid losing any important information.
Second, ensure that your device is fully charged or has enough battery life to complete the rooting process.
Third, make sure you have the necessary tools and software to root your device, such as KingRoot.
Part 3. How to Root Android Phone with KingRoot
Here are the step-by-step instructions on how to use KingRoot to root your Android device using both a computer and a phone:
Using a Computer:
Step 1Download and install KingRoot for PC: Go to the official KingRoot website and download the KingRoot for PC software.
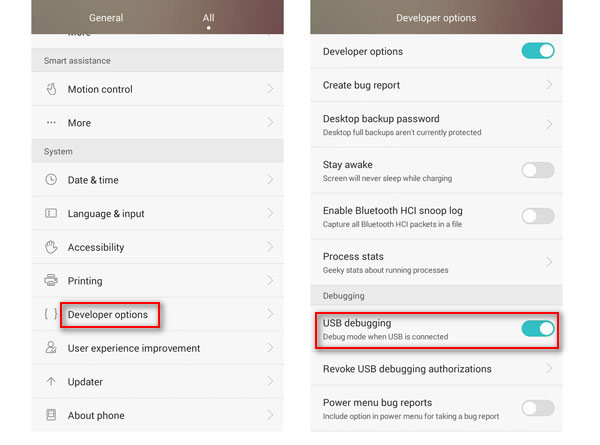
Step 2Enable USB Debugging: On your Android device, go to Settings > About Phone > Software Information. Tap Build Number seven times to enable Developer Mode. Go back to the main Settings menu, and then go to Developer Options. Enable USB Debugging.
Step 3Connect your Android device to your PC: Use a USB cable to connect your Android device to your computer.
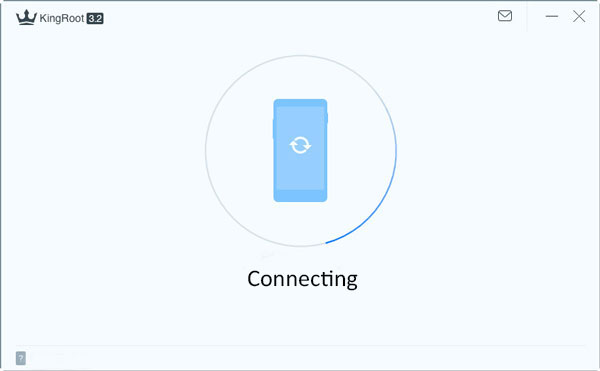
Step 4Launch KingRoot for PC: Open the KingRoot for PC software on your computer.
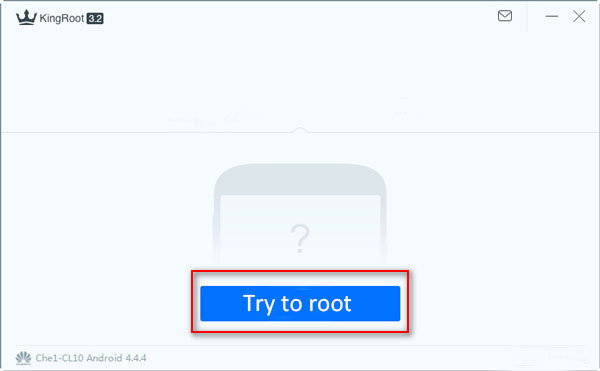
Step 5Click Root: Once your Android device is detected by KingRoot, click the Root button to begin the rooting process.
Step 6Wait for Rooting: KingRoot will begin rooting your device. This process may take a few minutes, so be patient and don't interrupt the process.
Step 7Check Root Status: Once the rooting process is complete, you should see a message that says Root Succeeded or Root Failed. If the rooting process was successful, you can check your root status using a root checker app from the Google Play Store.
Step 8Reboot your Device: After the rooting process is complete, it's a good idea to reboot your device to ensure that everything is working properly.
Using a Phone:
Step 1Download KingRoot APK: Go to the official KingRoot website and download the APK file for your Android device. Note: KingRoot is not available on the Google Play Store, so you'll need to download it from a trusted source.
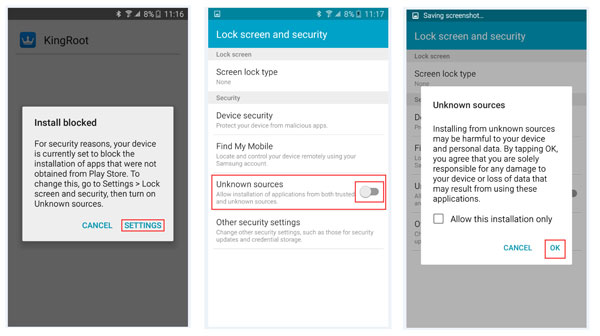
Step 2Enable Unknown Sources: Go to your device's settings and enable Unknown Sources to allow installation of apps from outside the Google Play Store.
Step 3Install KingRoot: Once the APK file is downloaded, open it and click Install to install the KingRoot app on your device.
Step 4Launch KingRoot: Open the KingRoot app on your device. You should see a button that says Try to Root or Start Rooting. Click this button to begin the rooting process.
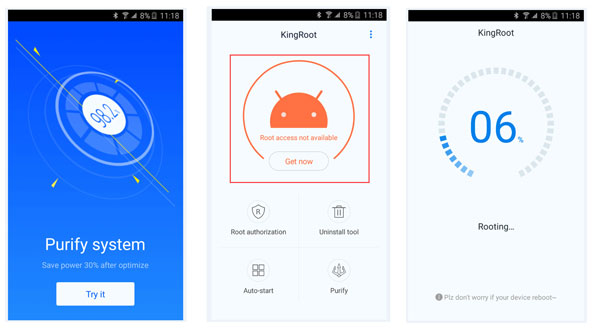
Step 5Wait for Rooting: KingRoot will begin rooting your device. This process may take a few minutes, so be patient and don't interrupt the process.
Step 6Check Root Status: Once the rooting process is complete, you should see a message that says Root Succeeded or Root Failed. If the rooting process was successful, you can check your root status using a root checker app from the Google Play Store.
Step 7Reboot your Device: After the rooting process is complete, it's a good idea to reboot your device to ensure that everything is working properly.
That's it! You've successfully rooted your Android device using KingRoot.
Part 4. How to Root Android Phone with KingRoot on Mac
If you're using a Mac computer, you can still root your Android device with KingRoot. Here's how:
Step 1Download and install an Android emulator: There are many Android emulators available for Mac, such as Bluestacks or NoxPlayer. Download and install an emulator on your Mac.
Step 2Download and install KingRoot for PC: Go to the official KingRoot website and download the KingRoot for PC software.
Step 3Launch KingRoot for PC: Open the KingRoot for PC software on your Mac using the Android emulator.
Step 4Connect your Android device to your Mac: Use a USB cable to connect your Android device to your Mac.
Step 5Enable USB Debugging: On your Android device, go to Settings > About Phone > Software Information. Tap Build Number seven times to enable Developer Mode. Go back to the main Settings menu, and then go to Developer Options. Enable USB Debugging.
Step 6Click Root: Once your Android device is detected by KingRoot, click the Root button to begin the rooting process.
Step 7Wait for Rooting: KingRoot will begin rooting your device. This process may take a few minutes, so be patient and don't interrupt the process.
Step 8Check Root Status: Once the rooting process is complete, you should see a message that says Root Succeeded or Root Failed. If the rooting process was successful, you can check your root status using a root checker app from the Google Play Store.
Step 9Reboot your Device: After the rooting process is complete, it's a good idea to reboot your device to ensure that everything is working properly.