Activating Your Software
Before using any feature, activate your VIP membership.
1Download and install the latest version of FoneLab iFoneWiz.
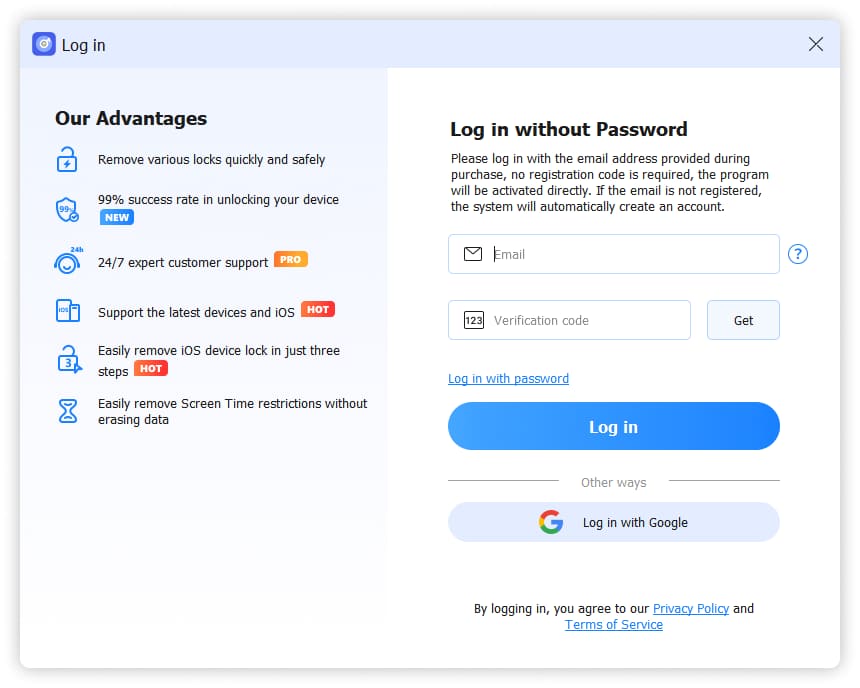
2Click Log in at the top of the main window.
3Type in the email address you used for purchase.
4Click Log in – your membership benefits will activate automatically.
5If you receive a new registration code via email, click the Key icon inside the software after logging in.
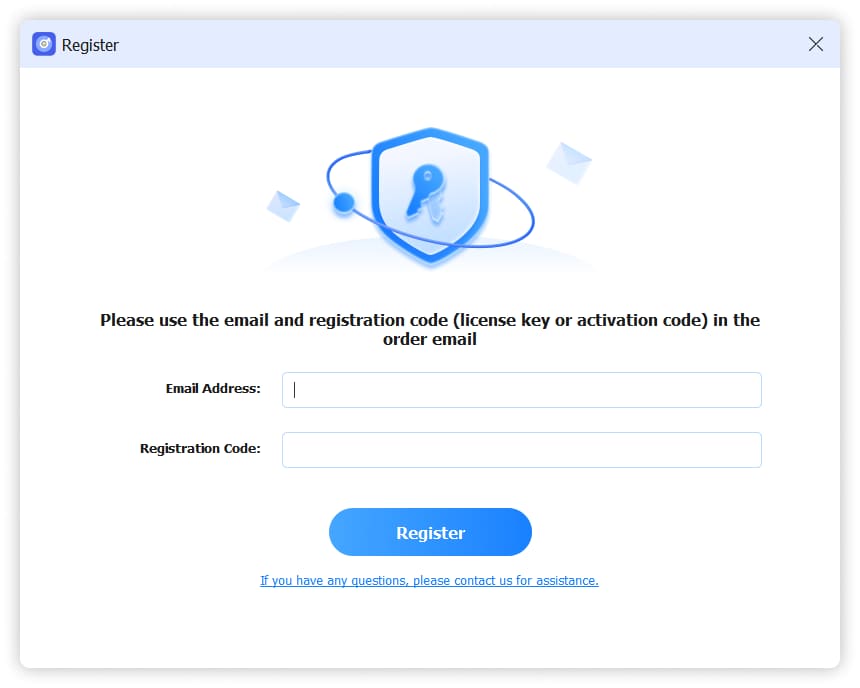
6Enter your email address and the new registration code to complete activation.
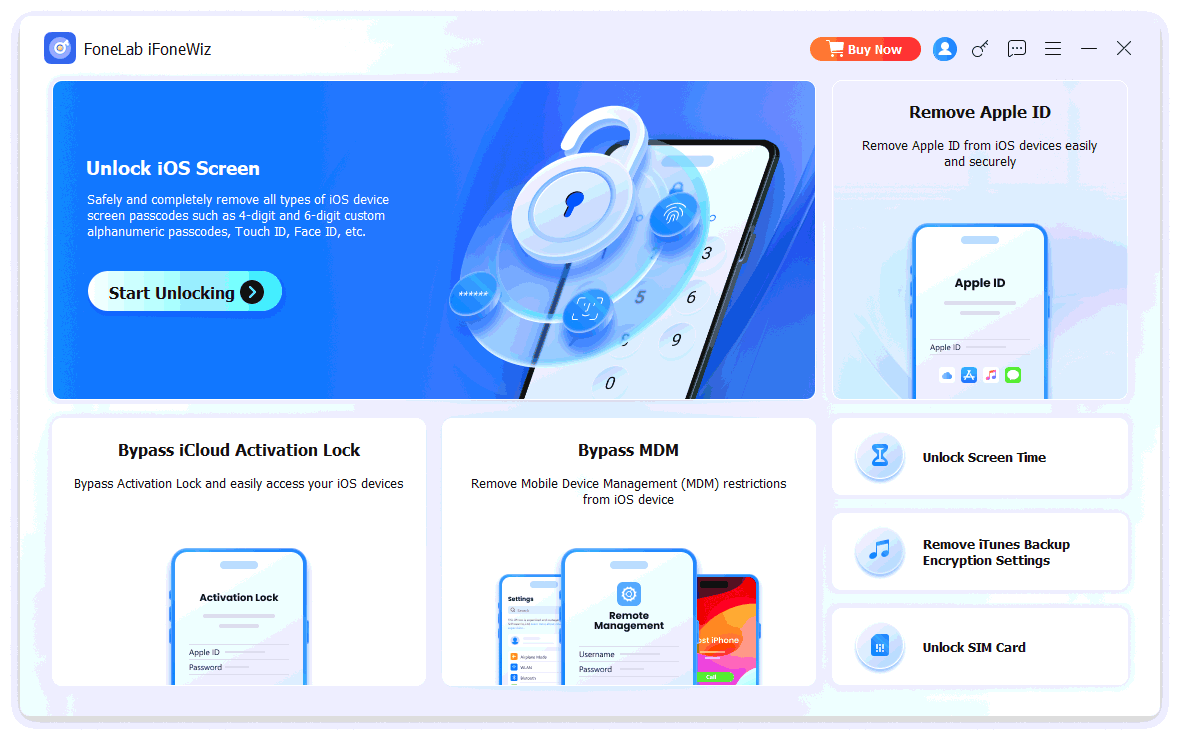
Feature 1 – Unlock iOS Screen
What you need to know before starting:
- 1. Removing the lock screen password will erase all data on your device.
- 2. Your device will be updated to the latest iOS version.
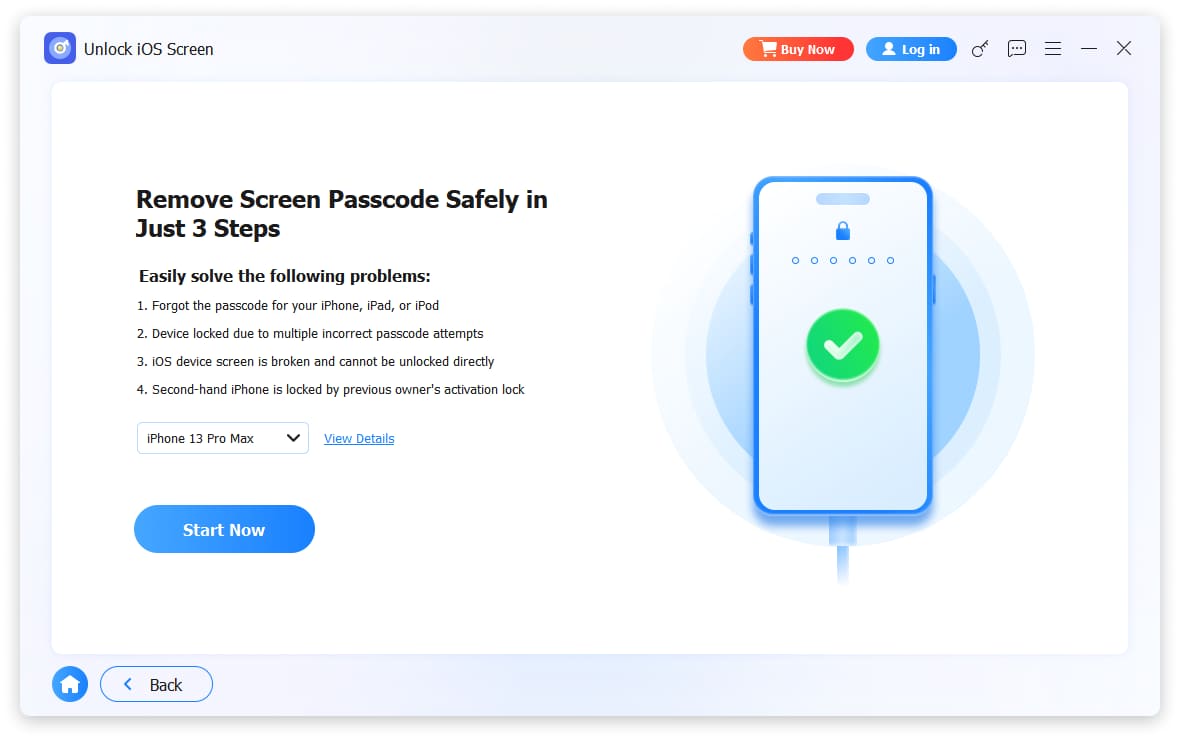
1Select Unlock iOS Screen and connect your device to the computer using a USB cable.
2Follow the on-screen instructions to put your device into recovery mode.
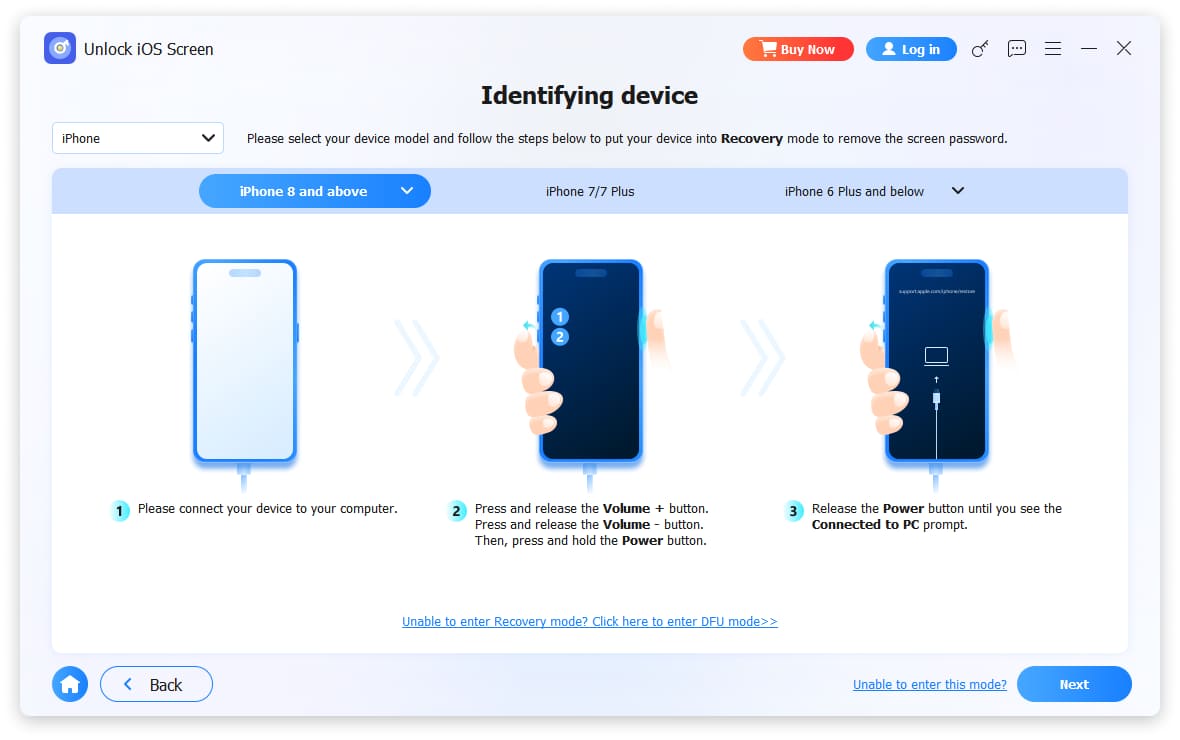
- 1. In the top-left corner, choose your device type (iPhone, iPad, or iPod Touch).
- 2. Select your specific device model from the list.
- 3. Detailed operations will be shown on the screen.
3If you cannot enter recovery mode:
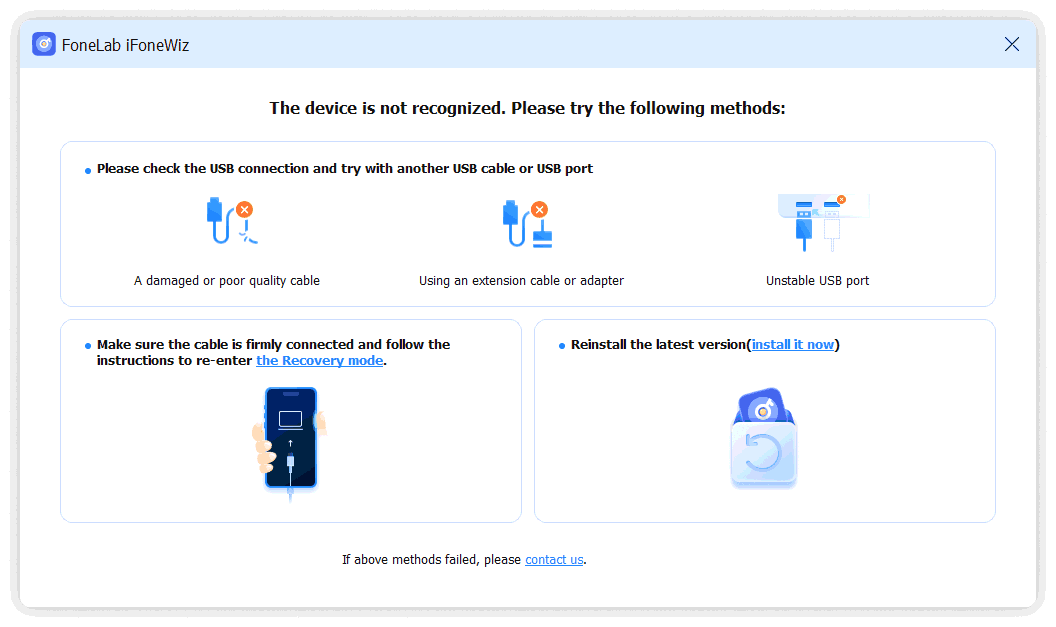
- Click Unable to enter this mode at the bottom right.
- The program will suggest trying a different USB cable, reinstalling the program, or re-entering recovery mode.
4Confirm your device information displayed on the screen, then click Start Now to download the firmware.
5Wait while the program downloads the firmware package for your device.

6Read all notes carefully, then click OK.
7Click Confirm Again to confirm you want to proceed with unlocking.

8The unlocking process will begin. Do not disconnect your device during this procedure.
9If unlocking fails, click Retry to try again.

Feature 2 – Remove Apple ID
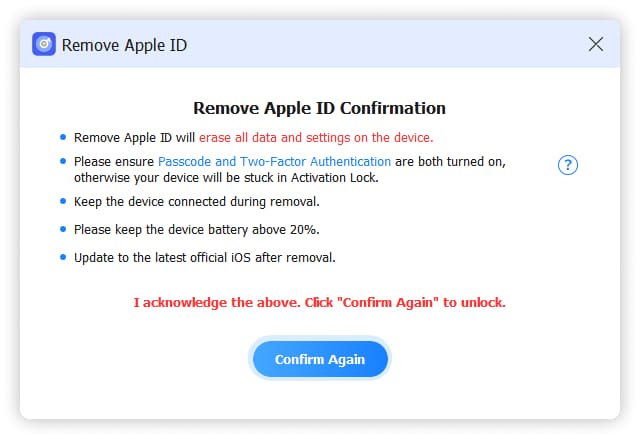
Critical warnings – read before proceeding:
- 1. Removing your Apple ID will erase all data on the device.
- 2. Keep your device connected to the computer throughout the entire process.
- 3. Do not perform a full erase of content and settings on your device – this will permanently link the device to the original Apple ID.
- 4. Do not use iTunes to update or restore the device – this may also cause permanent locking to the original Apple ID.
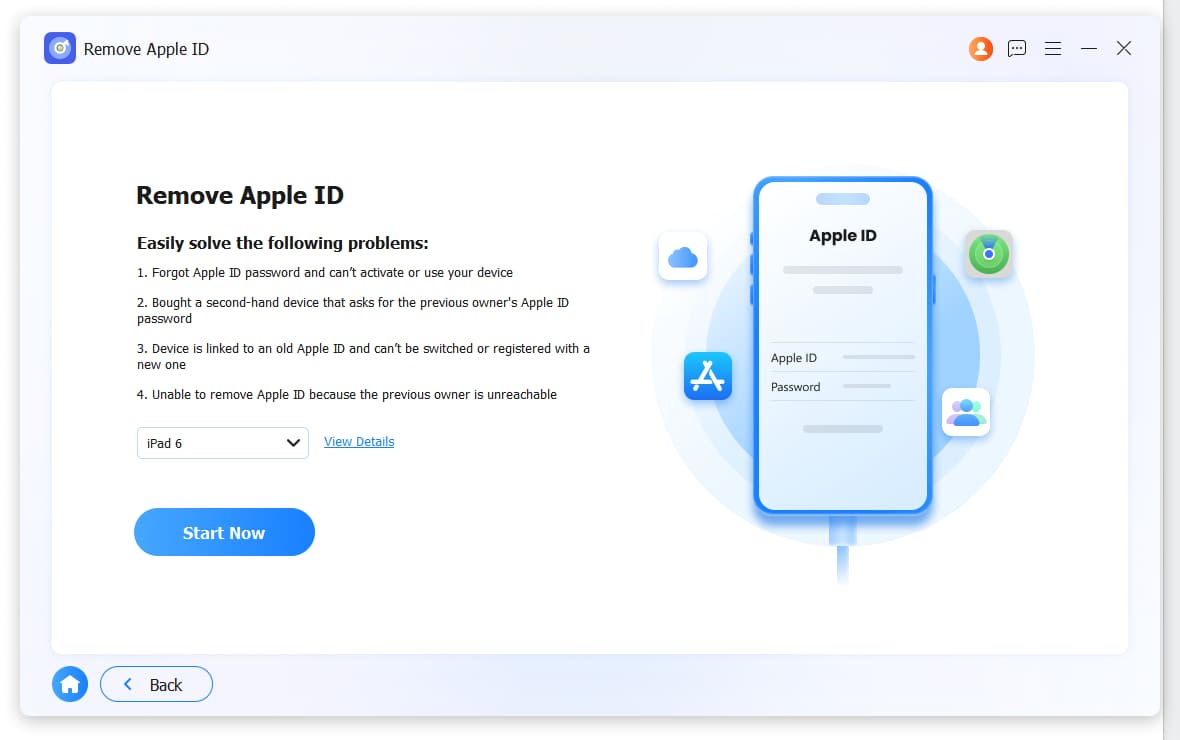
1Select Remove Apple ID and connect your device to the computer using a USB cable.
2Click Start Now to begin.
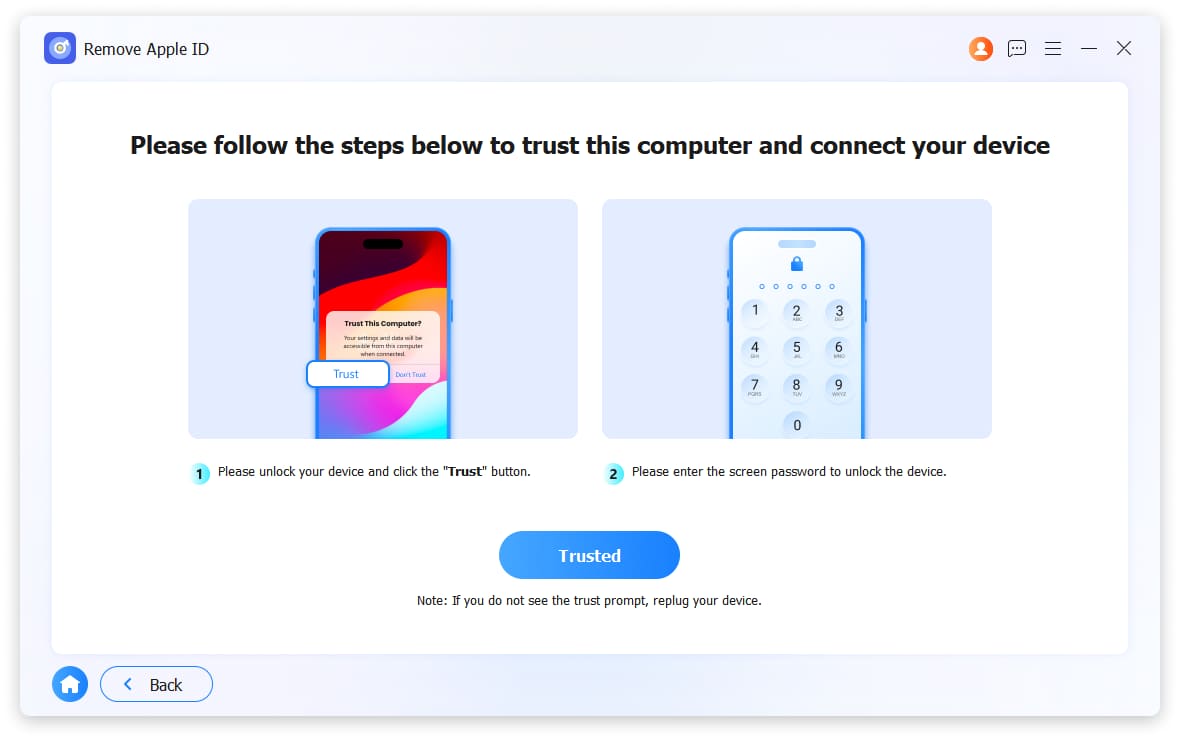
3On your device, tap Trust when prompted. Enter your screen passcode on the device.
4The program will first check whether Find My is enabled on your device.

- 1. If Find My is disabled: The program will begin removing the Apple ID immediately. Your data will not be removed in this case.
- 2. If Find My is enabled: You need to enable Two-Factor Authentication on your device. Go to Settings > your Apple ID > Password & Security > Two-Factor Authentication, turn it ON. Once enabled, return to the program and click OK. In this case, your data will be erased.
5Click Confirm Again to confirm Apple ID removal.
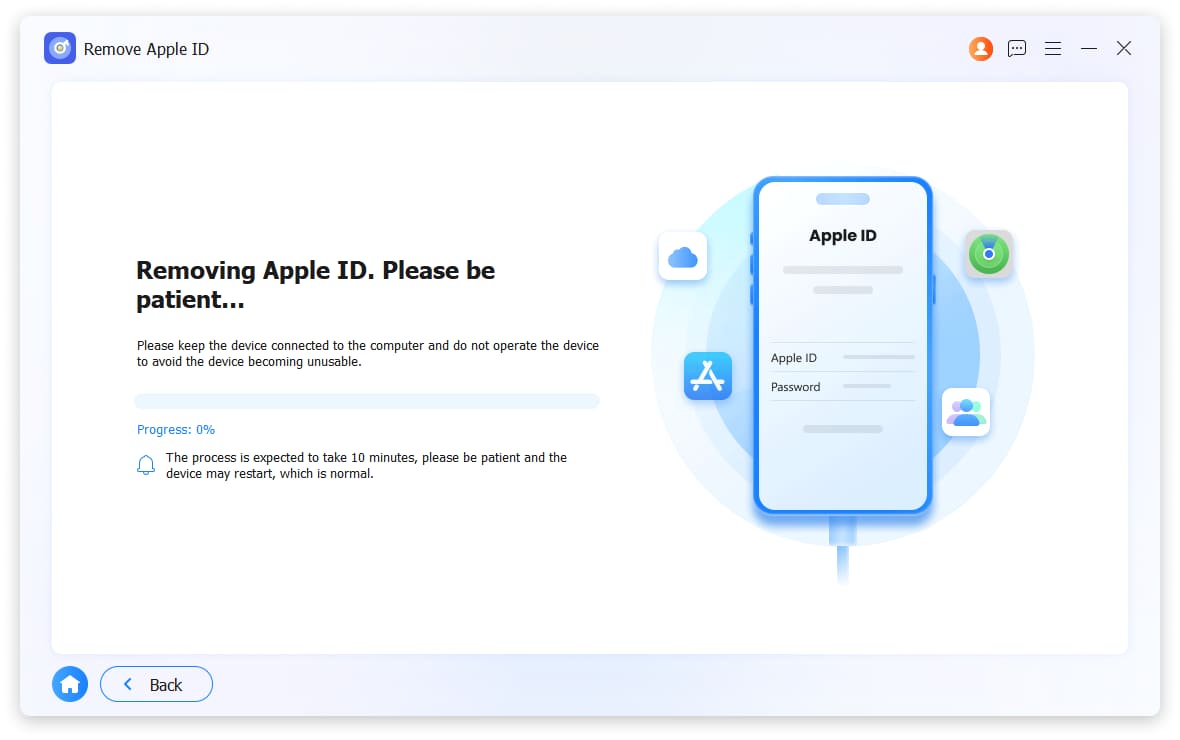
6Keep your device connected during the entire removal process.
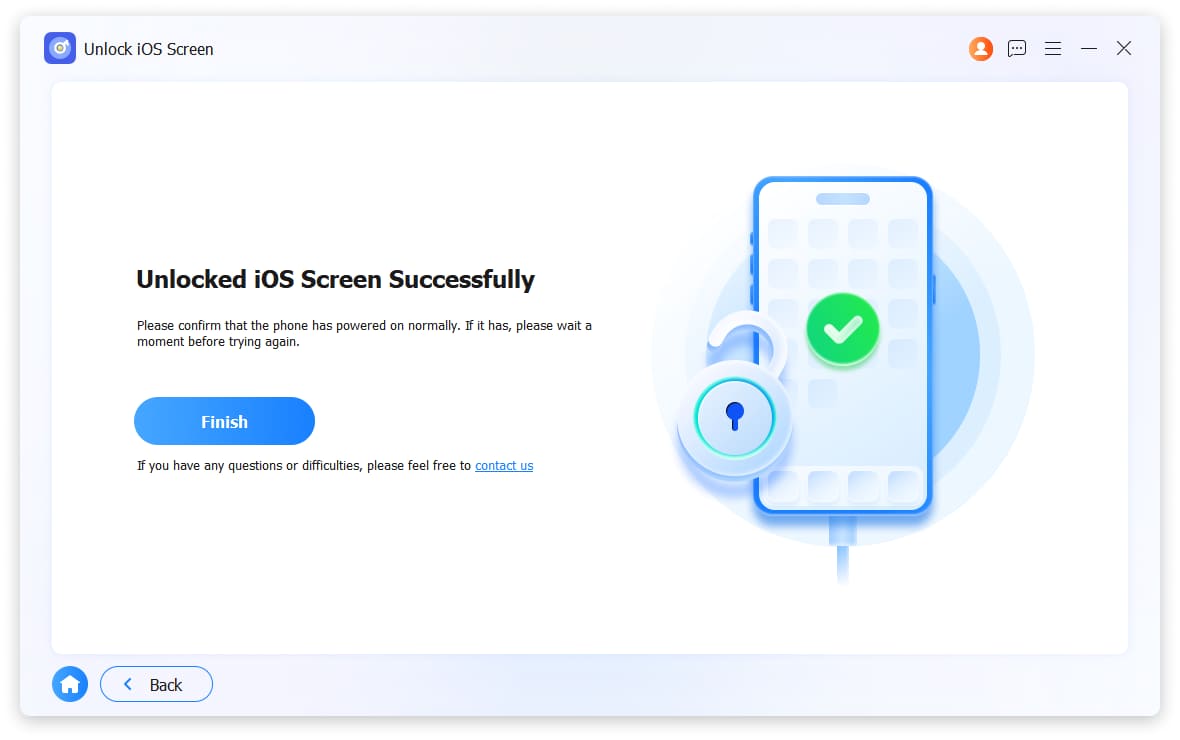
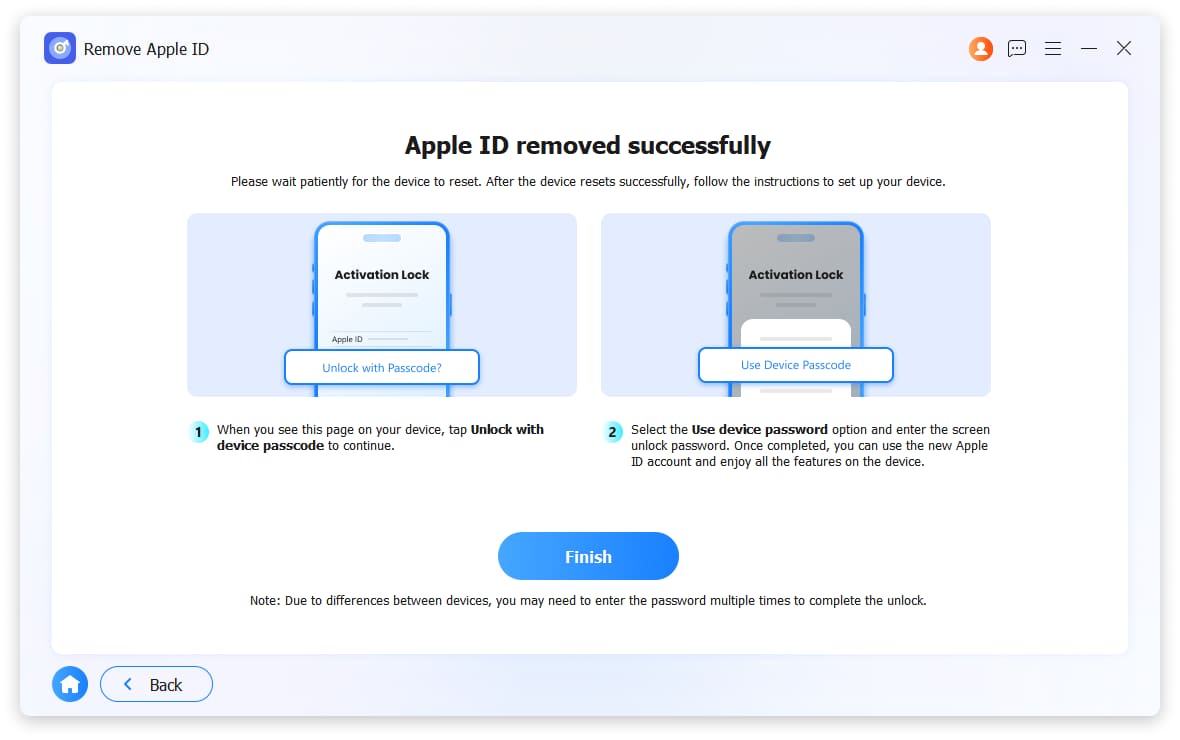
7A success message will appear when the Apple ID has been successfully removed.
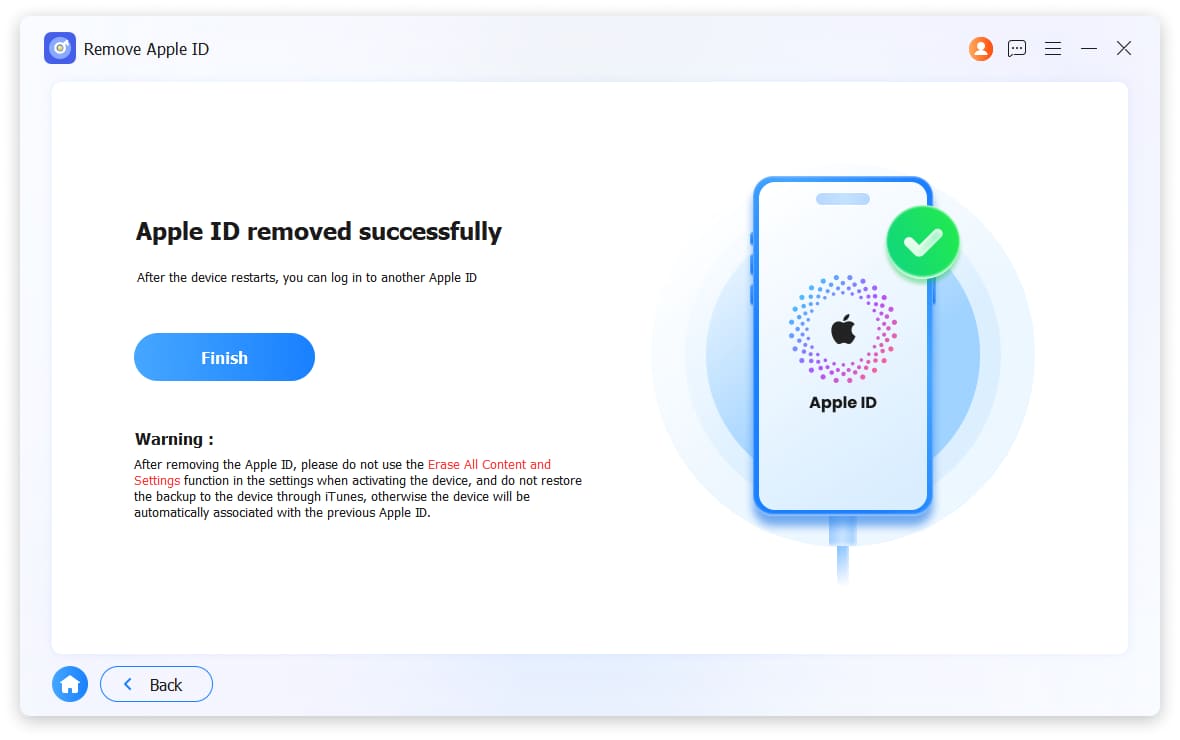
8After removal, choose Use device password to sign in with a new Apple ID.
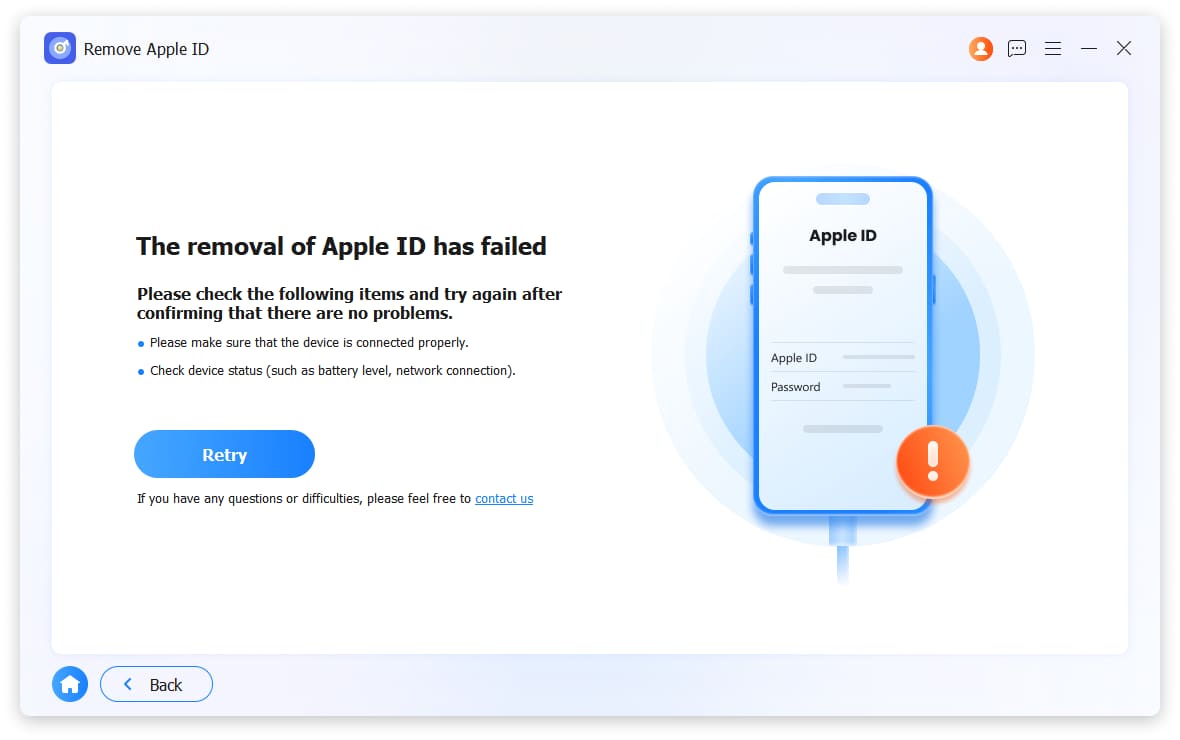
9If removal fails, click Retry.
Feature 3 – Bypass iCloud Activation Lock
Device and iOS version compatibility:
- iPhone 6 through iPhone X
- iPad mini 4 through iPad Air 2
- iPod Touch (7th generation)
- iOS versions 12.0 through 17.7.10 only
Important notes before you start:
- 1. If your device is running normally (not stuck on activation lock), try using the Remove Apple ID feature instead.
- 2. You must jailbreak your device before using this feature.
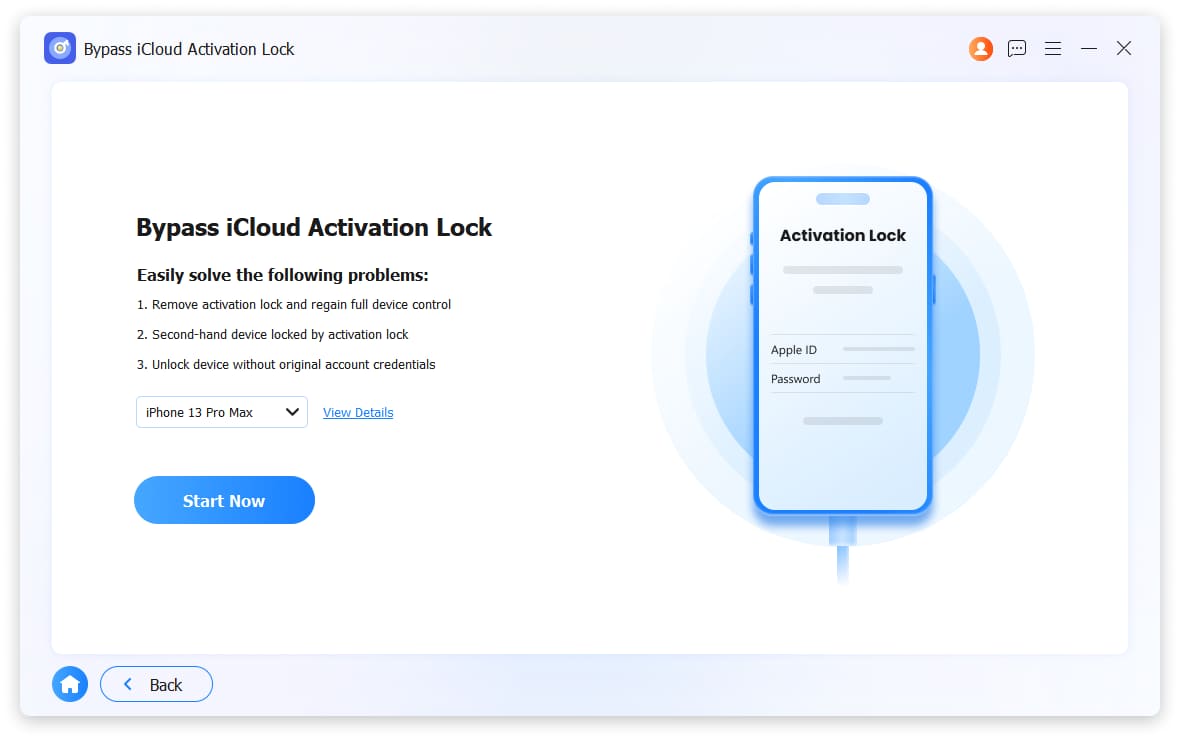
1Select Bypass iCloud Activation Lock and connect your iPhone to the computer using a USB cable.
2Click Start Now.
3The program will ask you to jailbreak your device.
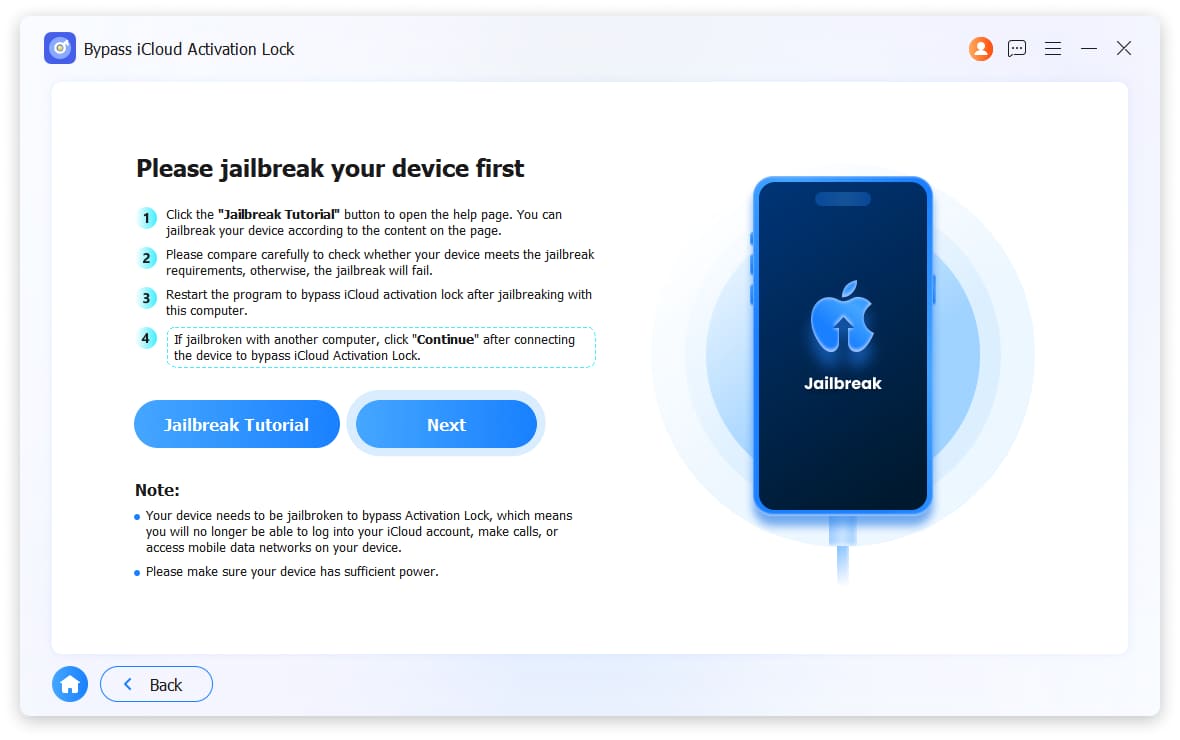
- 1. Click Jailbreak Tutorial and follow the step-by-step instructions.
- 2. After jailbreaking, restart the program and repeat the steps to continue.
- 3. If you have already jailbroken your device using a different computer, click Next to proceed.
4The program will begin to bypass the iCloud activation lock.
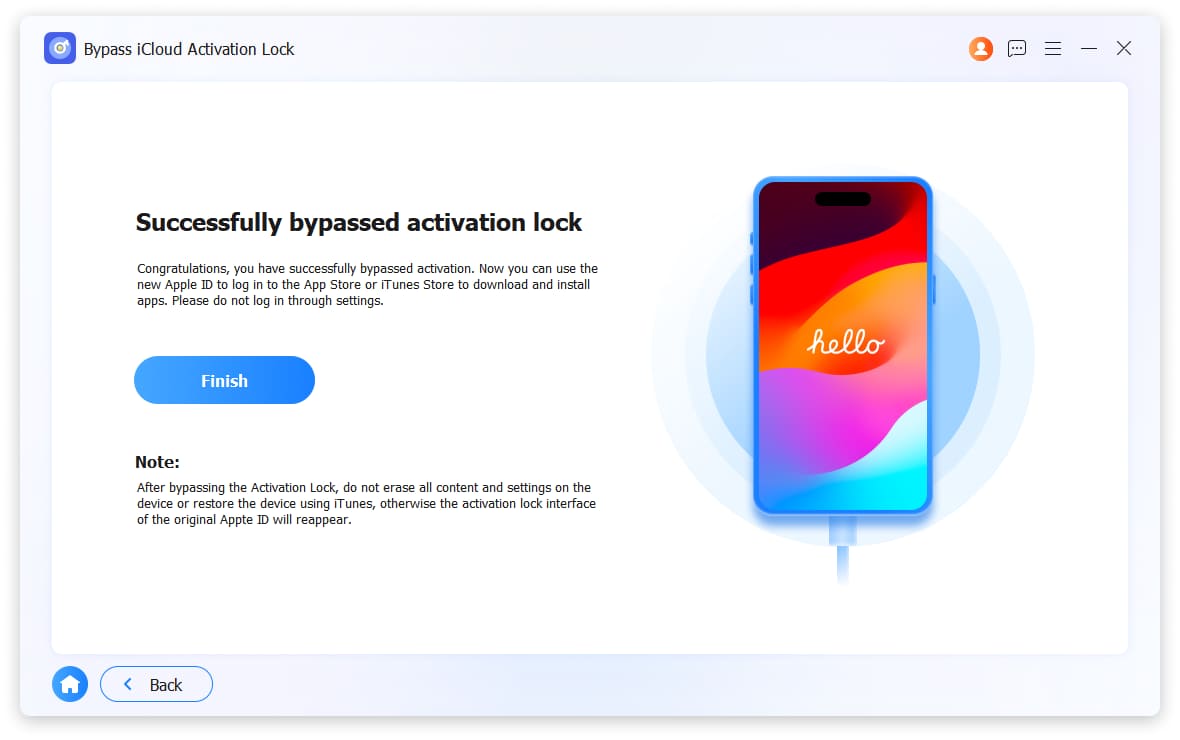
5After bypass is complete:
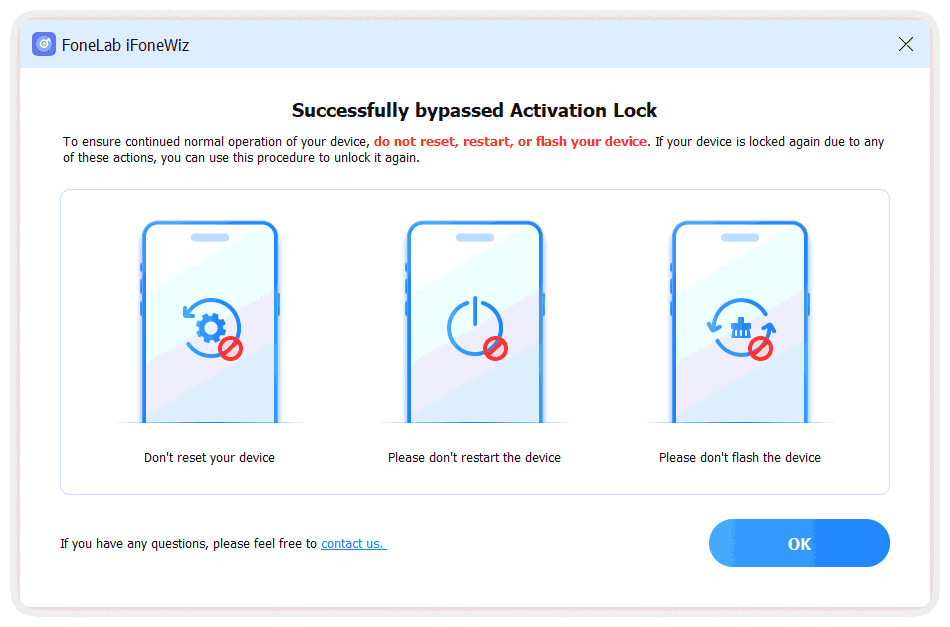
- 1. Do not reset, restart, or flash your device – doing so may cause the activation lock to return.
- 2. To ensure continued normal use, avoid any actions that could re-lock the device.
- 3. If your device becomes locked again, you can use the program to unlock it once more.
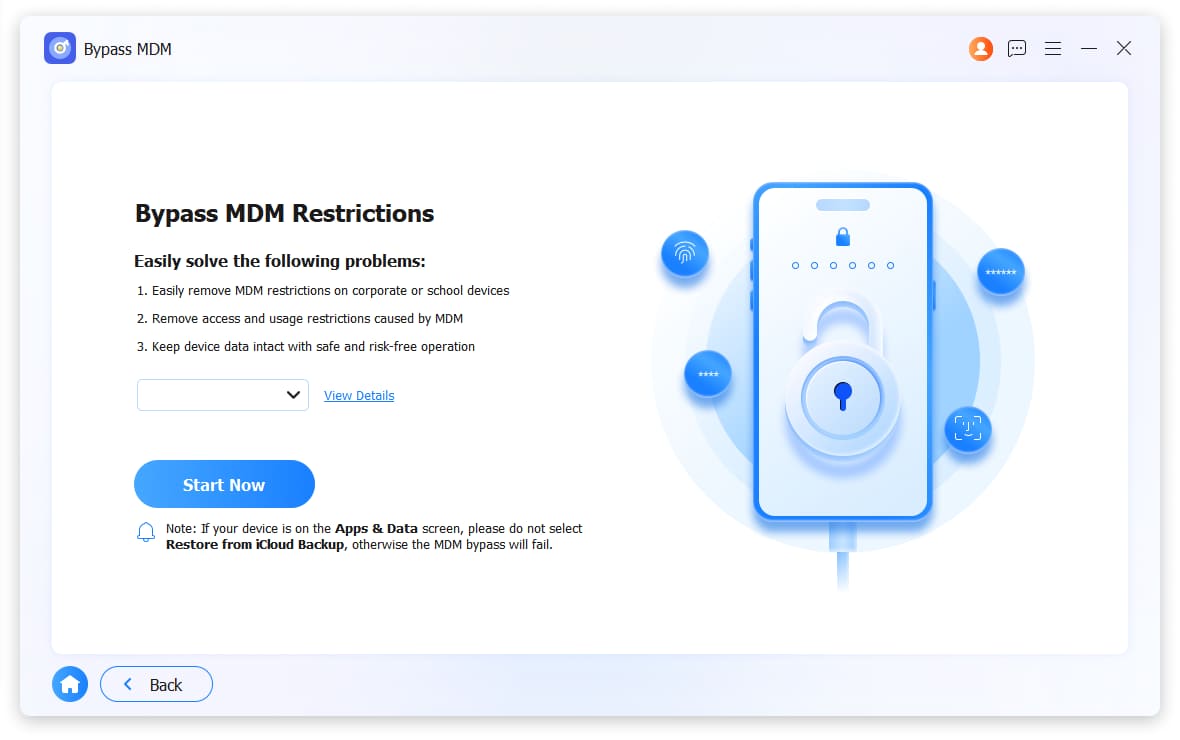
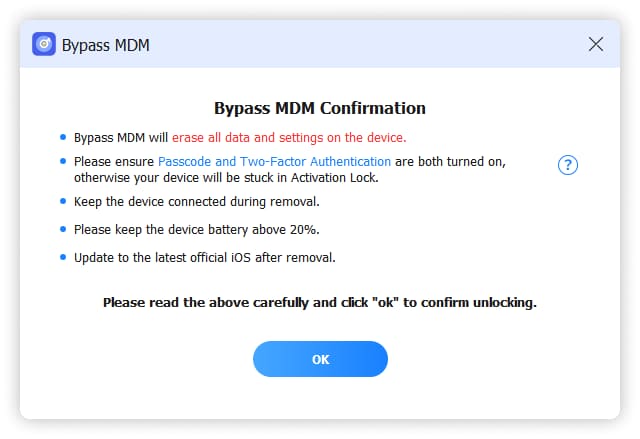
Feature 4 – Bypass MDM
1Connect your device to the computer and click Bypass MDM.
2Click Start Now.
3If prompted by the program:
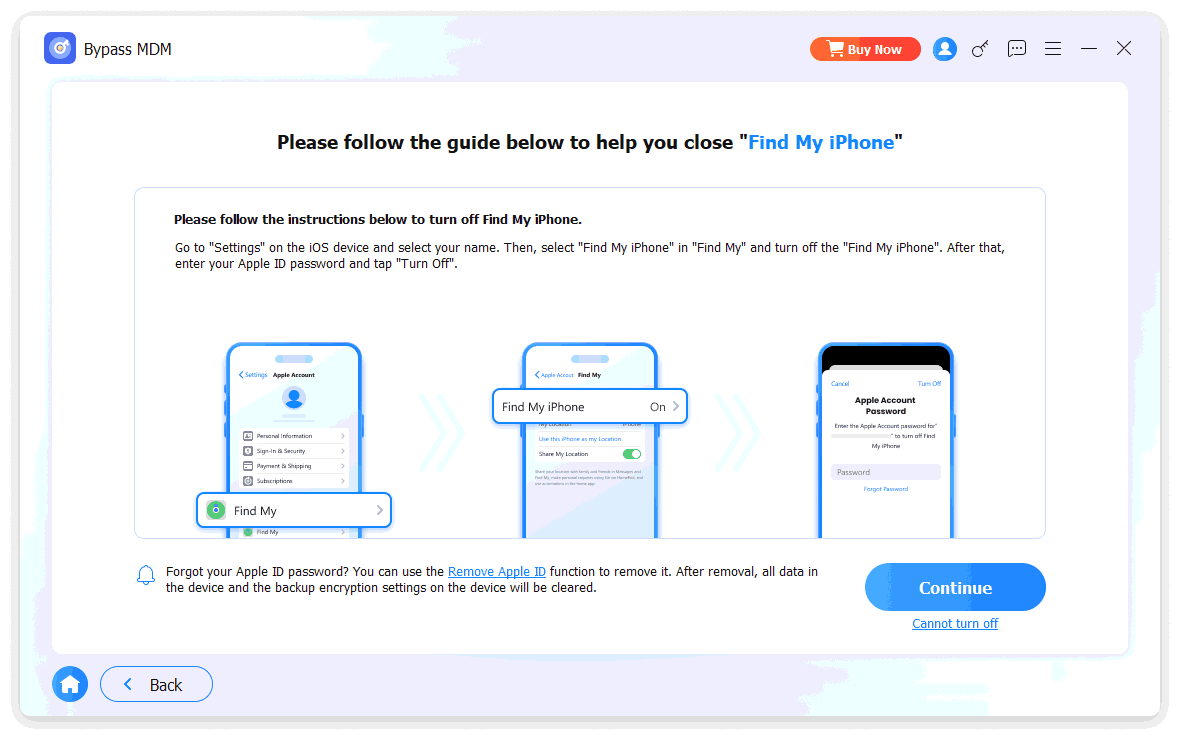
- 1. Turn off Stolen Device Protection on your device (if available).
- 2. Or turn off Find My on your device, depending on what the program asks.
4Click OK, then click Confirm Again to restart your device.
5The program will begin removing MDM from your device.
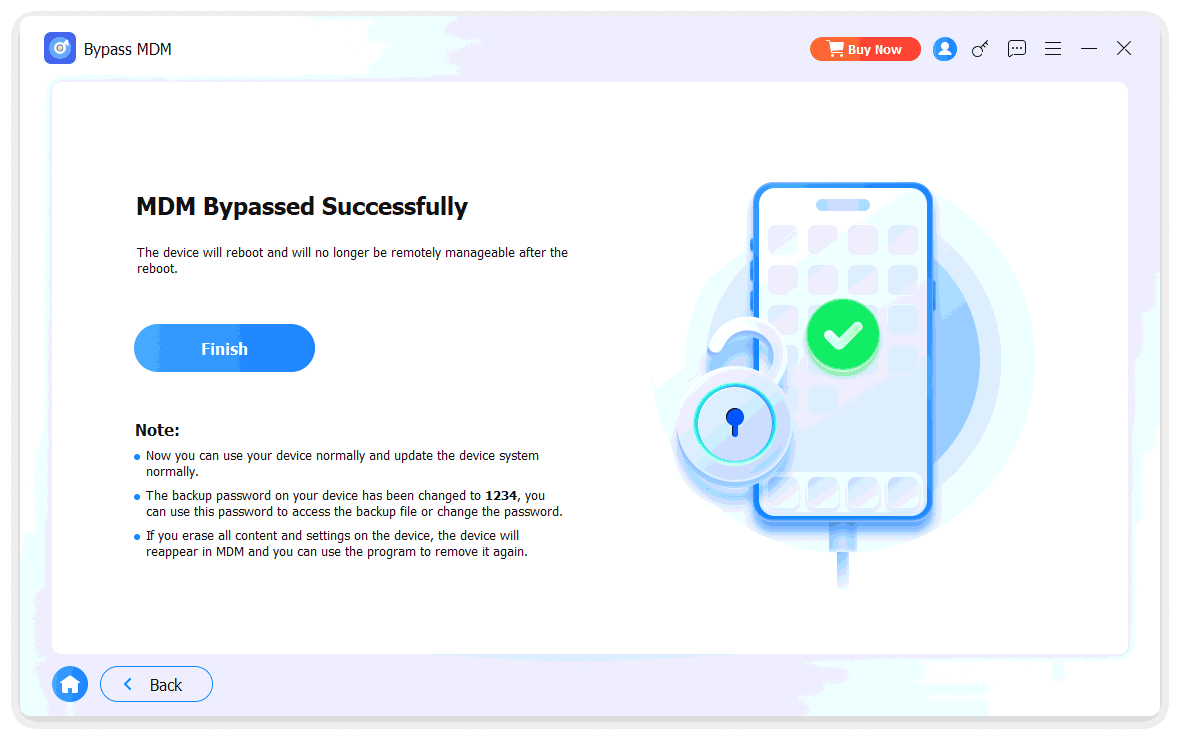
6When setting up your device after MDM removal: Do not choose Restore from iCloud Backup during setup.
Feature 5 – Unlock Screen Time
Requirements before starting:
- 1. iTunes must be installed on your computer (latest version required) to properly scan your device.
- 2. You must disable Find My iPhone/iPad before removing the Screen Time passcode.
- 3. After unlocking, you will need to reconfigure your device, but no data will be lost.
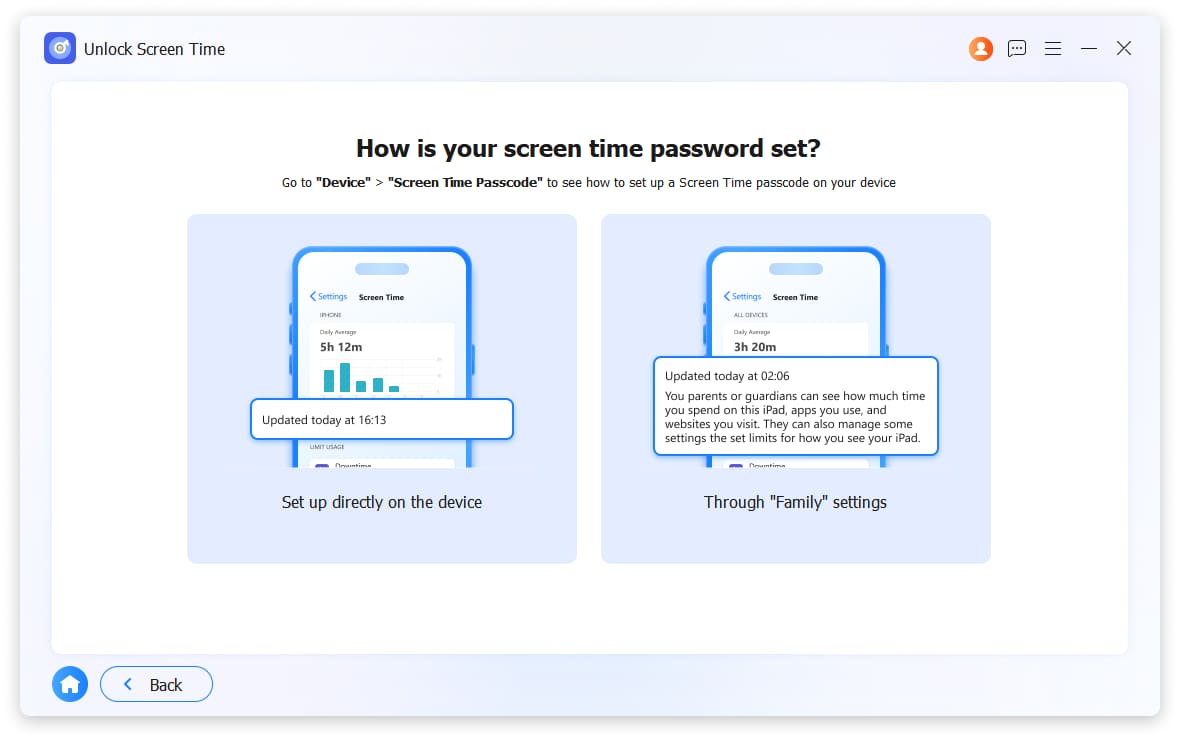
1Select Unlock Screen Time and connect your device to the computer using a USB cable.
2Tell the program how your Screen Time passcode was set up: Set up directly on the device, or Through Family settings.
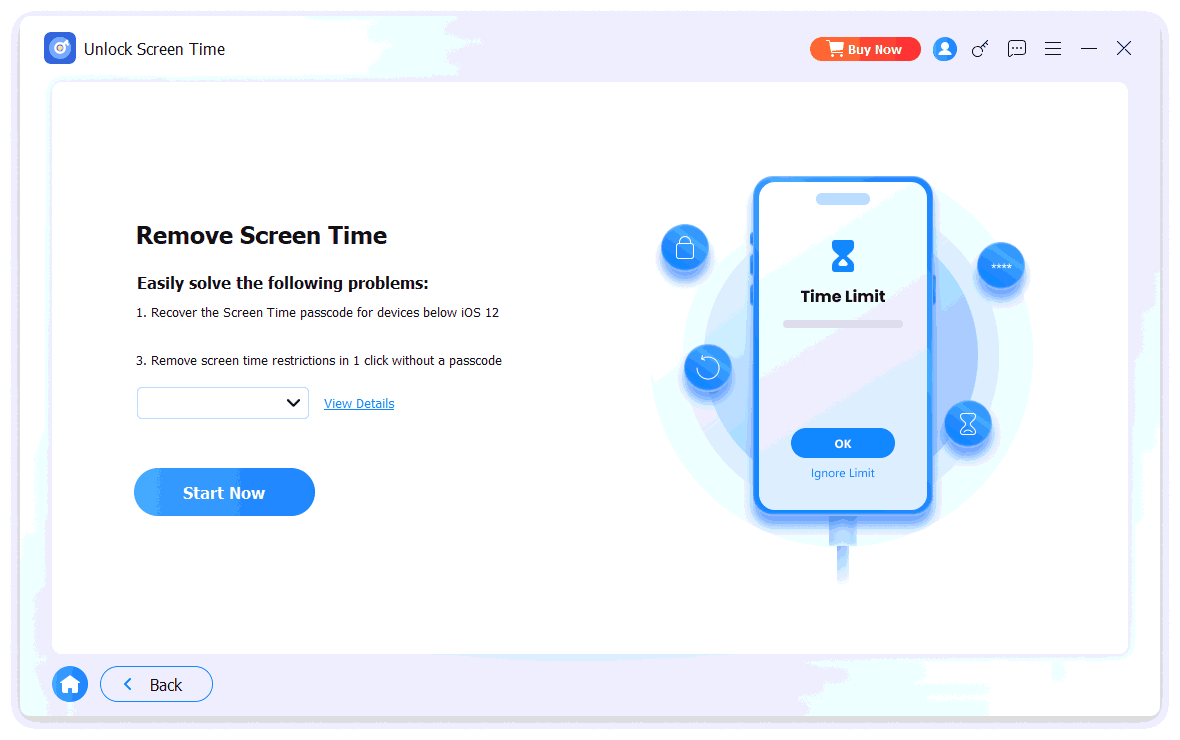
3Click Start Now to begin removing the Screen Time passcode.
4If you have Find My enabled on your device, you will be asked to turn it off.
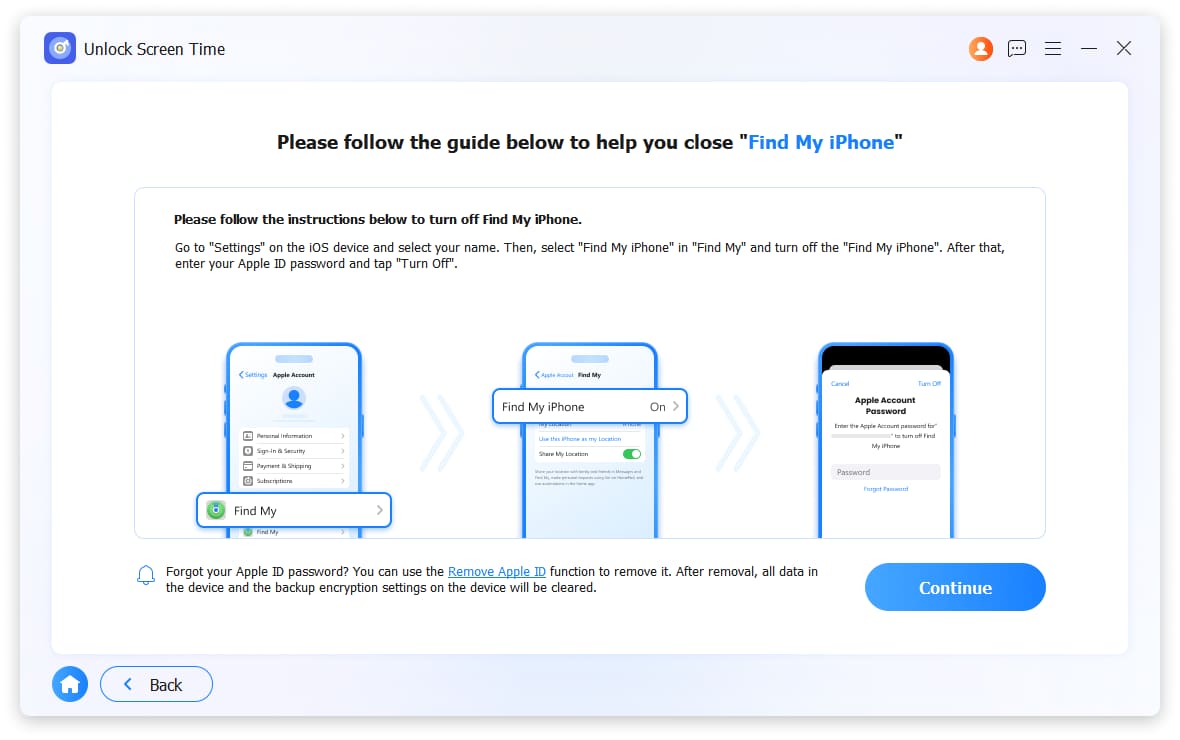
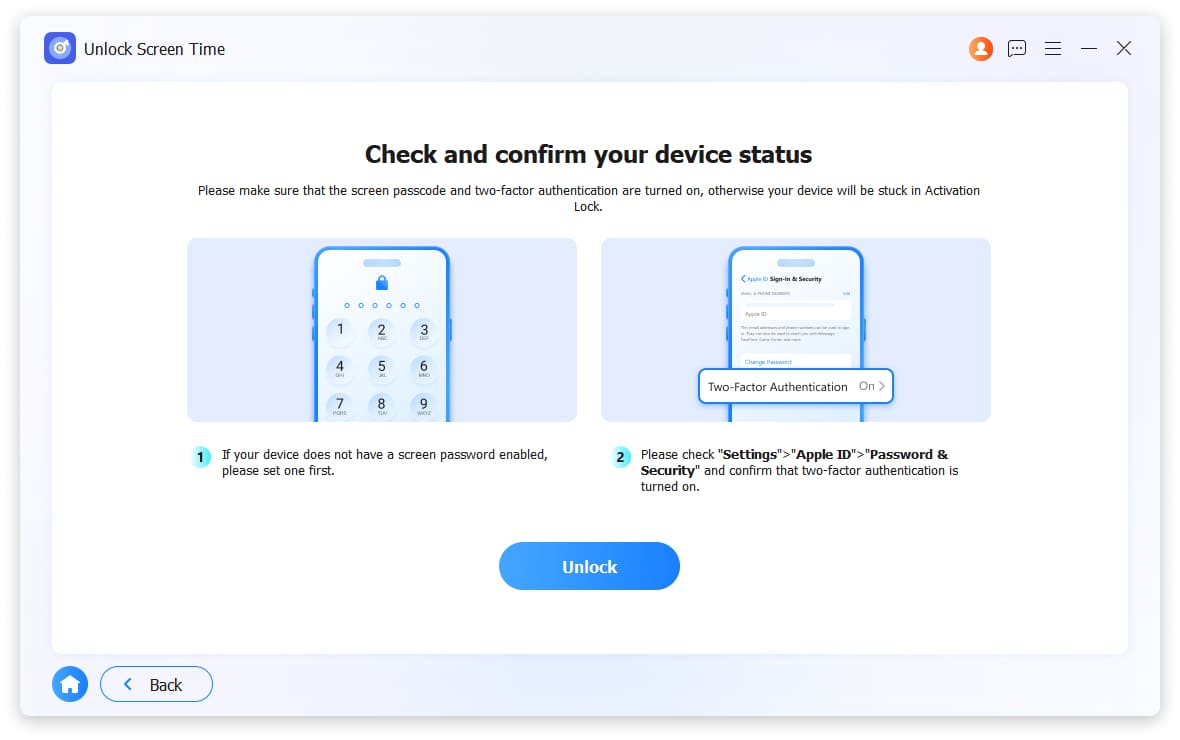
- You also need to enable two-factor authentication on your device if not already enabled.
- Then click Continue or Unlock to proceed.
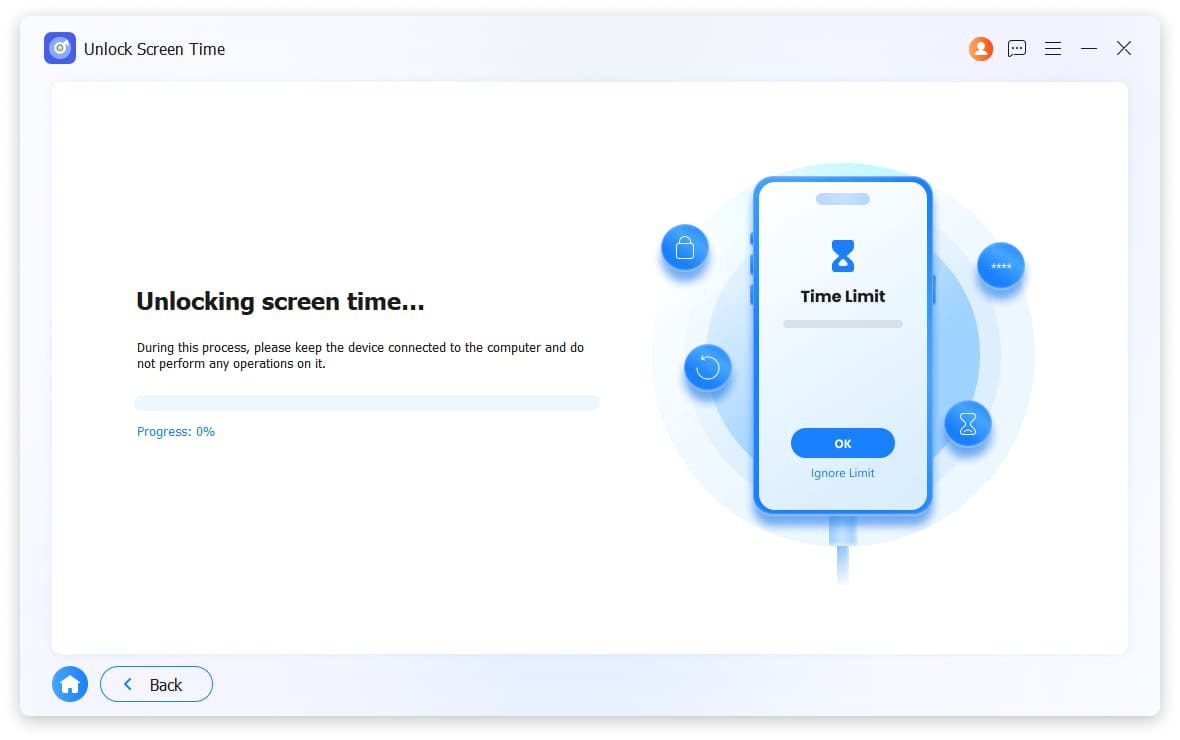
5Wait a moment while the program removes the Screen Time passcode.
6After that, re-set up your device and choose Use device passcode.
7For devices running iOS version earlier than 12: Your Screen Time passcode will be retrieved and shown to you. You can use this passcode to reset your restrictions passcode.
Feature 6 – Remove iTunes Backup Encryption Settings
What happens after removal:
- 1. Password restrictions for managing backups in iTunes will no longer apply.
- 2. Password restrictions for changing passwords in iTunes will also no longer apply.
- 3. Any existing encrypted local backups in iTunes will remain intact and unchanged (they stay encrypted).
- 4. After removing the encryption settings, you can use the program to decrypt your iTunes backup.
What you must do before starting:
- 1. Turn off Find My iPhone/iPad on your device.
- 2. Make sure your iOS device is unlocked and connected to the computer.
- 3. Do not open or use iTunes during the entire process – this helps avoid potential errors.
- 4. All necessary settings on your device must be accessible (device unlocked and connected).
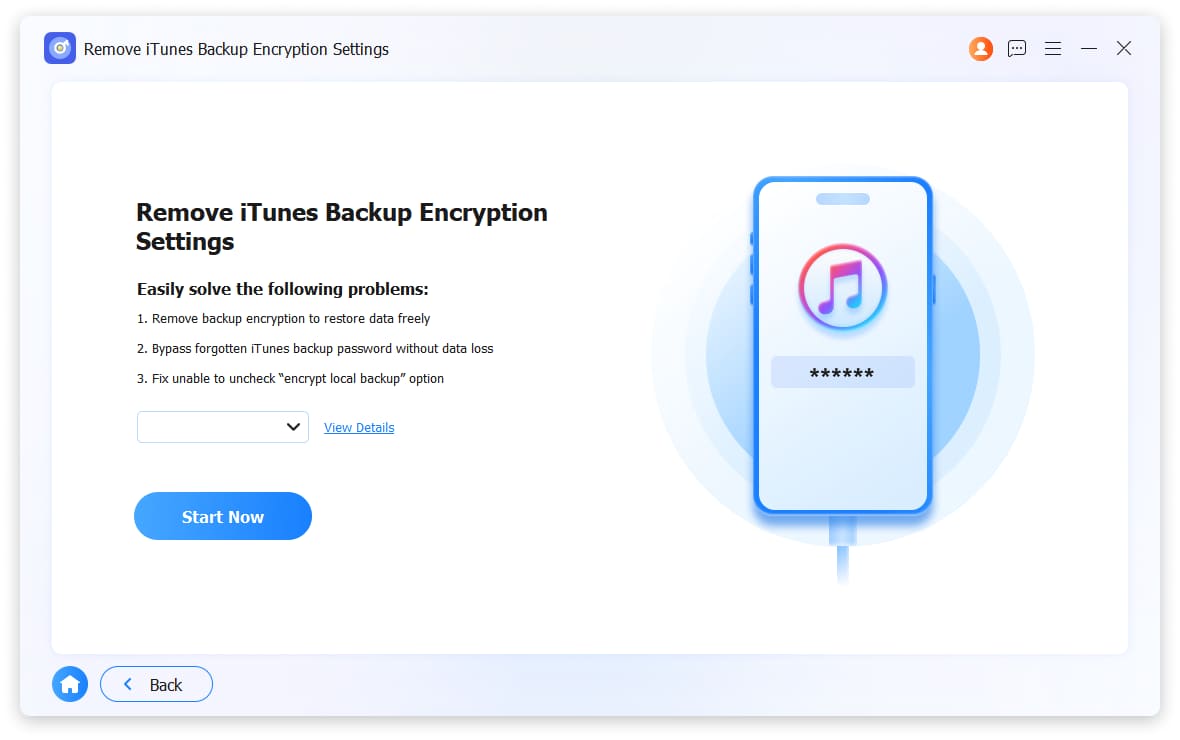
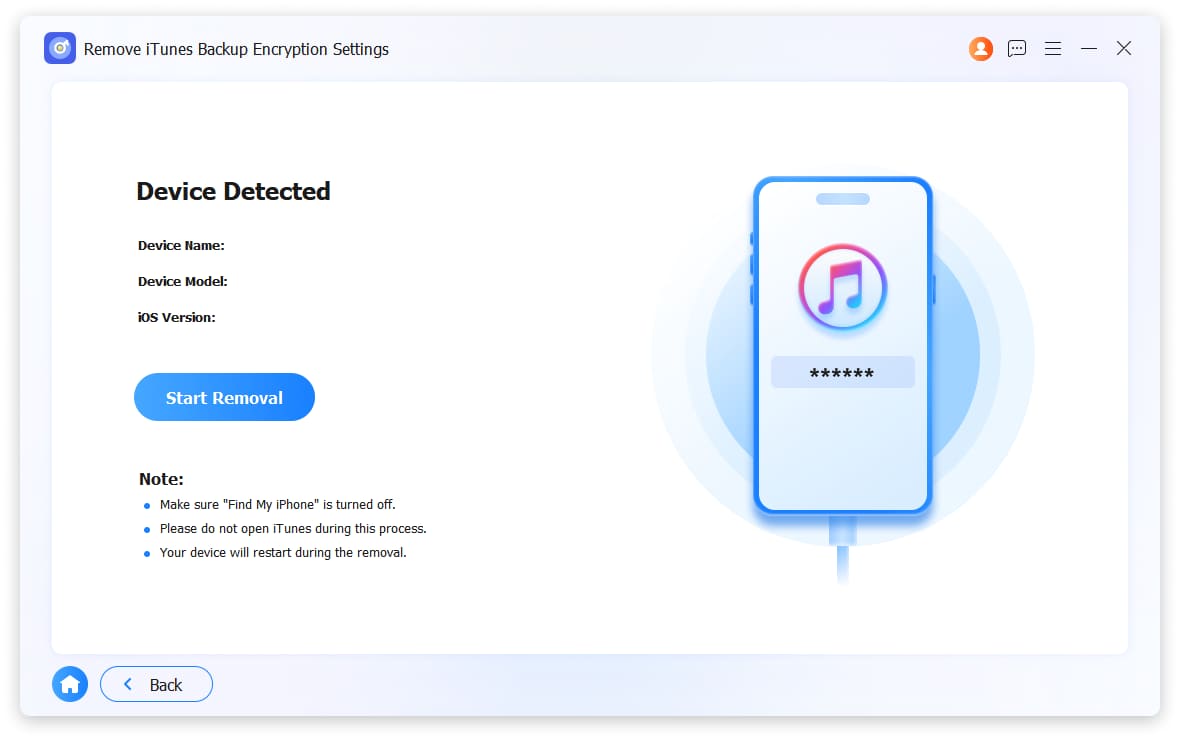
1Select Remove iTunes Backup Encryption Settings and connect your device to the computer using a USB cable.
2Click Start Now to begin.
3After the program detects your device, device information will be displayed on the screen. Click Start Removal.
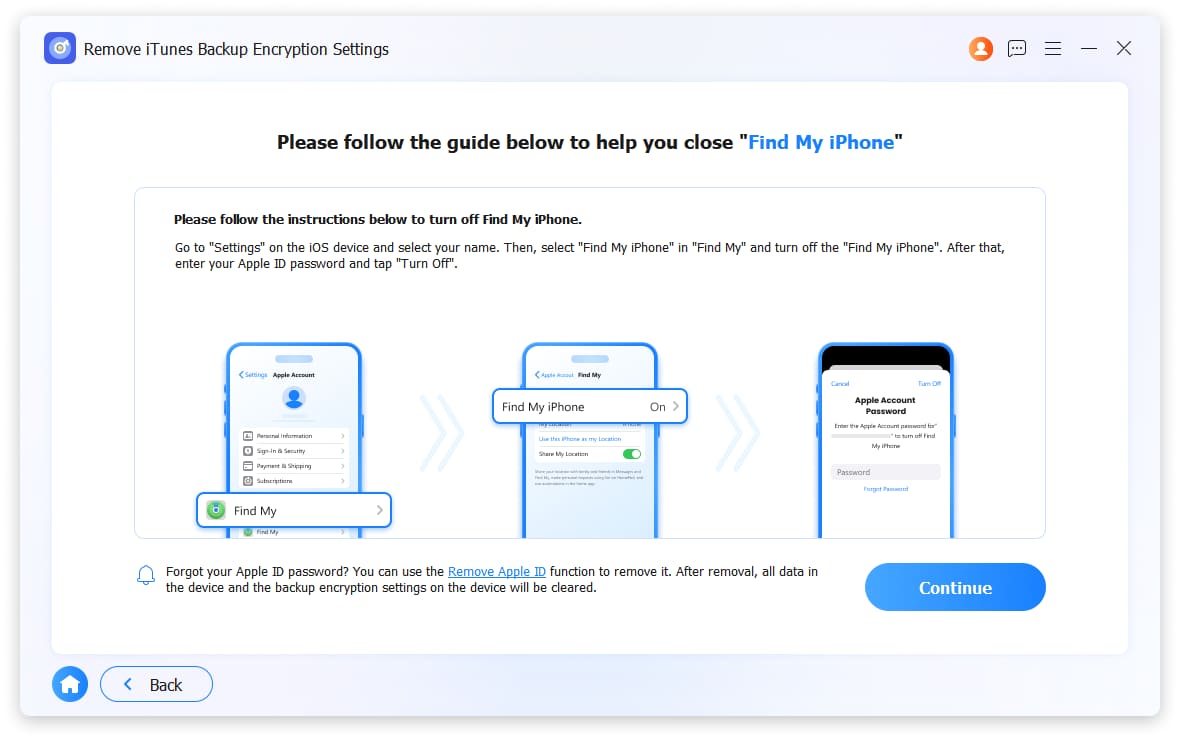
4If Find My is still enabled on your device, you will be asked to turn it off. Turn it off, then click Continue.
5Wait while the program removes the iTunes backup encryption settings.
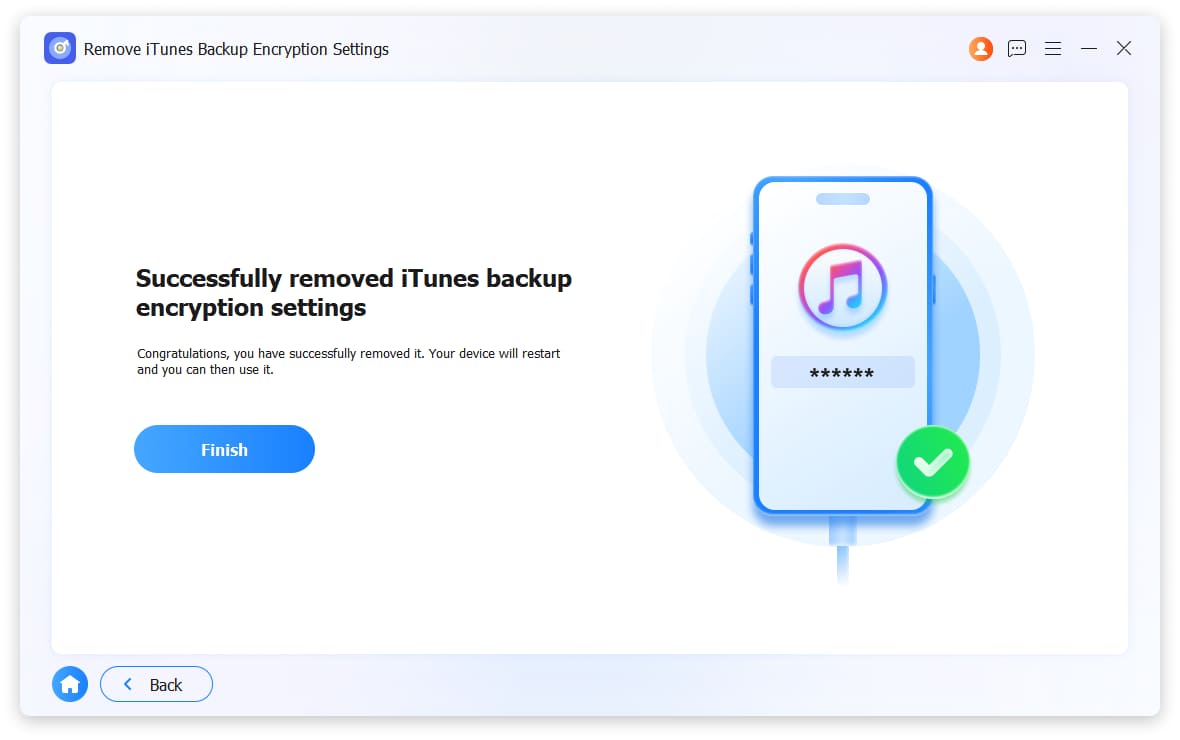
6For devices running iOS version earlier than 11.4: Your iTunes backup passcode will be retrieved and shown to you.
7For devices running iOS version 11.4 or later: The passcode is removed directly (no retrieval).
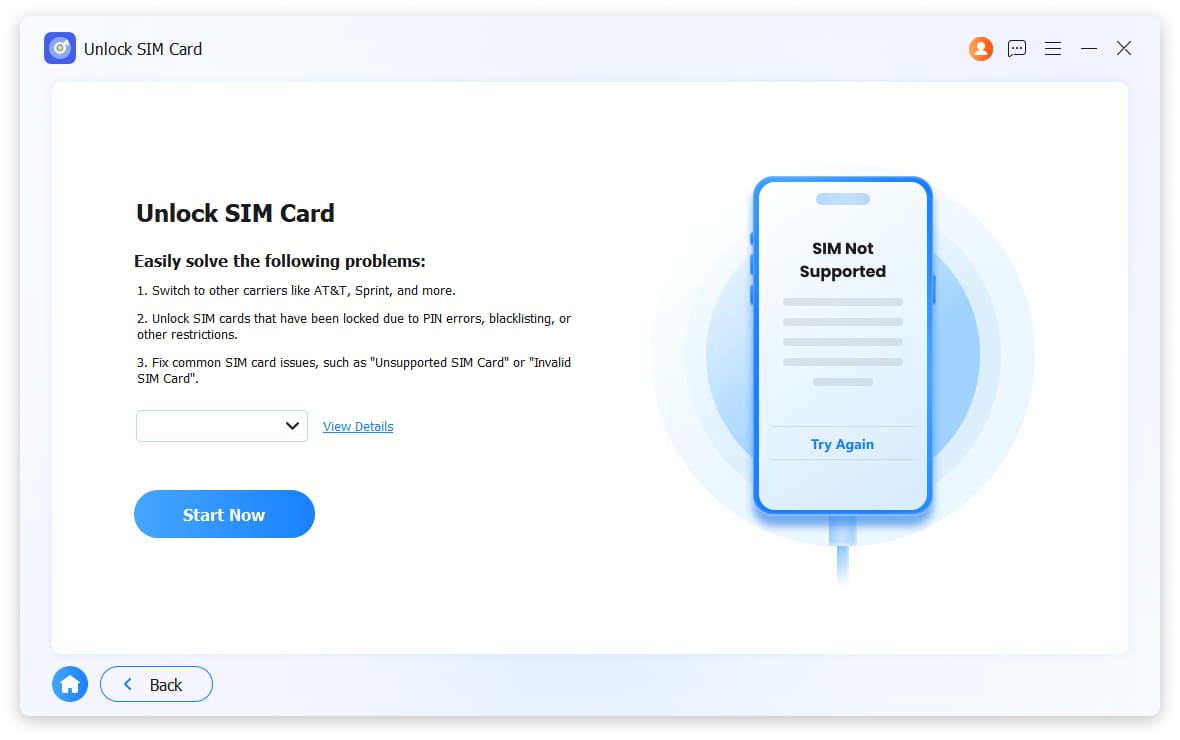
Feature 7 – Unlock SIM Card
1Select Unlock SIM Card and connect your device to the computer using a USB cable.
2Click Start Now on the interface.
3Follow the on-screen steps to make your device forget the current Wi-Fi network, click OK in the program interface.
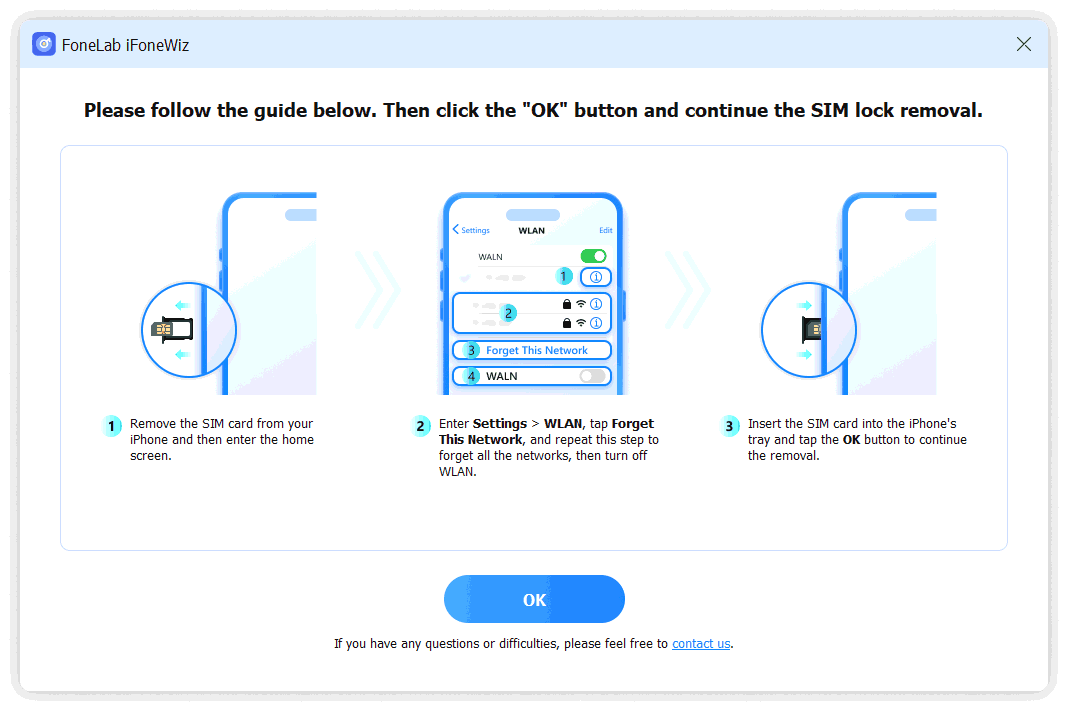
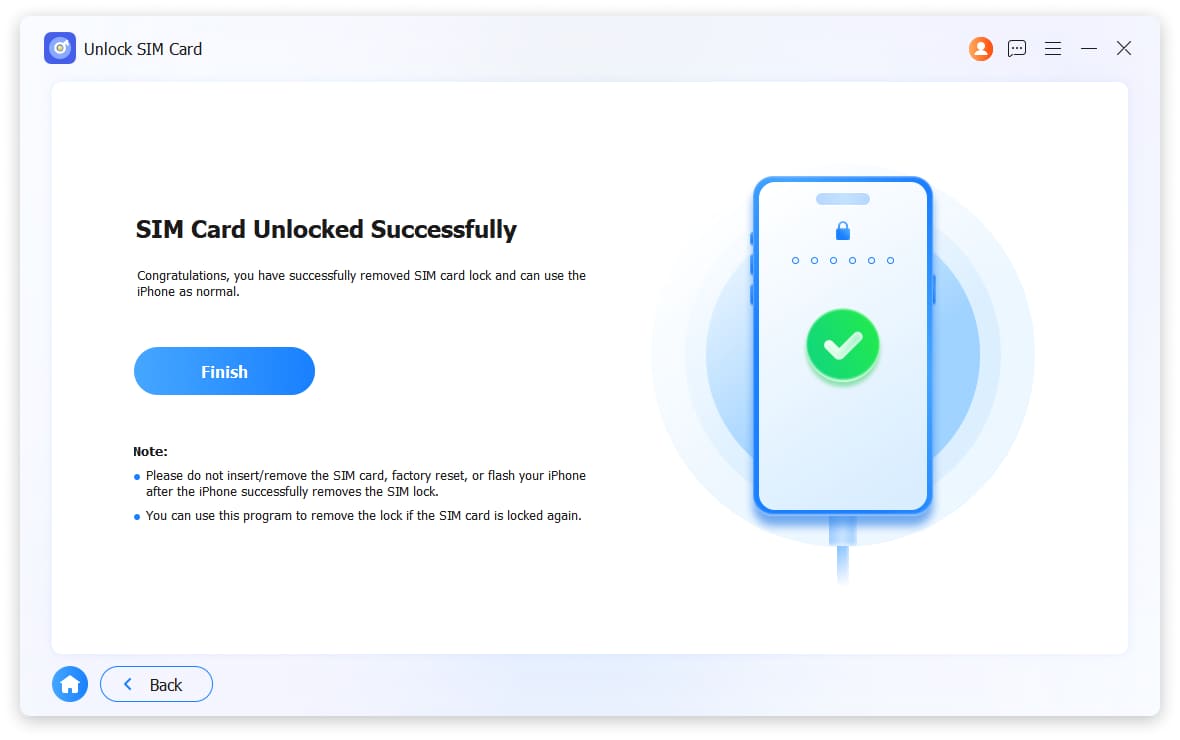
4Wait a few seconds – the SIM card lock will be removed from your device.
 iPhone Data Recovery
 iOS System Recovery
 iOS Data Backup & Restore
 iOS Unlocker
 iPhone Password Manager
 Location Changer
 Android Data Recovery
 Broken Android Data Extraction
 Android Data Backup & Restore
 Android Unlocker